Control Lighting of Characters and Scenes
Simply providing Toon Materials cannot meet the requirements for creating extremely stylized content using UE. In actual projects, we want both efficiency and robustness (the same material in game projects needs to adapt to various lighting environments while minimizing performance overhead) and freedom (in film projects, we need to freely and precisely adjust each color). Balancing these is very difficult.
The creation of MooaToon is precisely to solve these problems. This article will introduce you to the basic lighting logic of MooaToon and how it differs from UE's default lighting, to help you gain a deeper understanding and use of MooaToon.
UE Default Lighting
Like other PBR renderers, UE's default lighting is divided into Direct Lighting and Indirect Lighting, which can be further subdivided into Diffuse Reflection and Specular Reflection. All lighting accumulates through Addition and ensures Energy Conservation.
Next, I will briefly introduce the composition of UE's default lighting. If you are already very familiar with UE's lighting, you can skip this part.
Indirect Lighting
The light received at the shading point from other objects' reflected light, as well as light from Atmospheric Scattering. This is known as Global Illumination (GI).
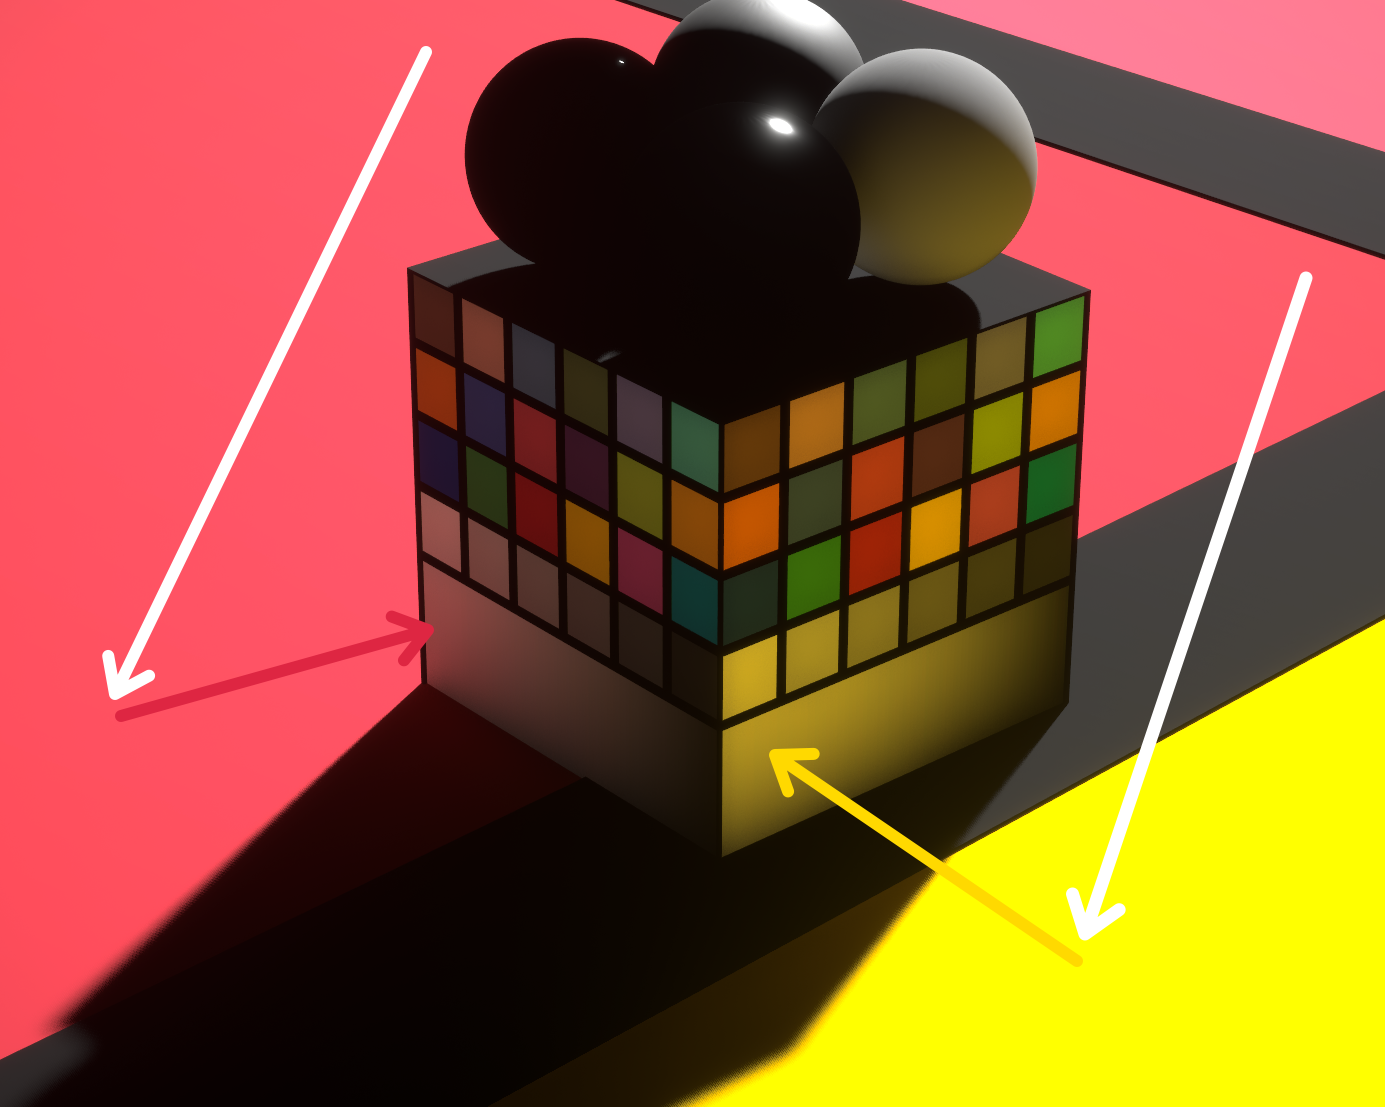
Indirect light is usually used to control the color of the object's backlit surface:
- Outdoors, Indirect Light is mainly controlled by Skylight
- Indoors, Indirect Light is controlled by the quantity and area of other Direct Lights
Direct Lighting
The light received at the shading point directly from the light source, with shadows produced when the light source is obstructed. Direct Lighting is produced by Directional Lights, Point Lights, Spot Lights, and Rect Lights.
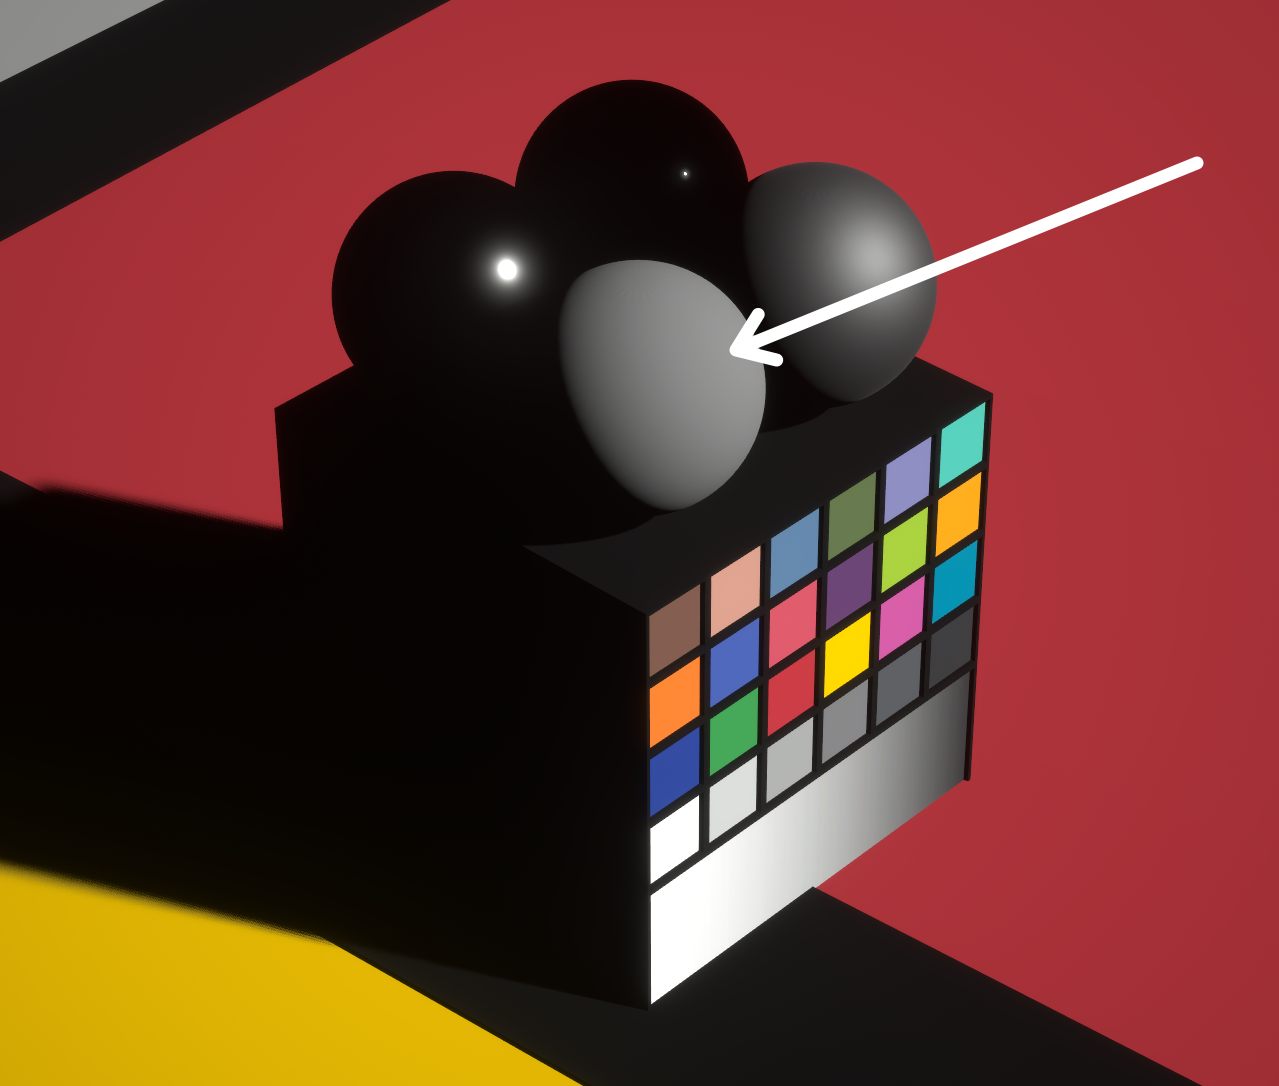
Diffuse Reflection and Specular Reflection
When light hits the surface of an object, it undergoes Reflection and Absorption. When an object absorbs green and blue wavelengths of light and reflects red wavelengths, it appears red. Different materials reflect and absorb different wavelengths, allowing us to see a colorful world.
If we infinitely magnify the surface of an object, we assume that each smallest shading point is smooth. When light hits the shading point, it reflects in all directions, where the angle of reflection equal to the angle of incidence is Specular Reflection, and other directions are Diffuse Reflection:
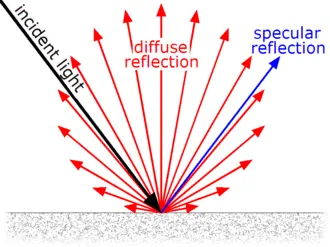
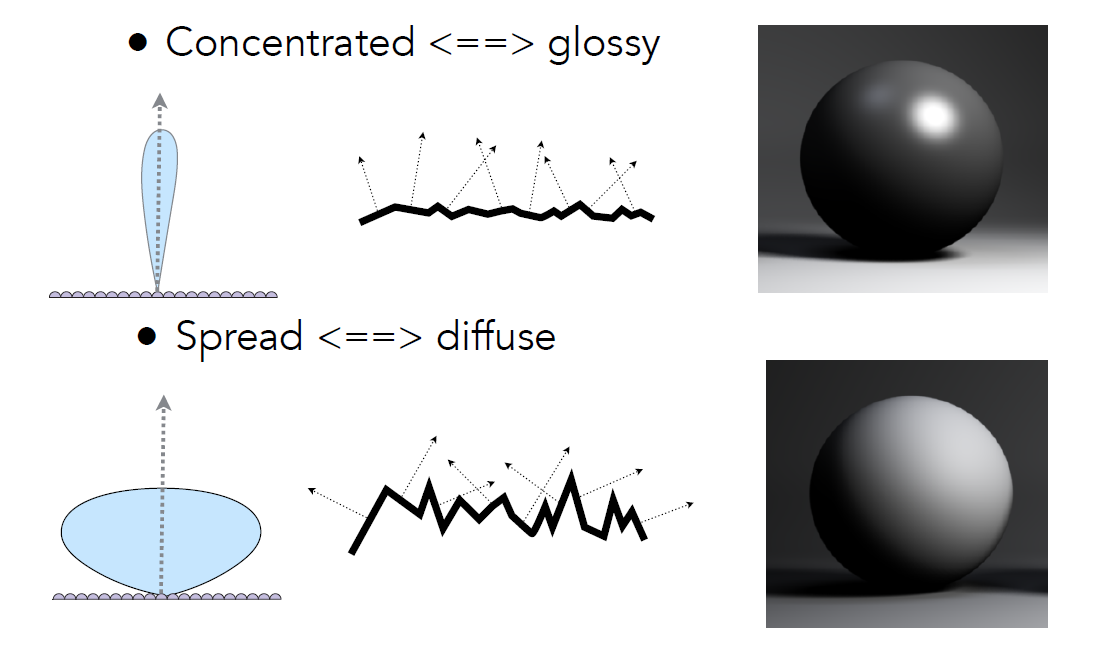
The intensity of Diffuse Reflection is equal from all angles of observation, while Specular Reflection can produce clear or blurred highlights due to the different normal distributions of the microscopic surface, resulting in macroscopically smooth or rough materials:
Combining All Lighting
| Lighting Components | Preview | Total Lighting |
|---|---|---|
| Indirect Diffuse Reflection | 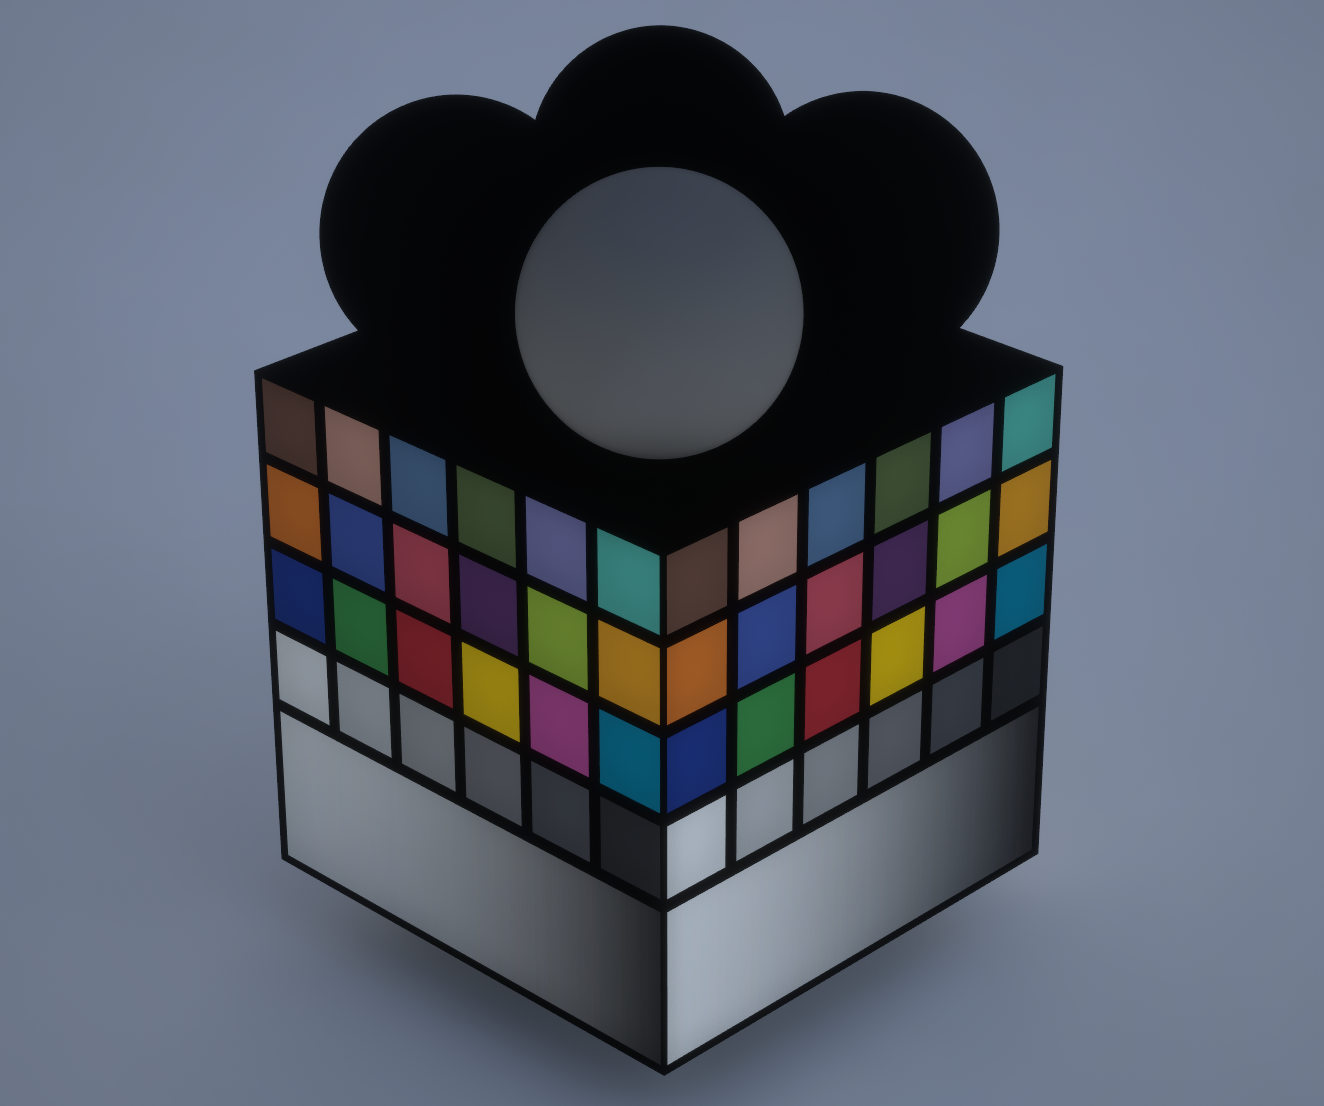 |  |
| Indirect Specular Reflection | 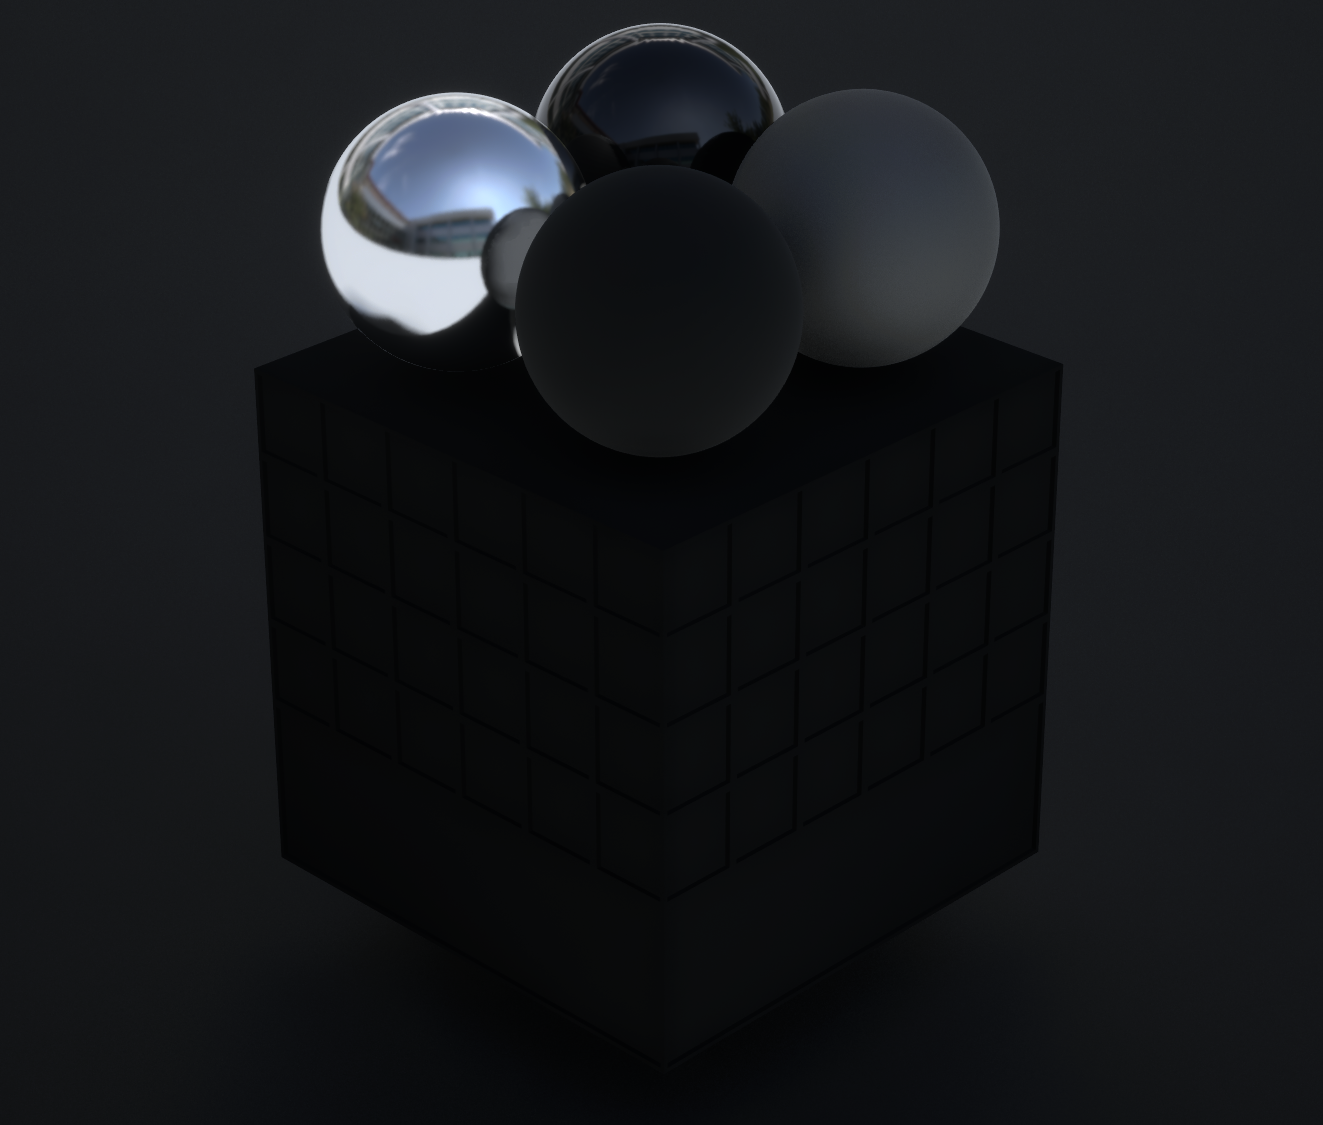 | 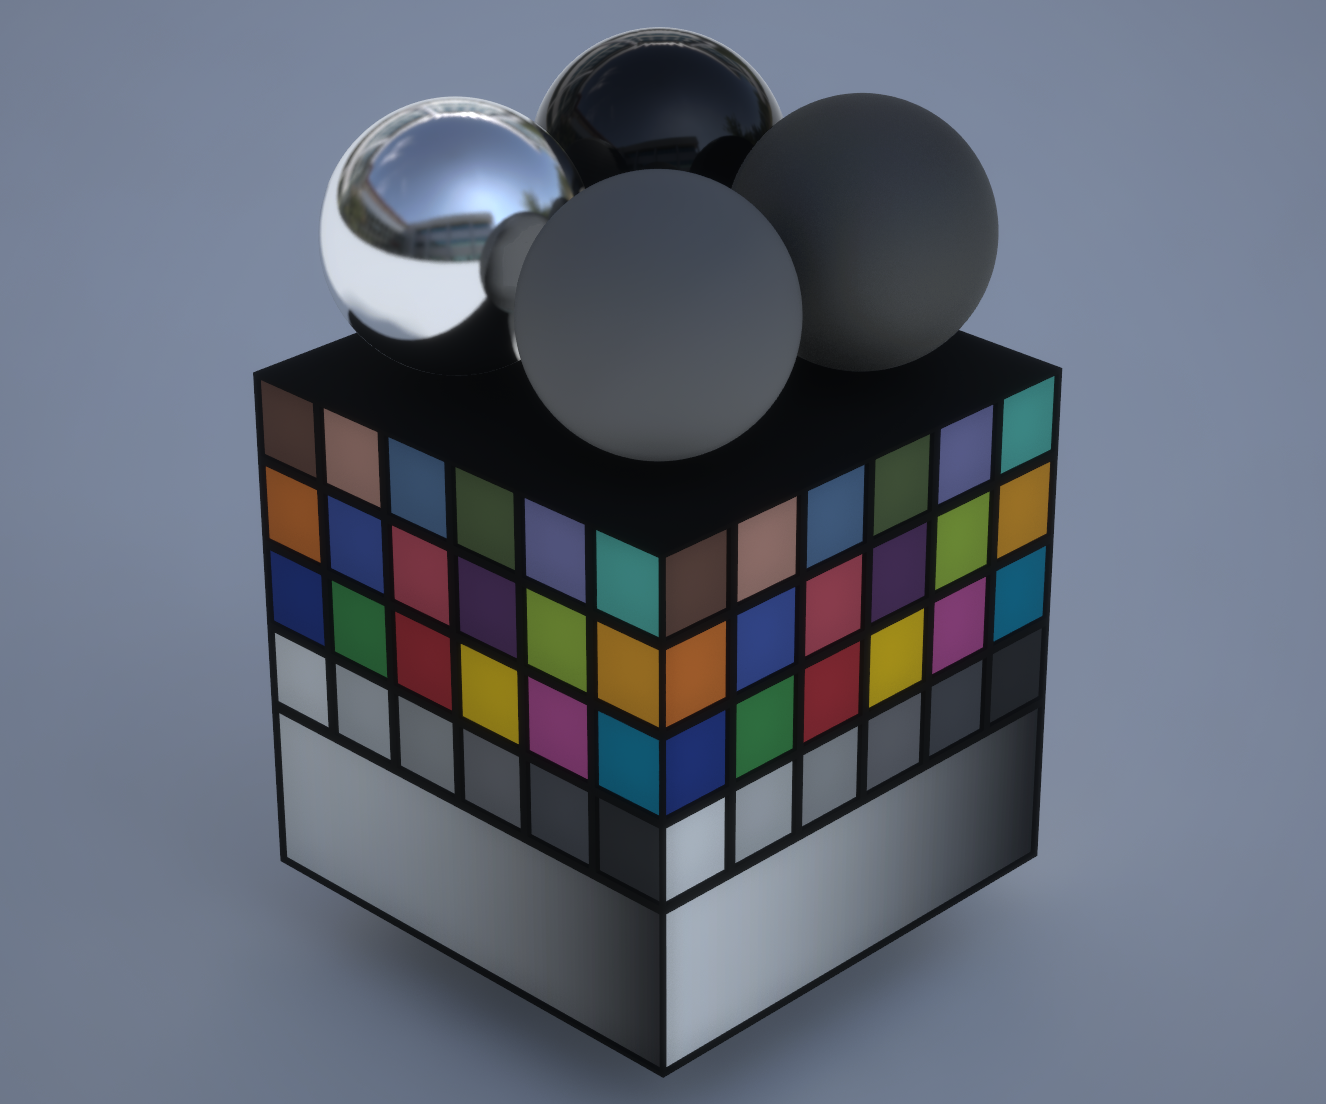 |
| Direct Diffuse Reflection | 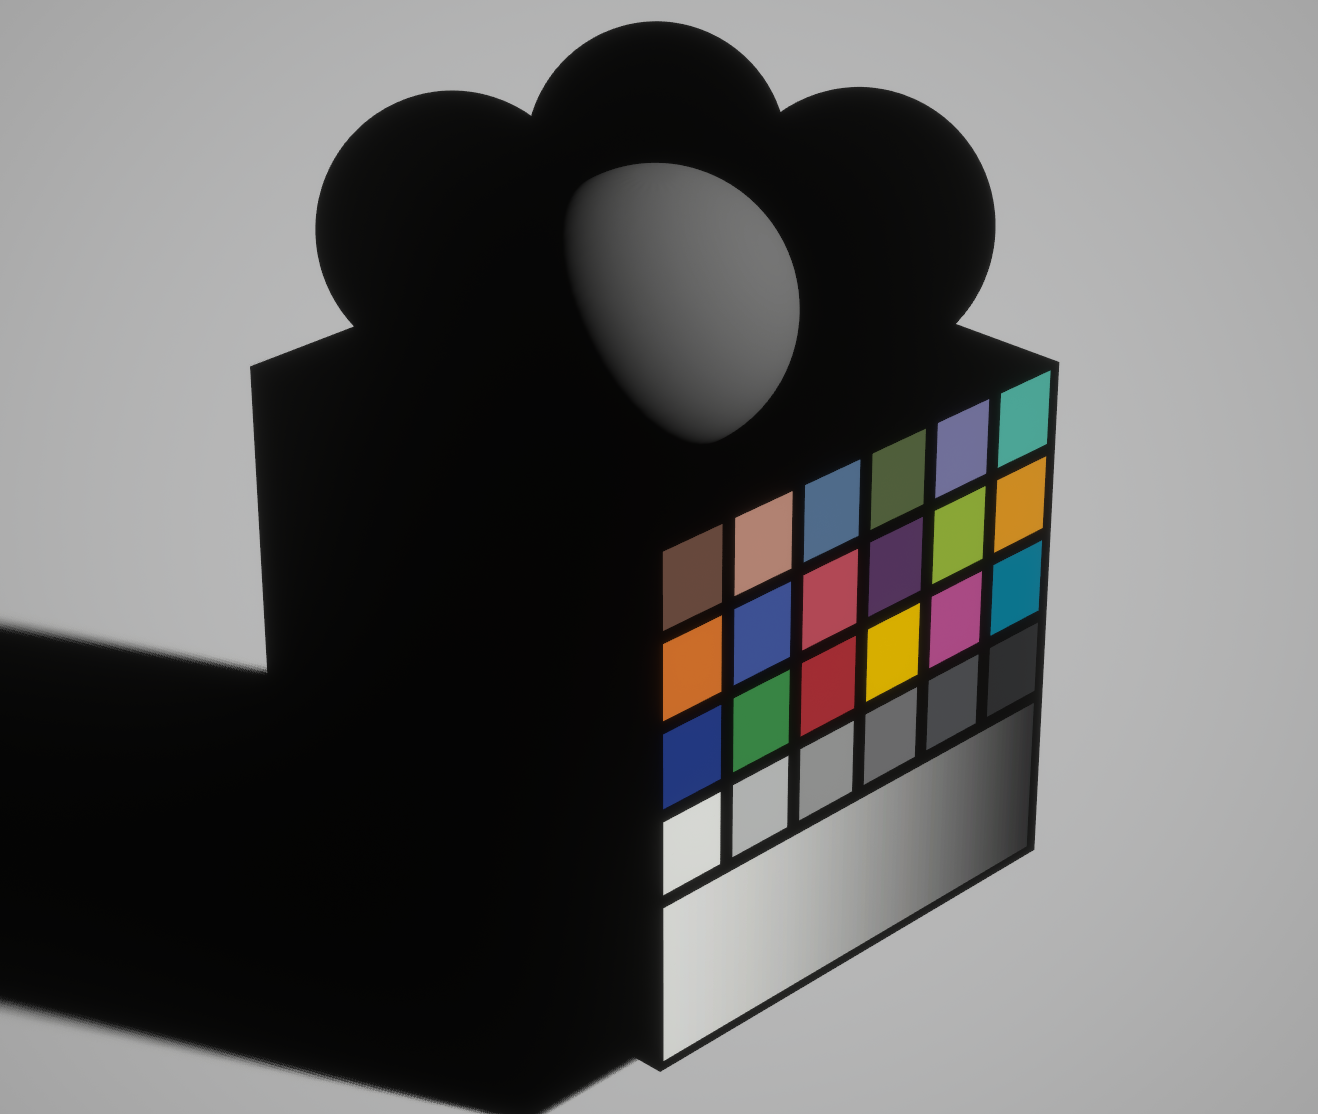 | 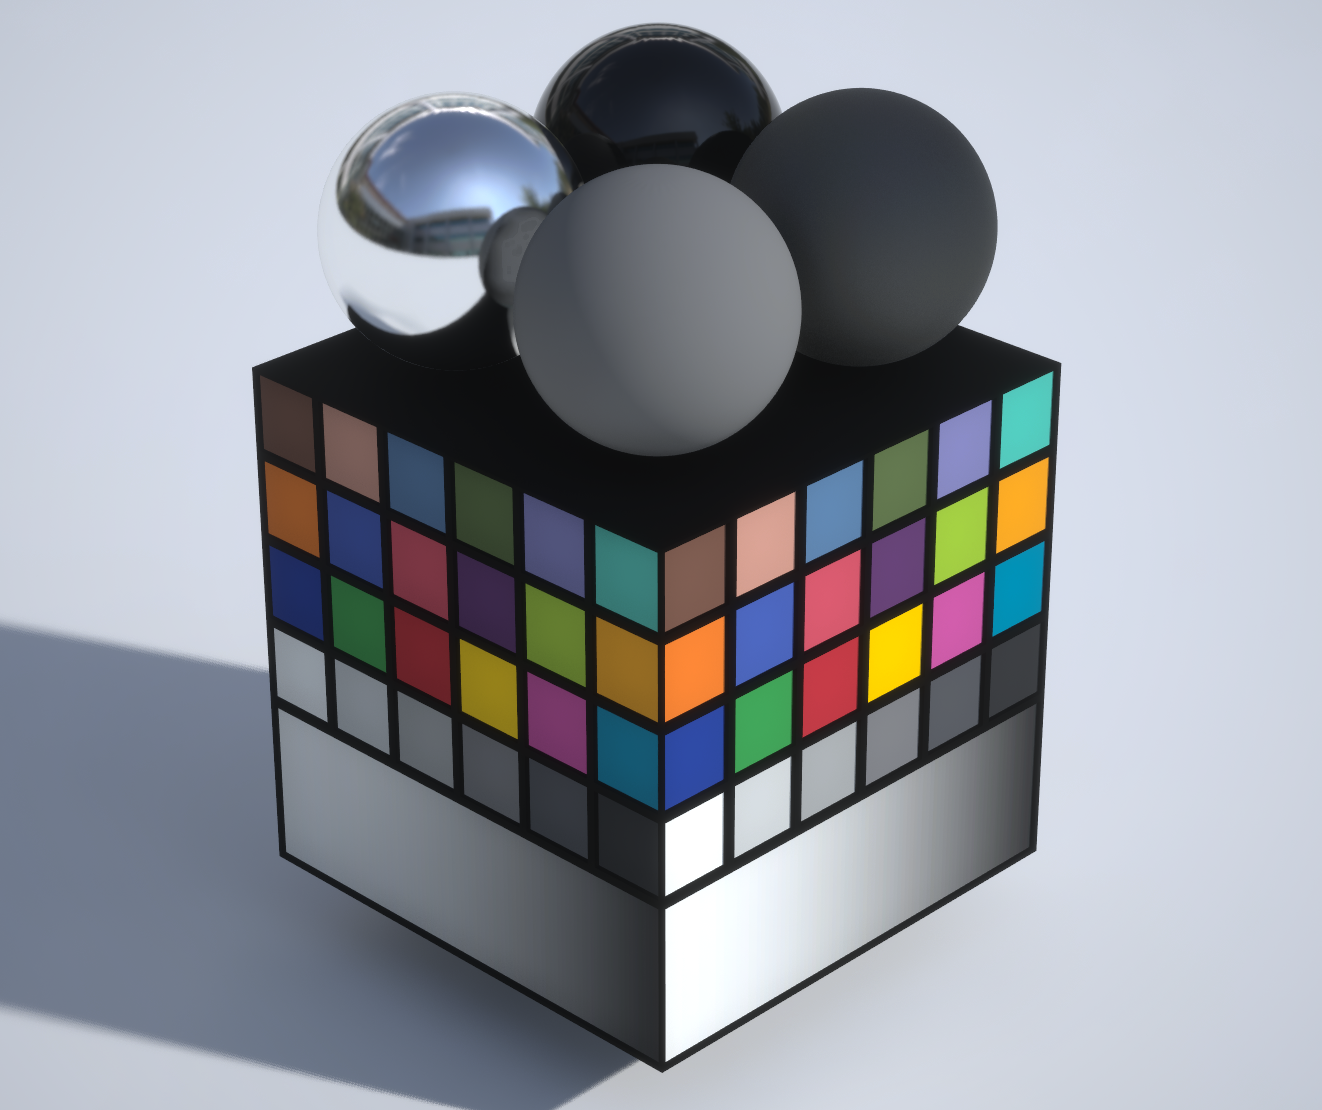 |
| Direct Specular Reflection | 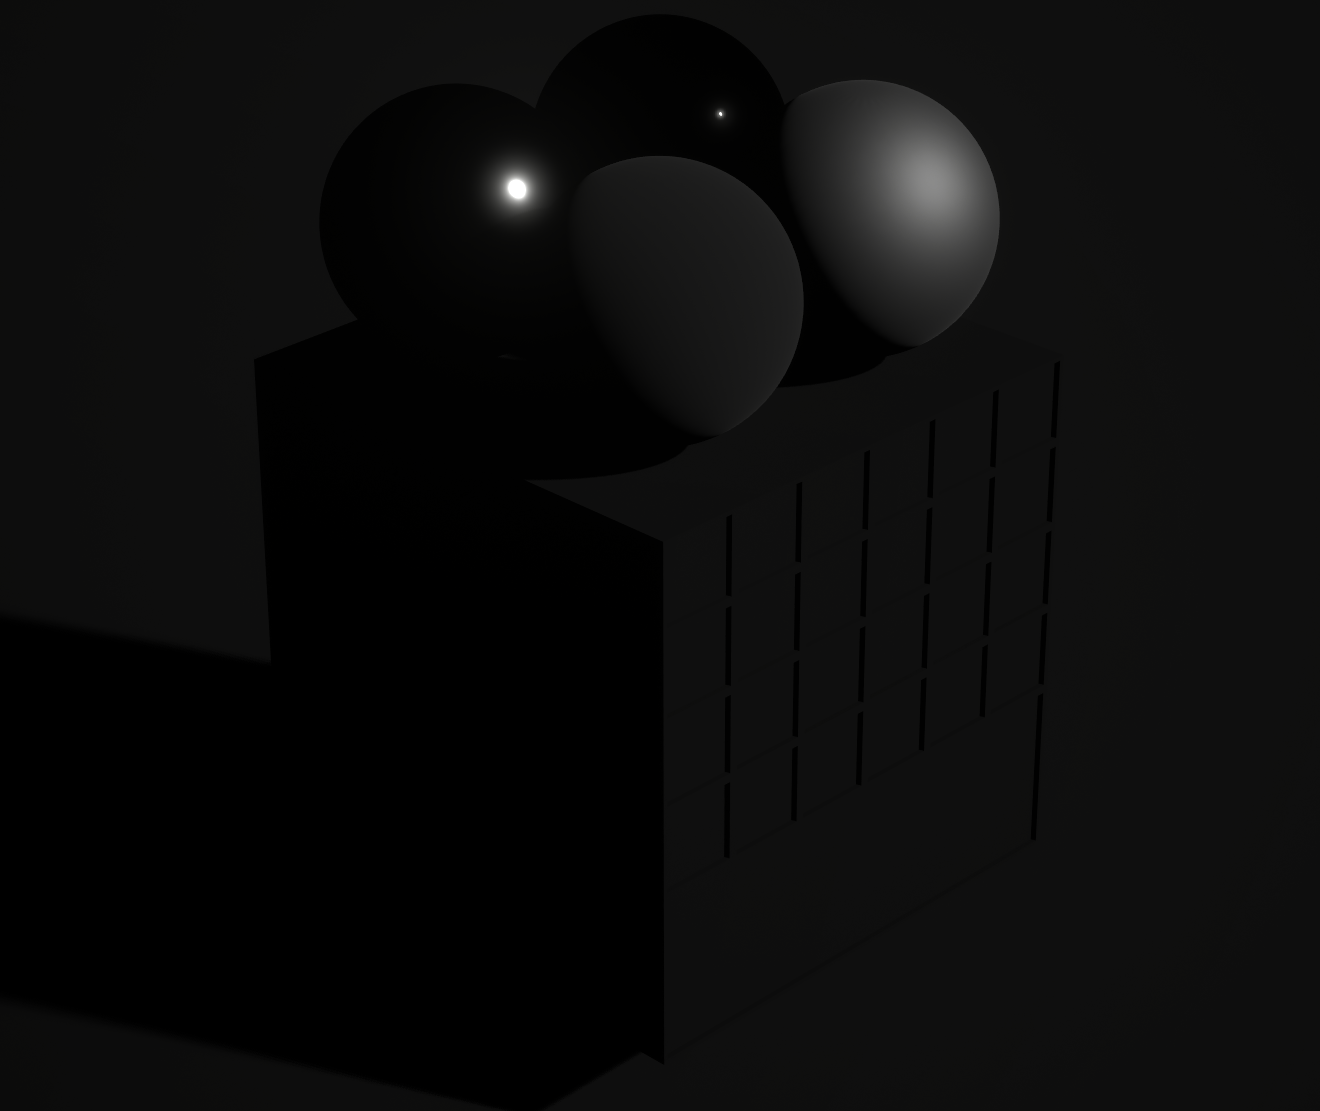 | 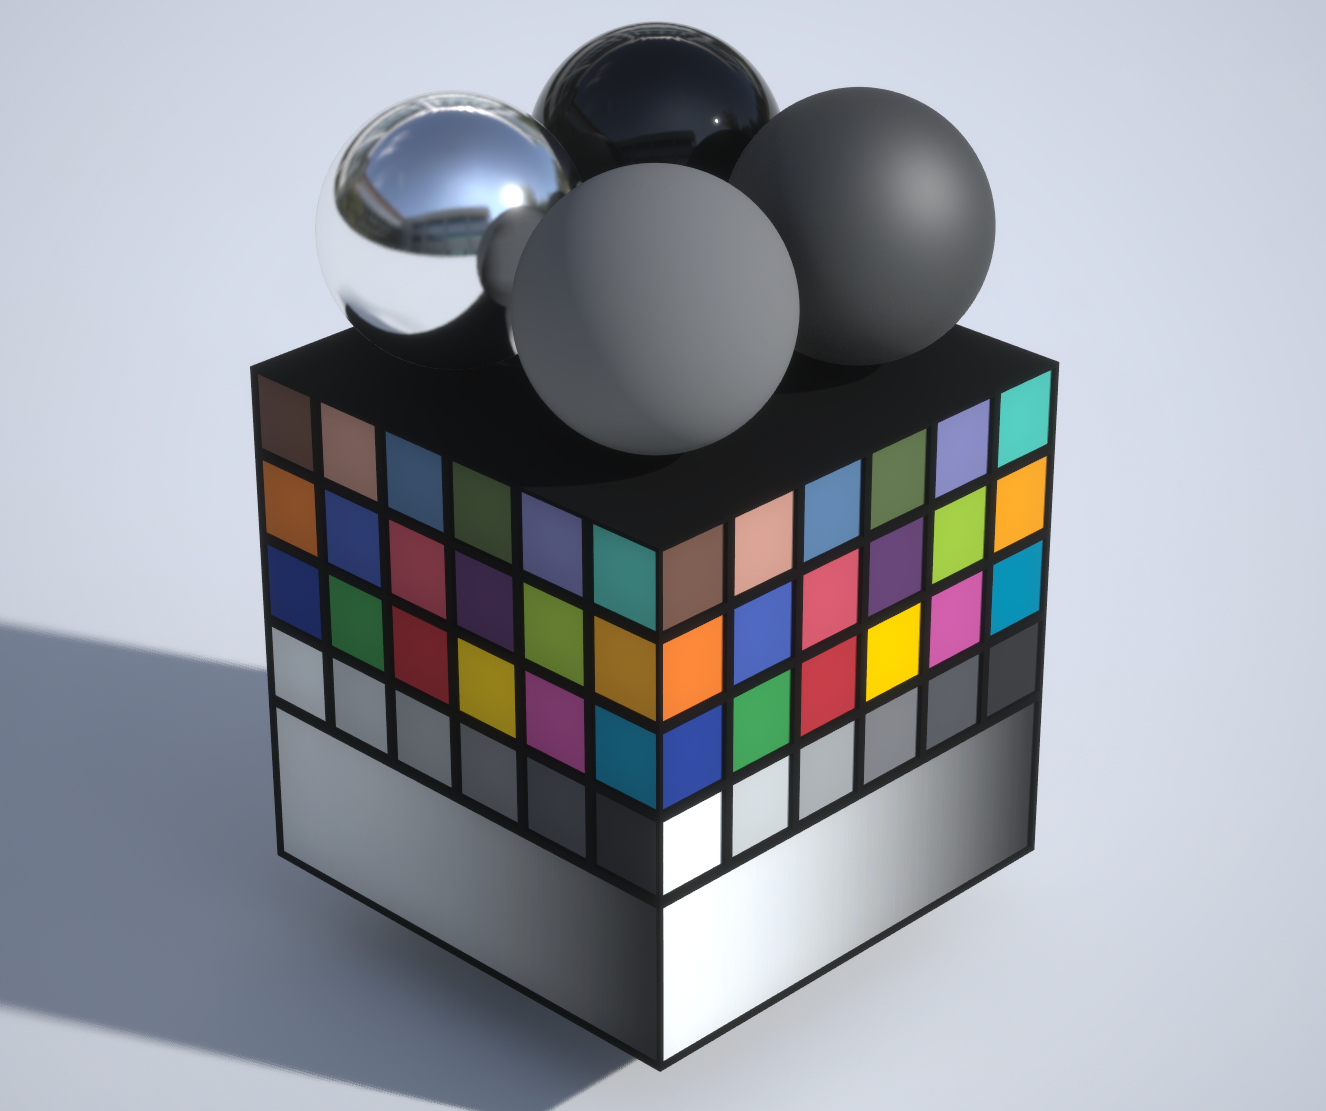 |
Basic Material Inputs
| Base Color | Roughness | Metallic |
|---|---|---|
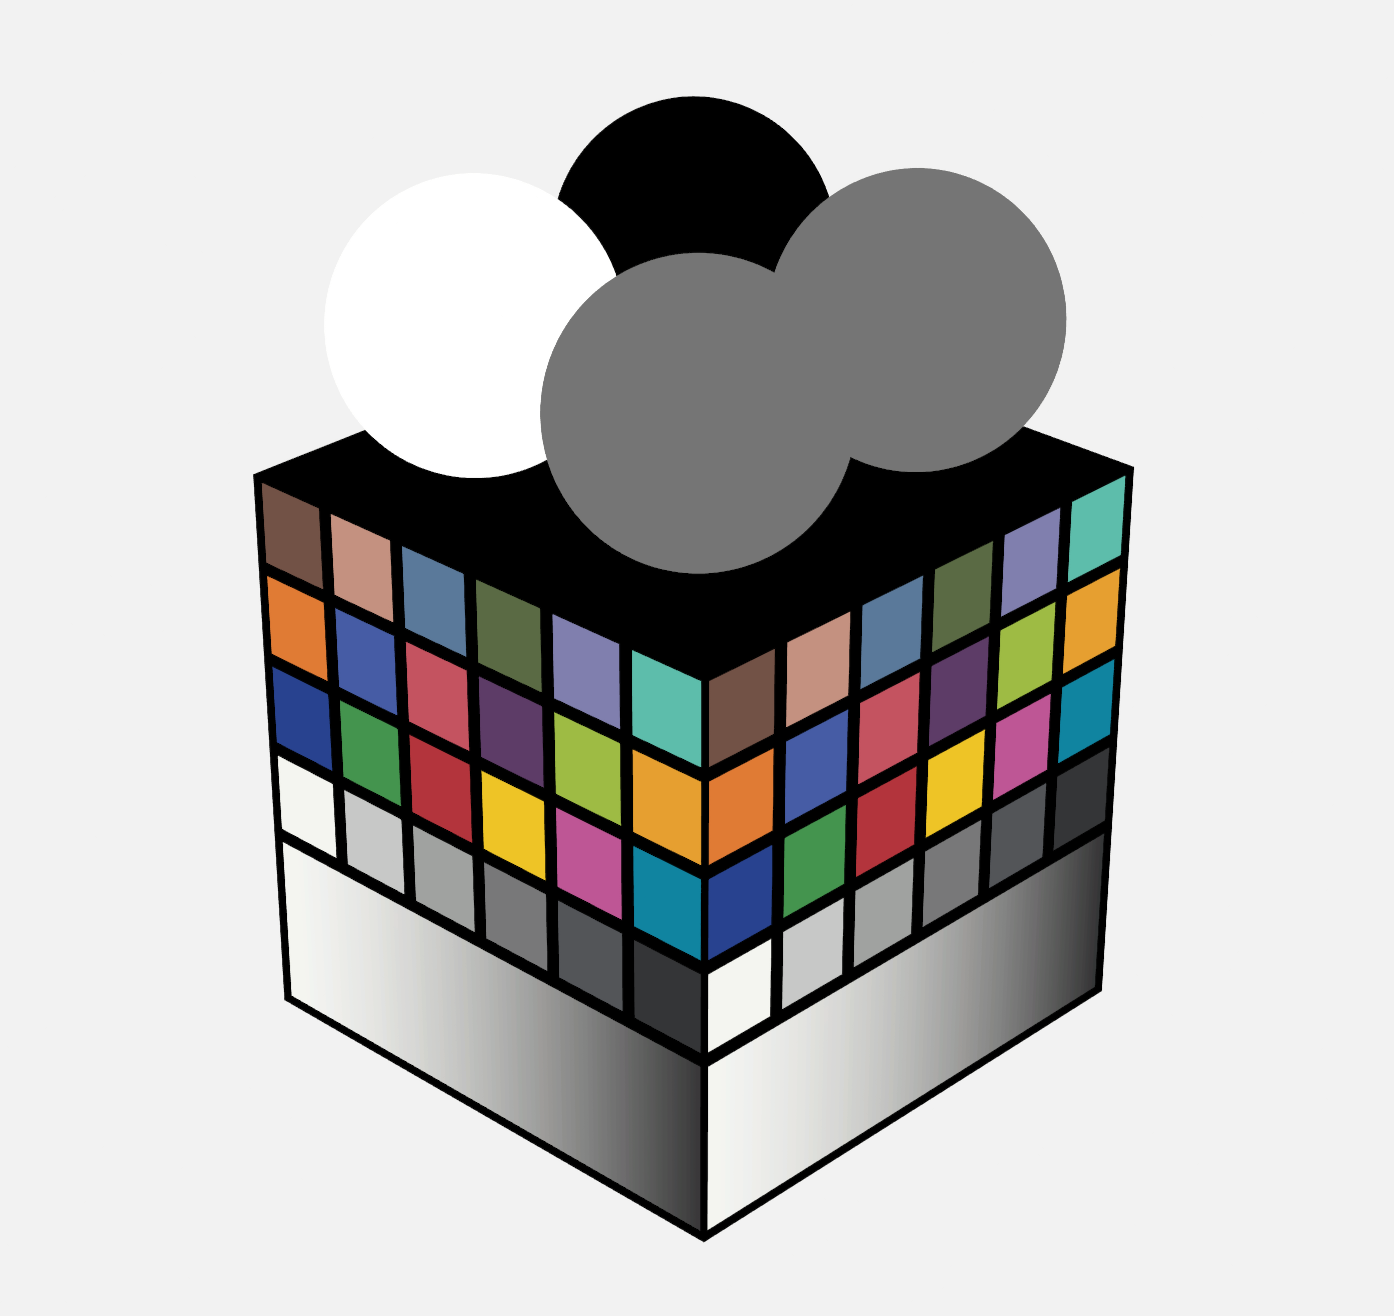 | 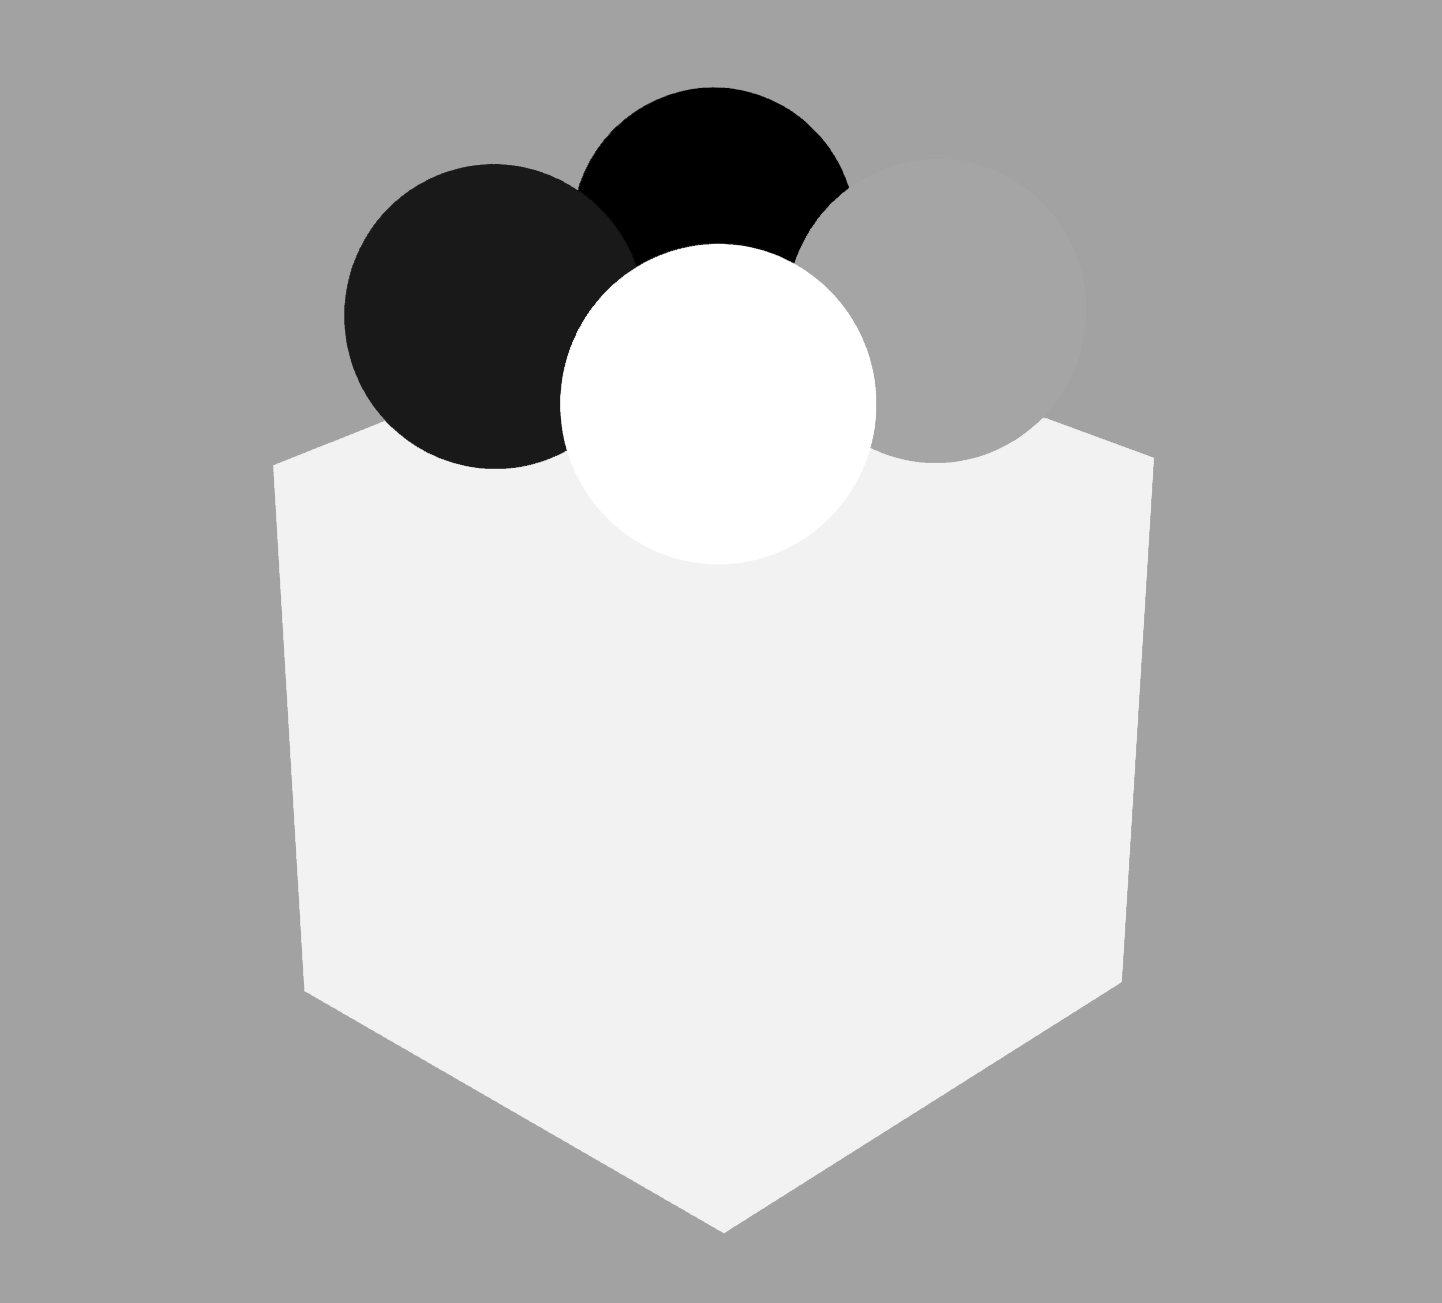 | 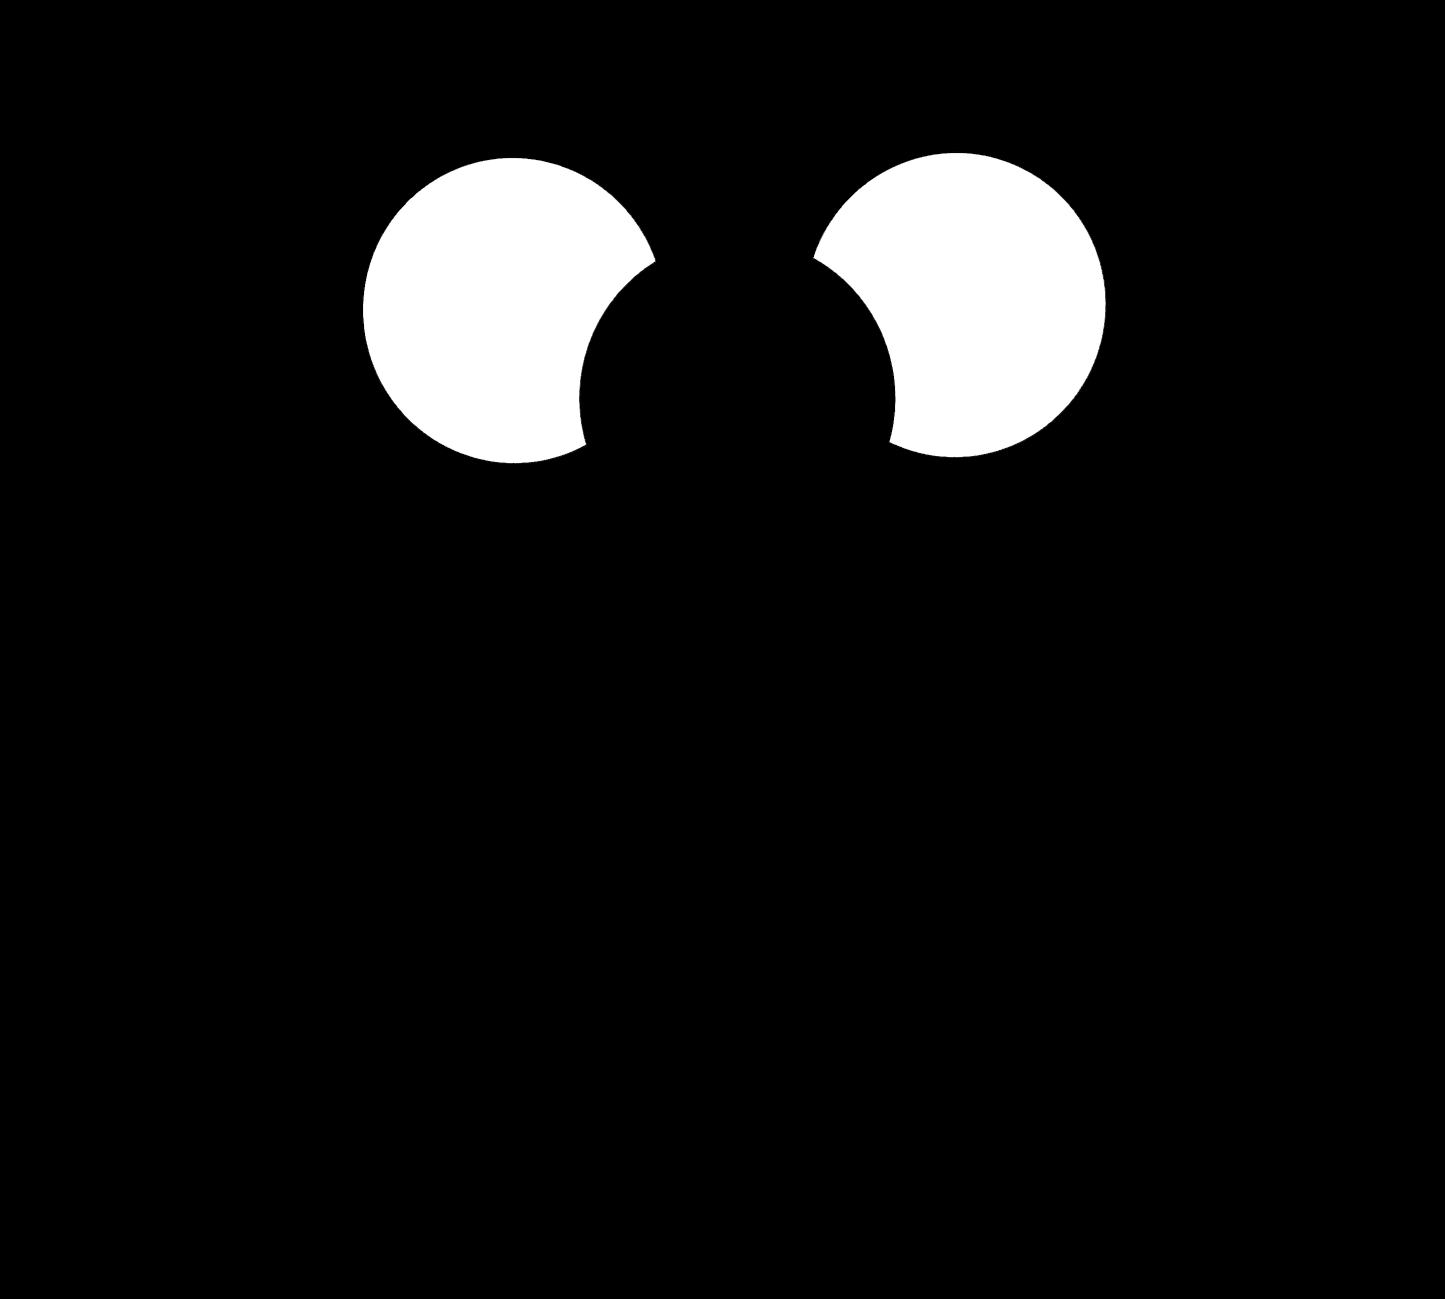 |
| The Diffuse Reflection Color representing non-metallic materials, or the Specular Reflection Color of metallic materials. | The randomness of the micro-surface normals. The rougher it is, the blurrier the Specular Reflection. | Used to macroscopically blend metallic and non-metallic materials, such as metal surfaces with dust. |
Due to the special properties of metallic materials, they have a high reflectivity, low absorptivity, and light has difficulty penetrating their interior. Therefore, metals do not have Diffuse Reflection, but have strong Specular Reflection. UE controls the Specular Reflection Color of metallic materials through the Base Color.
For non-metallic materials, the Base Color controls their Diffuse Reflection Color. Their Specular Reflection is white and can be adjusted in intensity based on their reflectivity.
MooaToon Lighting
The principle of MooaToon is to maximize freedom while maintaining compatibility with UE's native lighting, and to ensure high robustness and versatility when adding new features.
Next, I will introduce the differences in lighting for Toon Materials compared to UE:
Diffuse Reflection
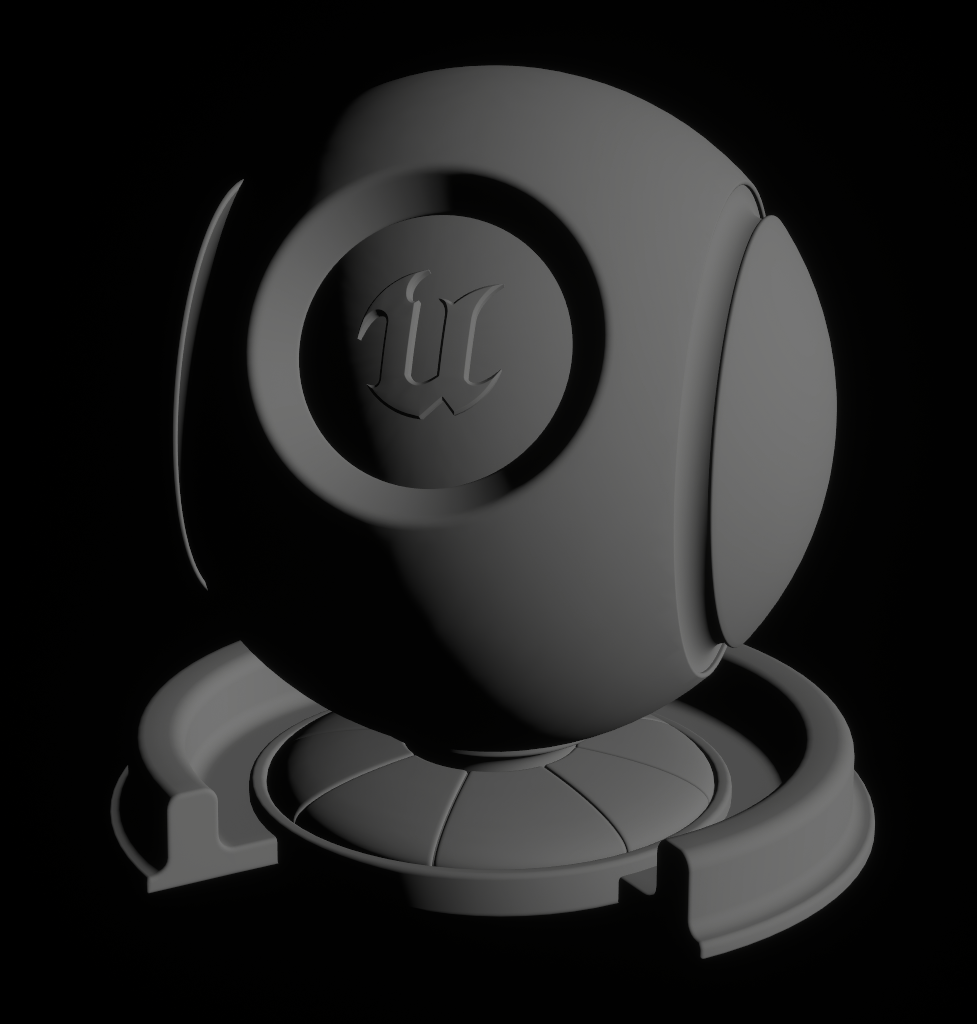
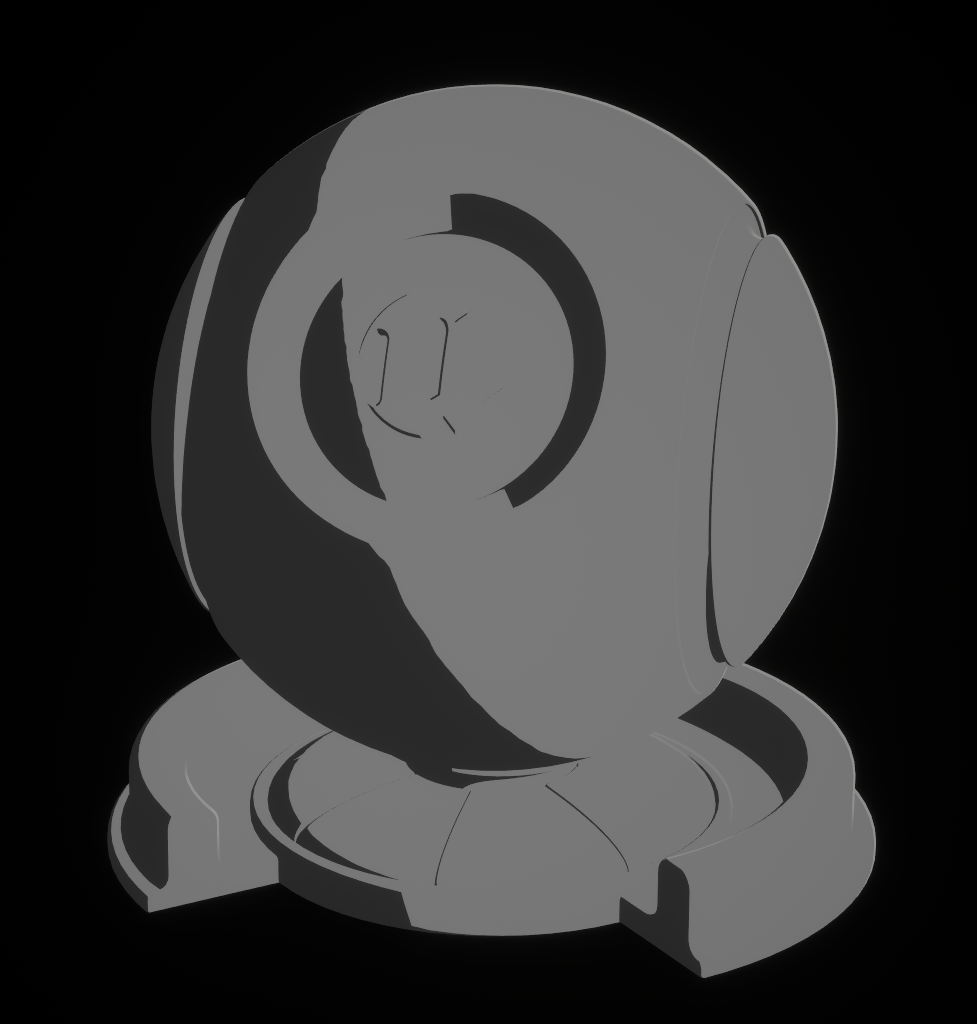
One of the most important features of MooaToon is replacing PBR's Lambertian Diffuse Lighting with Ramp Lighting, which perfectly supports multiple light sources through the Global Ramp Atlas, addressing the pain points of traditional Toon Rendering.
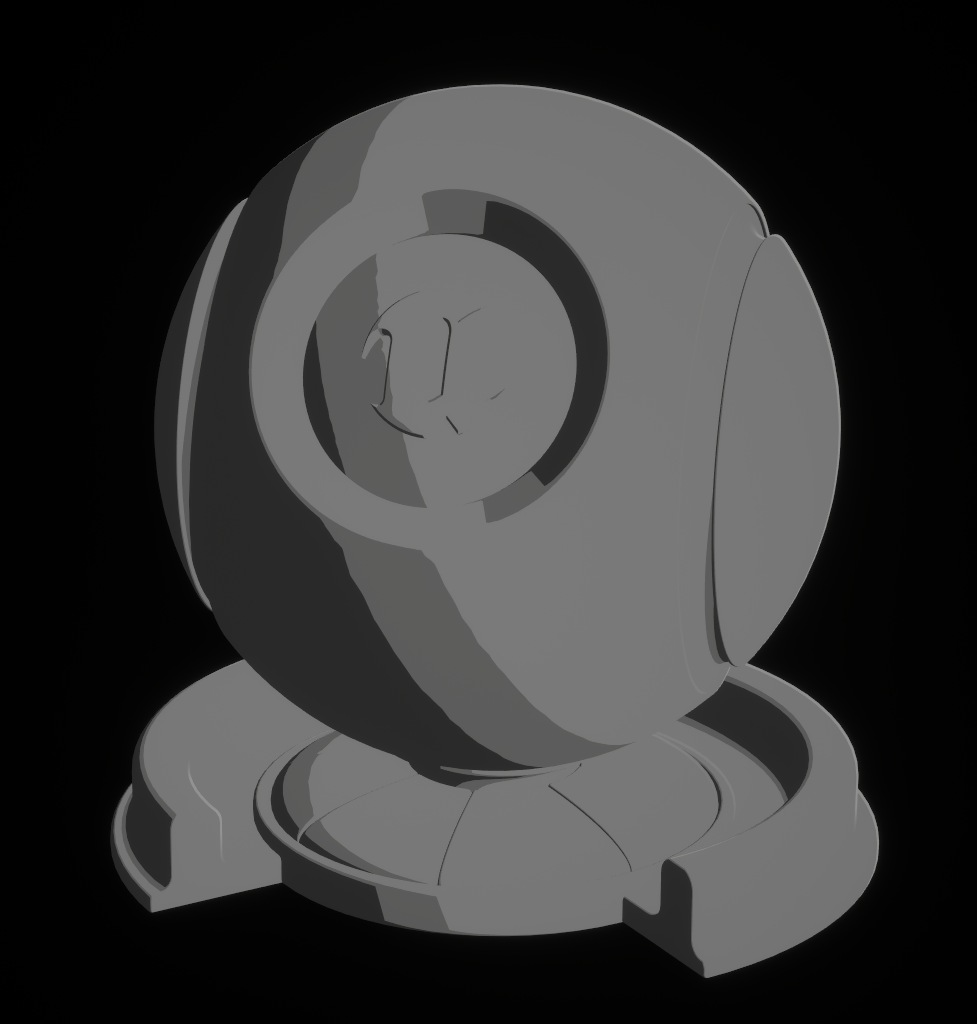
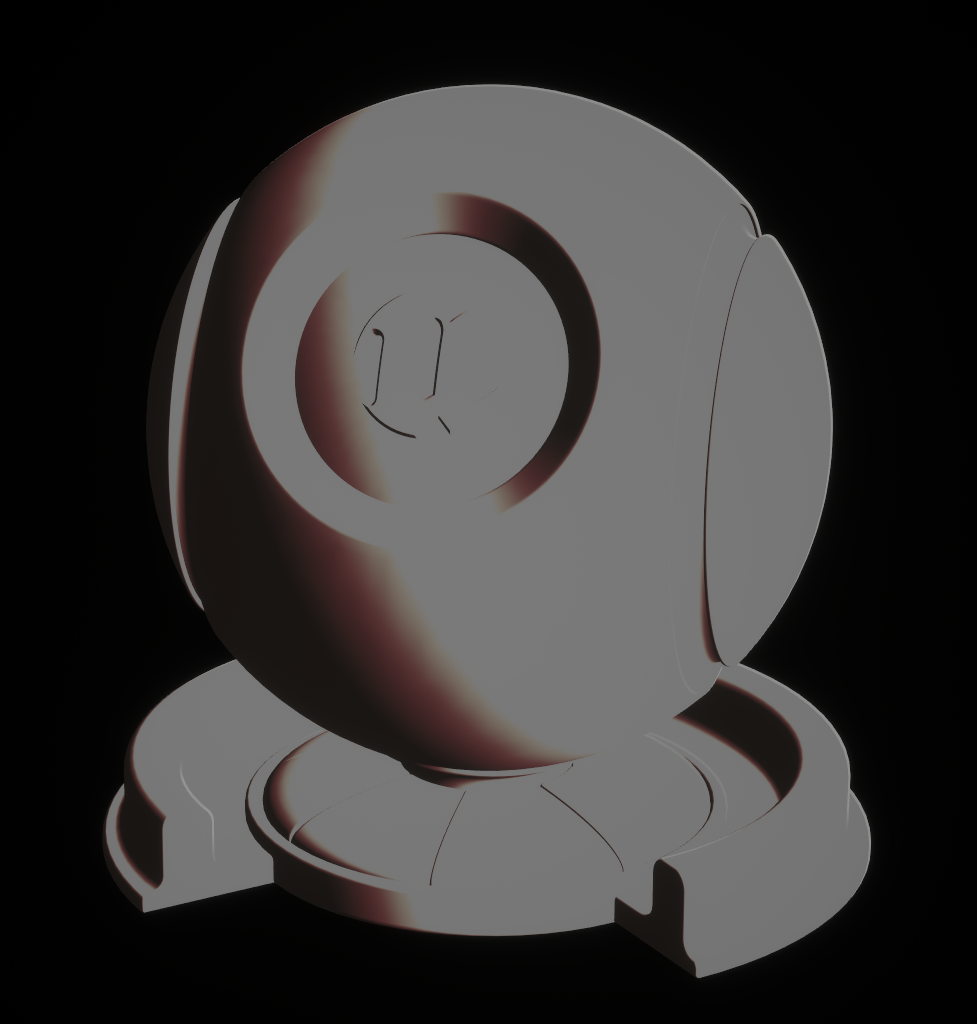
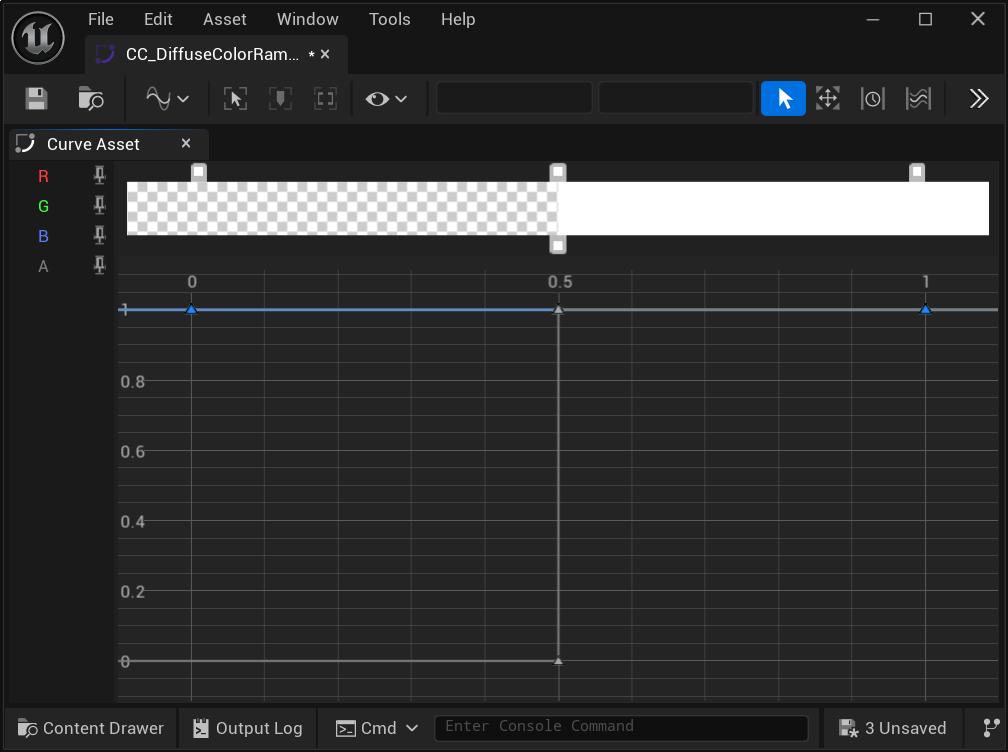
As shown in the figure below, Ramp Lighting can achieve the same appearance as PBR while allowing for completely customized light and shadow transitions:
| PBR Lambertian Diffuse | Binary Ramp Lighting | 3 Levels Ramp Lighting | Skin Ramp Lighting |
|---|---|---|---|
 |  |  |  |
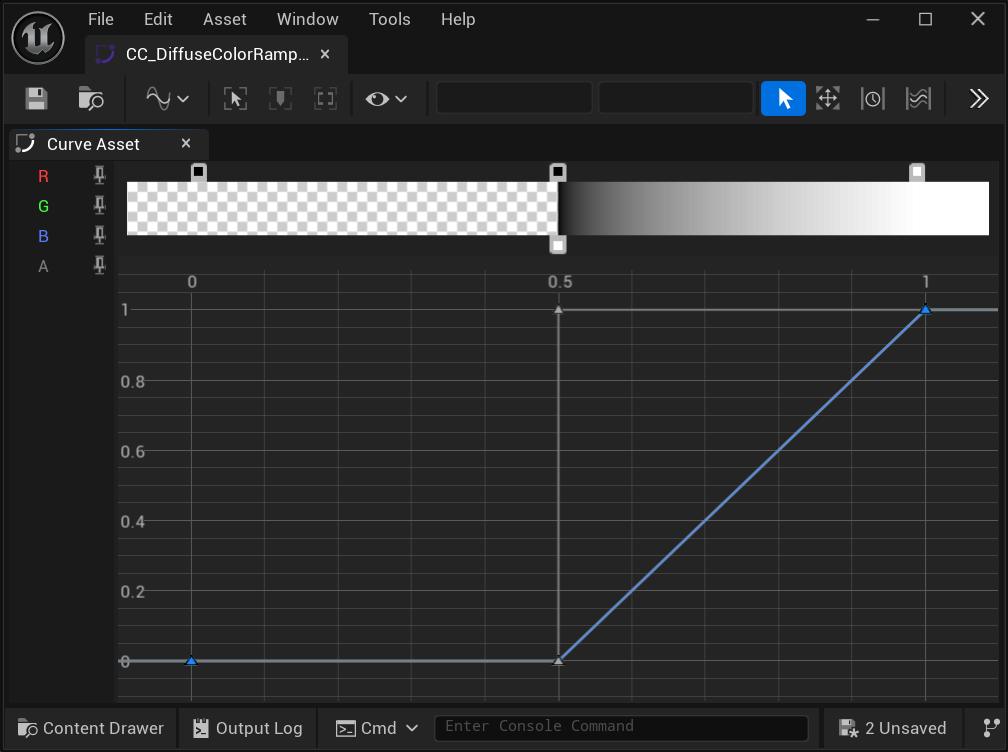 |  | 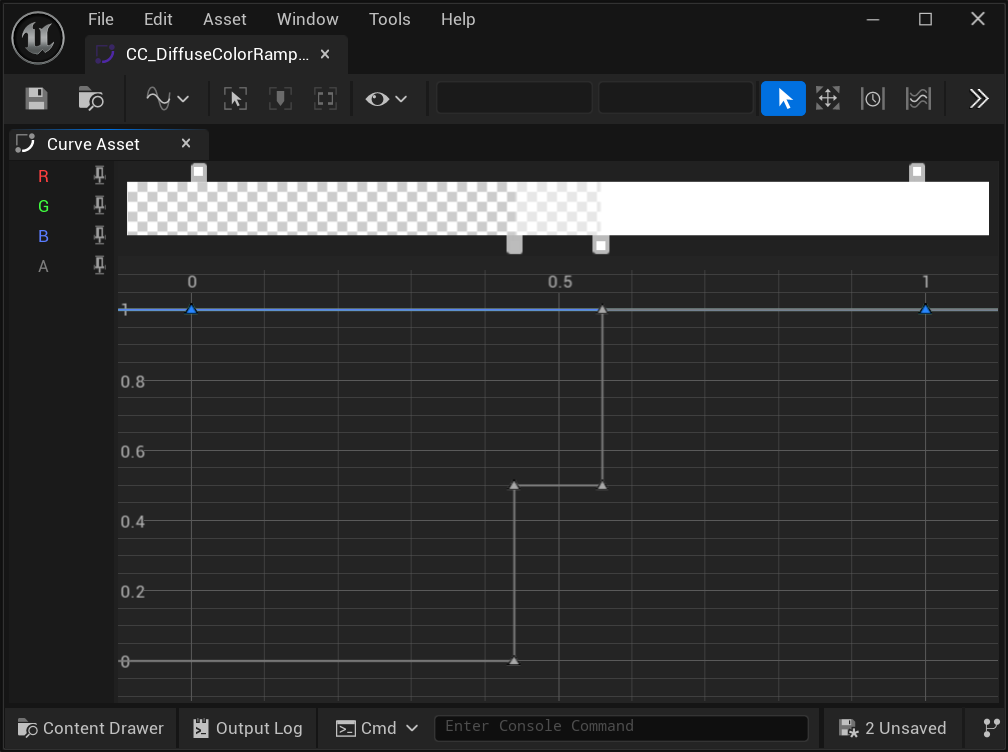 | 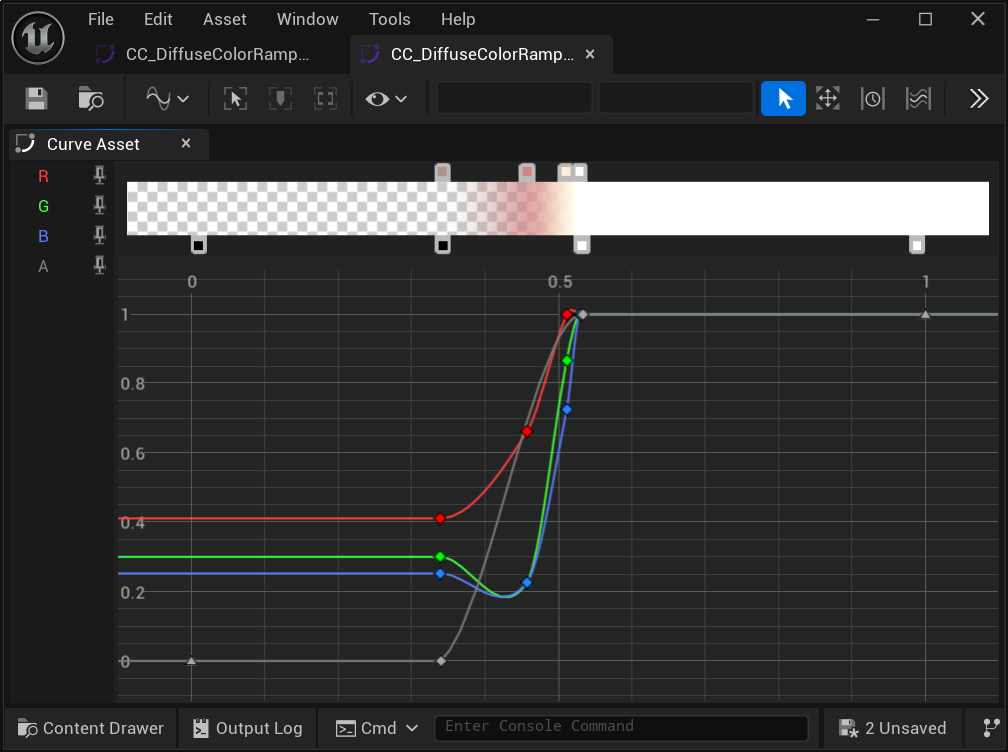 |
Specific usage as mentioned earlier.
Specular Reflection
Similar to Diffuse Reflection, MooaToon still uses Ramp to customize the color and shape of Specular Reflection, although the horizontal axis is slightly different.
The horizontal axis of the Specular Color Ramp is based on the empirically normalized highlight intensity:
- 0 corresponds to the edge of the highlight
- 1 corresponds to the center of the highlight
| Binarization | 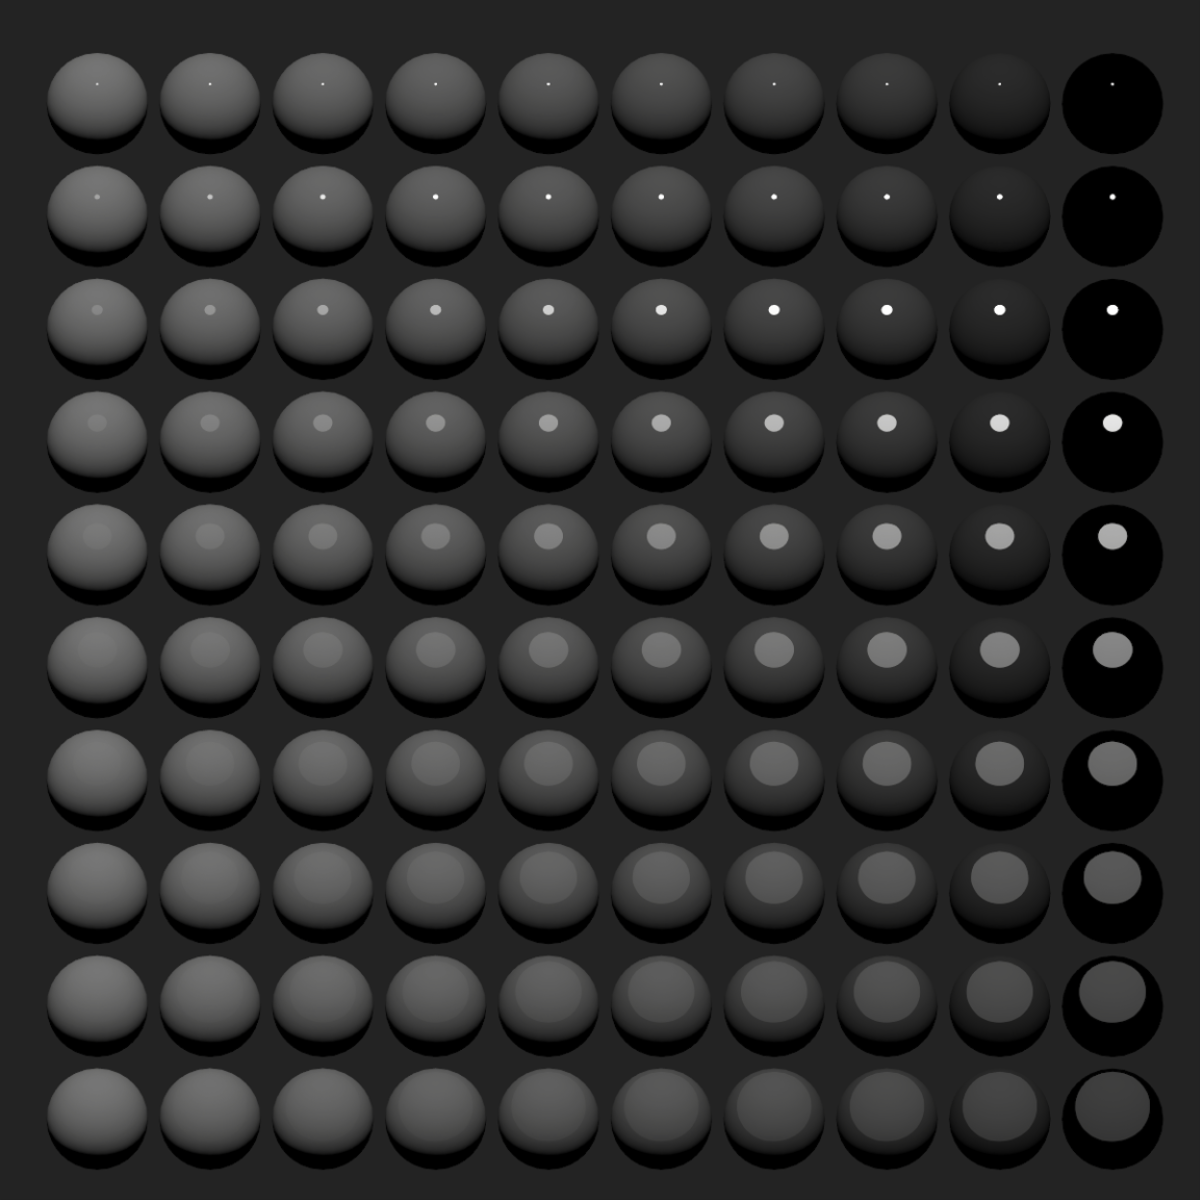 | 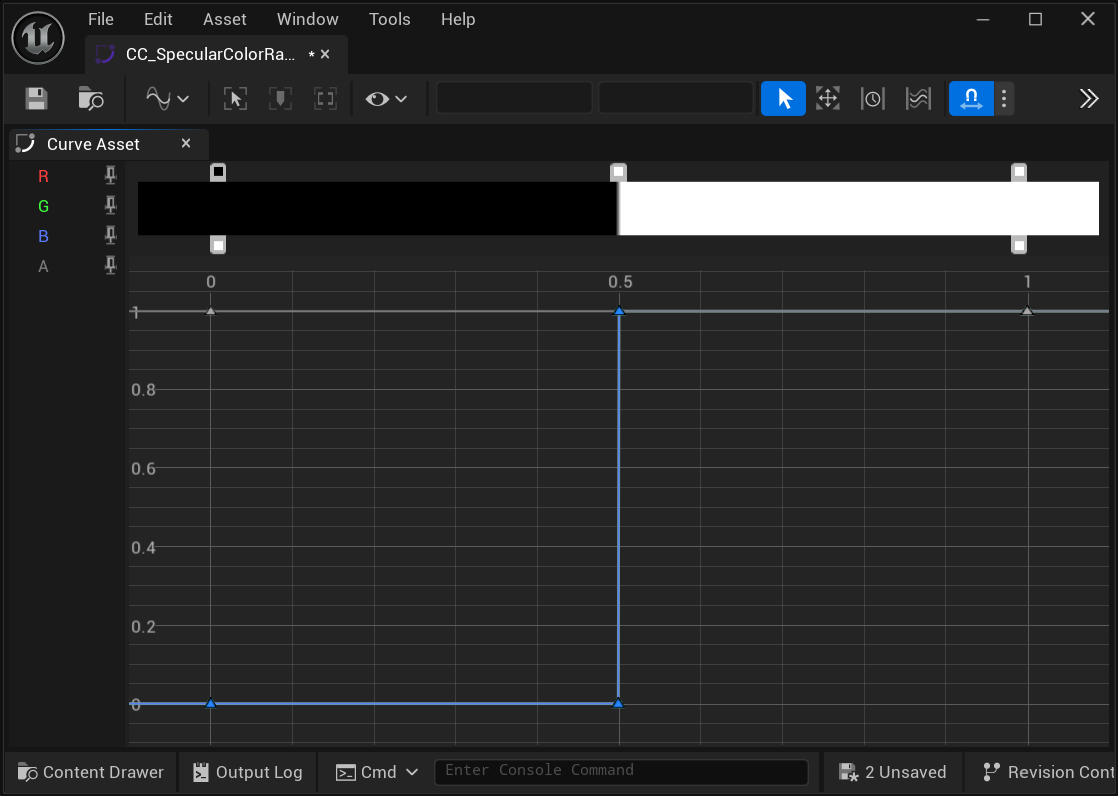 |
|---|---|---|
| Soft Edges | 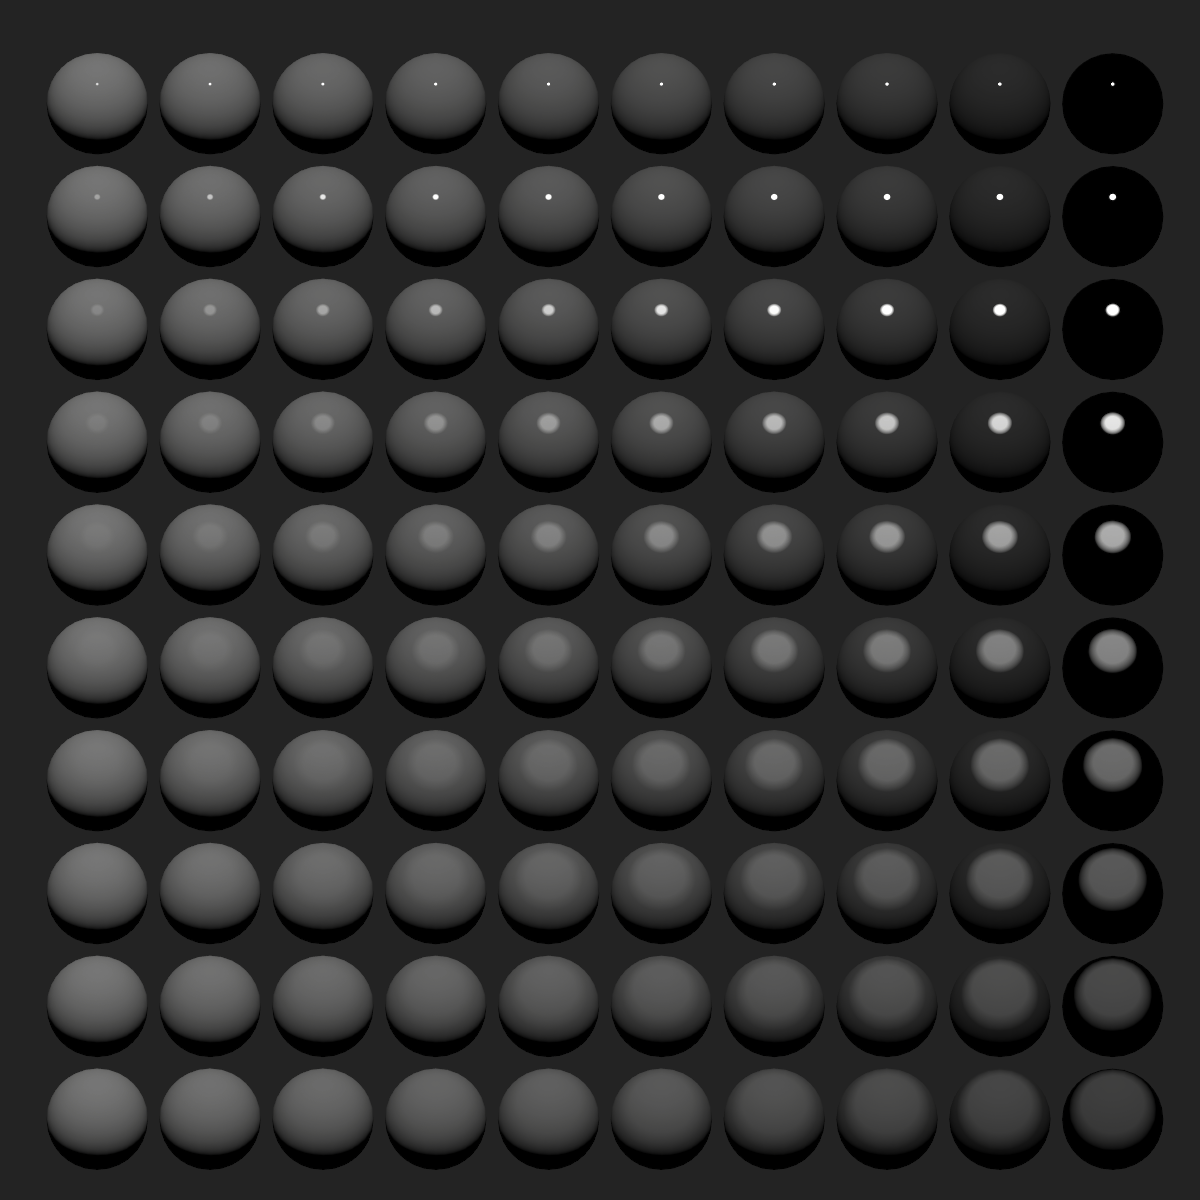 | 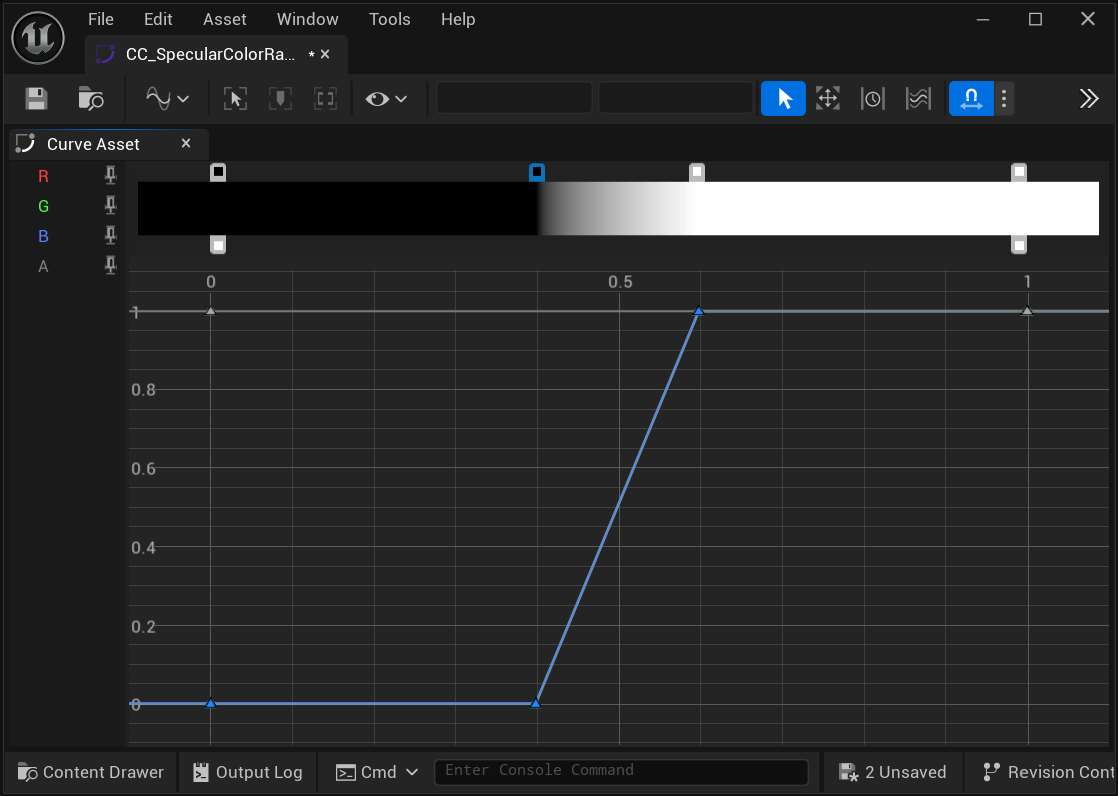 |
| Softer | 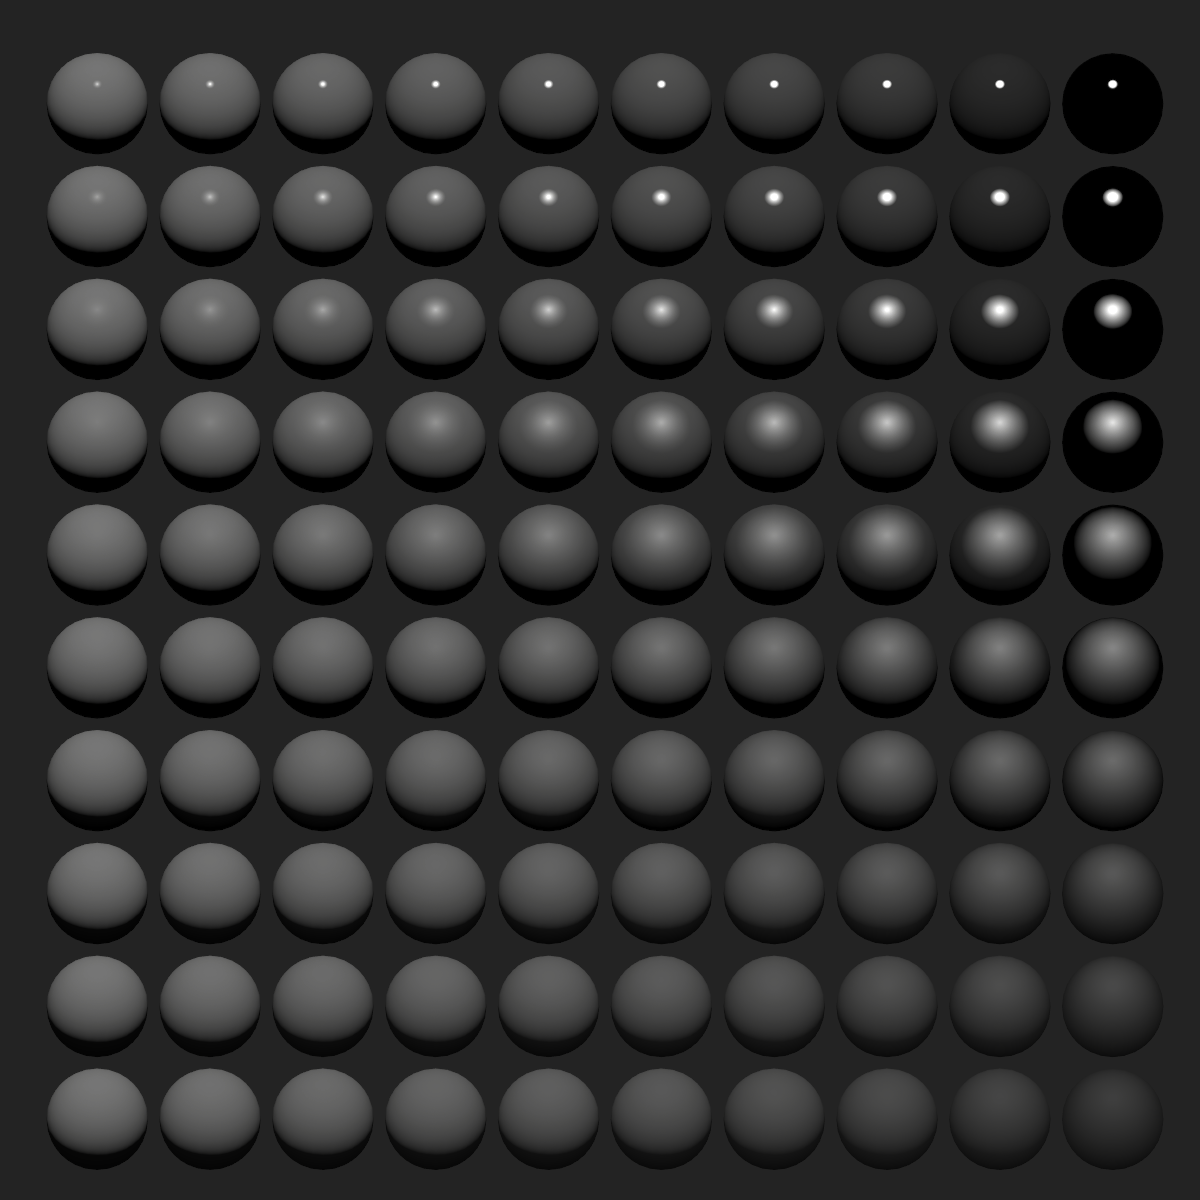 | 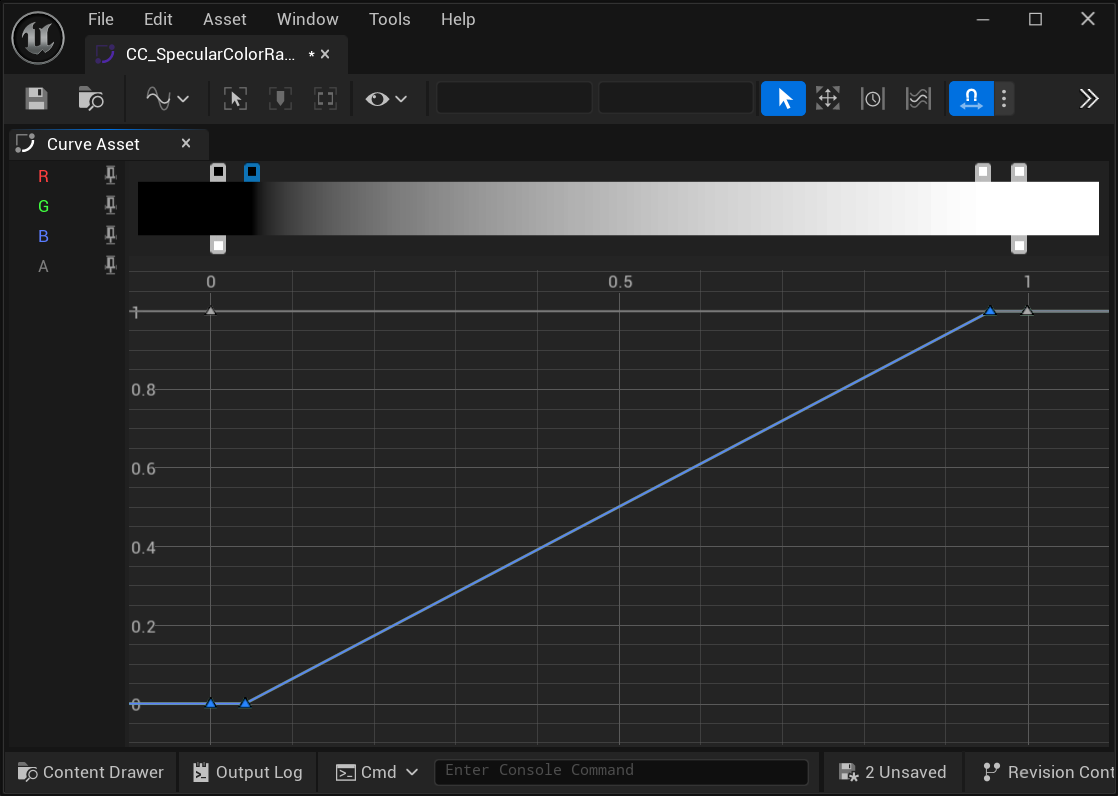 |
| 3 Levels | 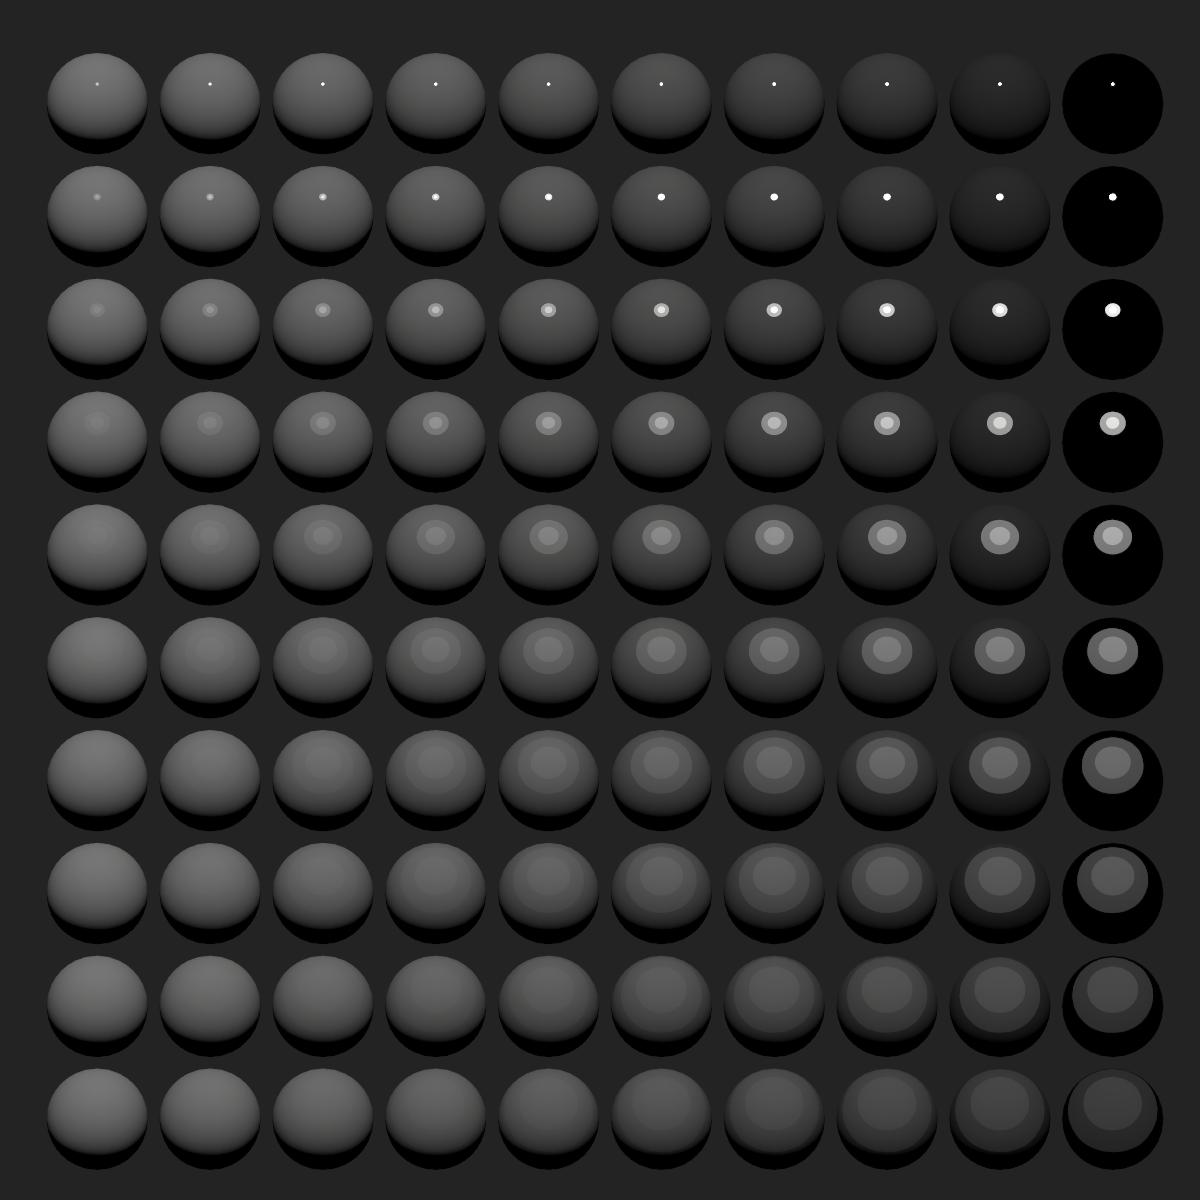 | 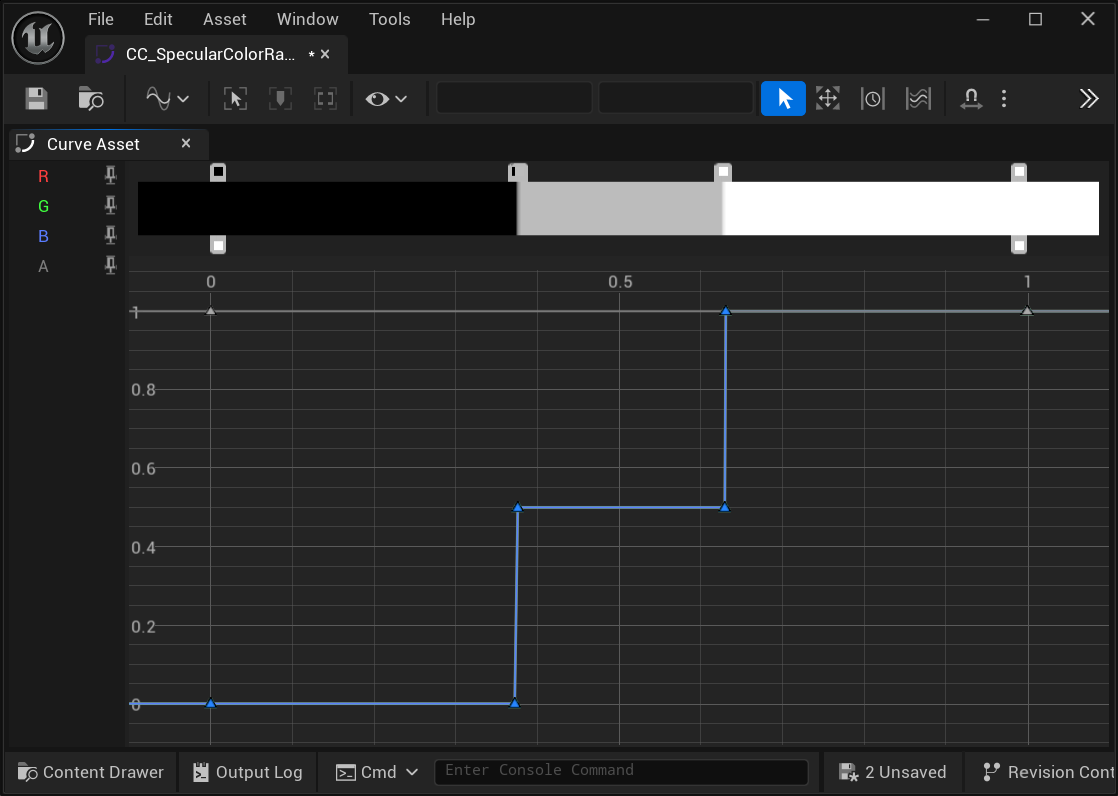 |
| Colorized Levels | 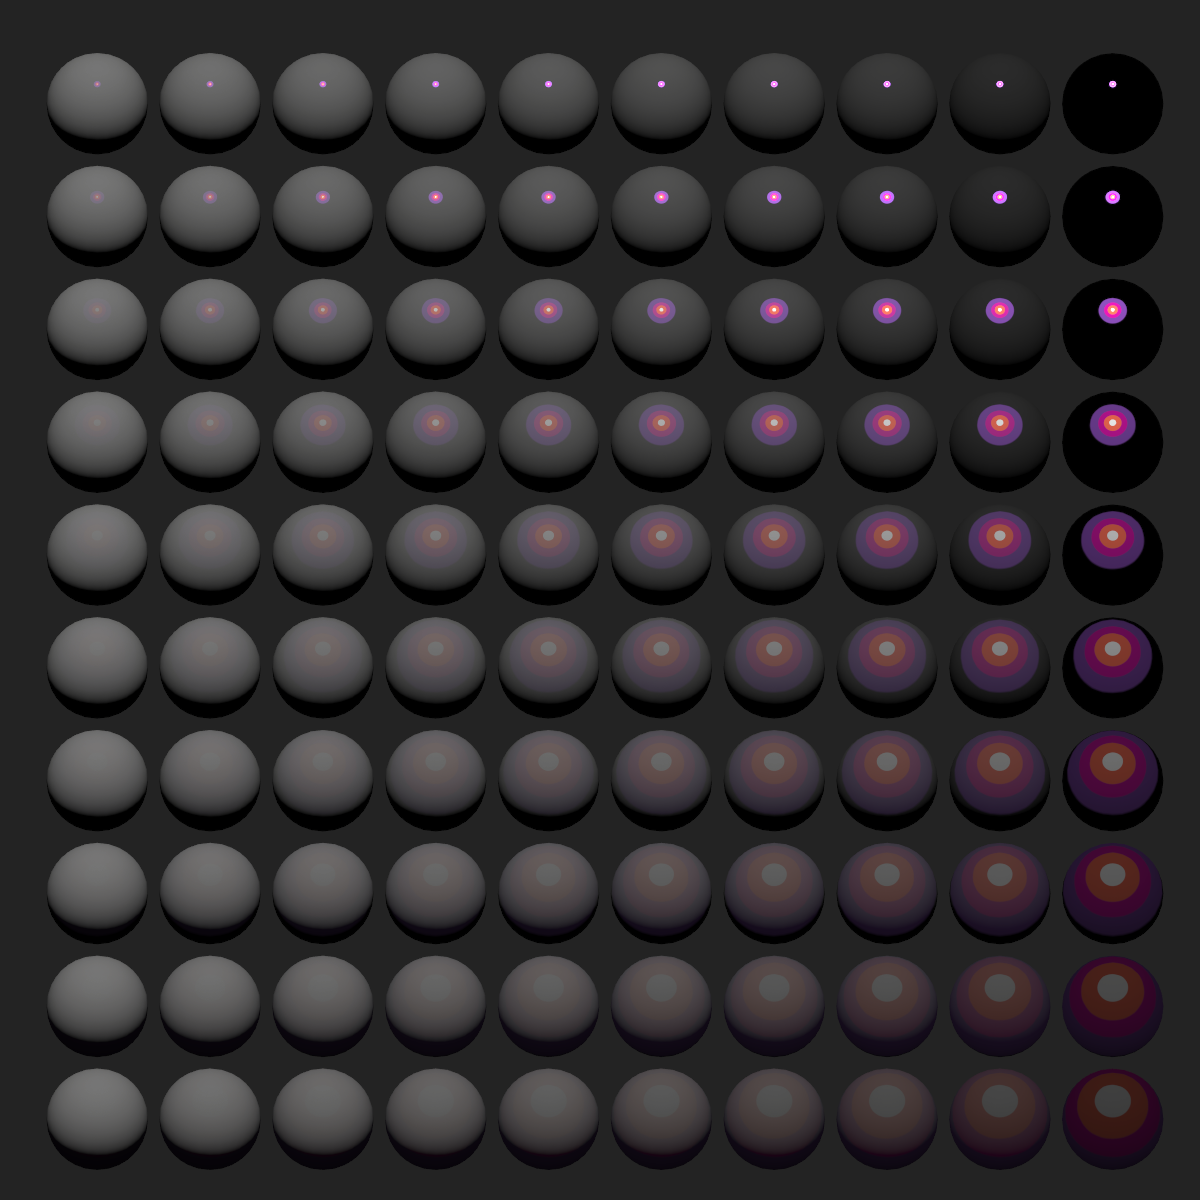 | 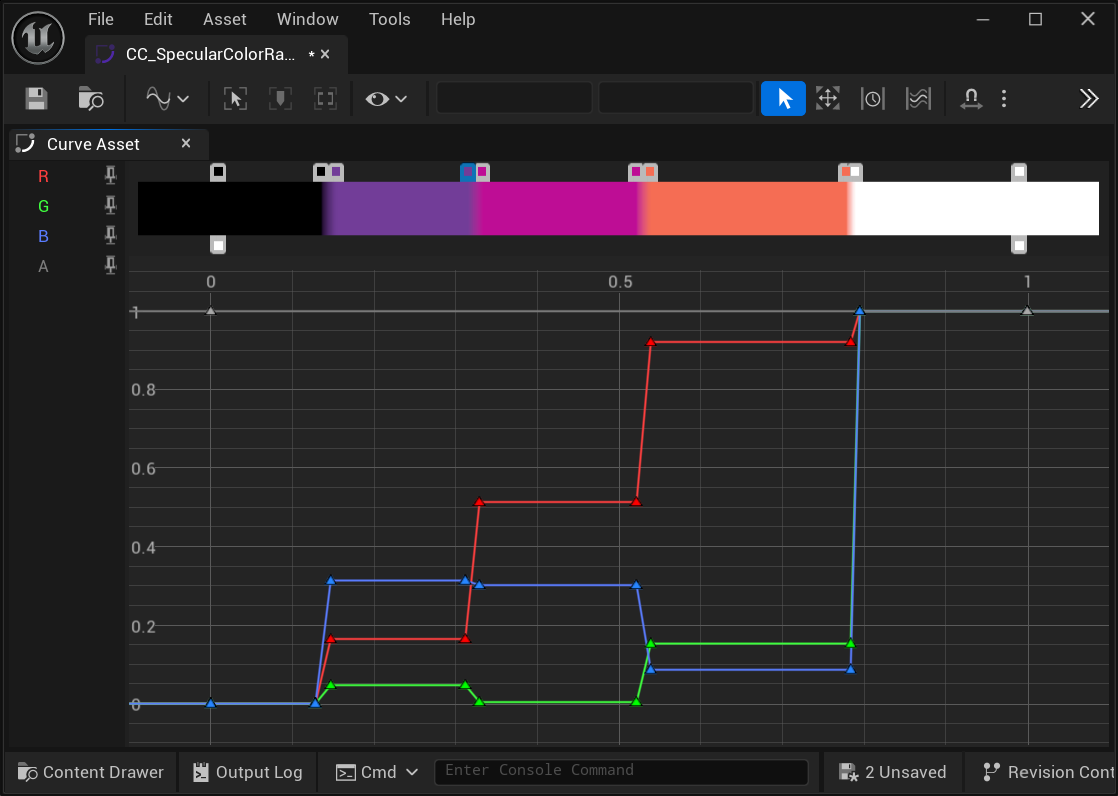 |
Direct Lighting
Direct Lighting in PBR cannot illuminate the back of an object, but since the Toon Material uses Ramp Lighting to customize Diffuse Reflection, the back of the object can also be illuminated.
The Shadow Color of the Toon Material is used to control the color of the backlit surface. When the Shadow Color is greater than 0 and there is only one directional light, this is not a problem.
However, when there are multiple light sources, since each light source illuminates the backlit surface, it may cause the character to be much brighter than the scene.
In most cases, we want only one main light to contribute to the Shadow Color to avoid the character being too bright.
MooaToon adds Shadow Color Intensity in Post-Processing Volume to control whether different types of light sources contribute to the Shadow Color, with the default being that only the Shadow Color Intensity of directional light is 1.
The figure below shows how to avoid excessive brightness with one directional light and one point light:
| Shadow Color Intensity Point Lights = 0 | Shadow Color Intensity Point Lights = 1 | |
|---|---|---|
| Shadow Color = 0 | 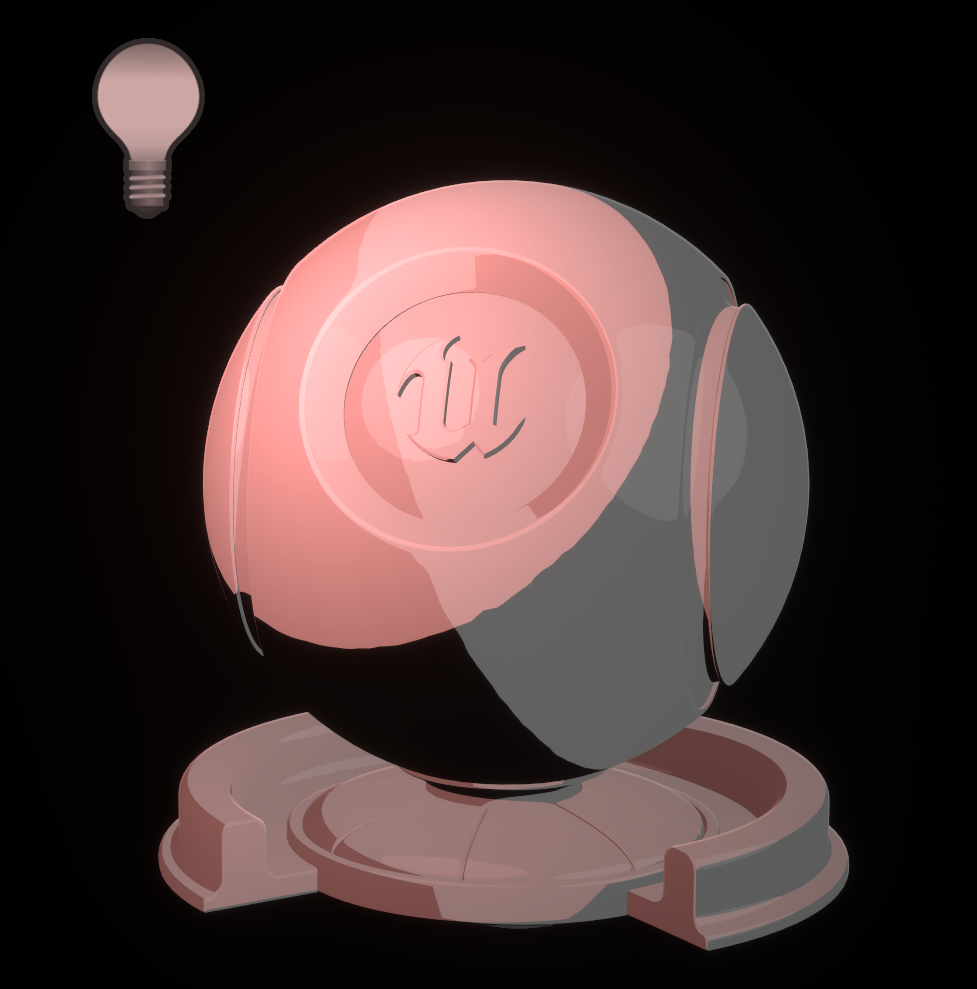 |  |
| Shadow Color = 0.05 | 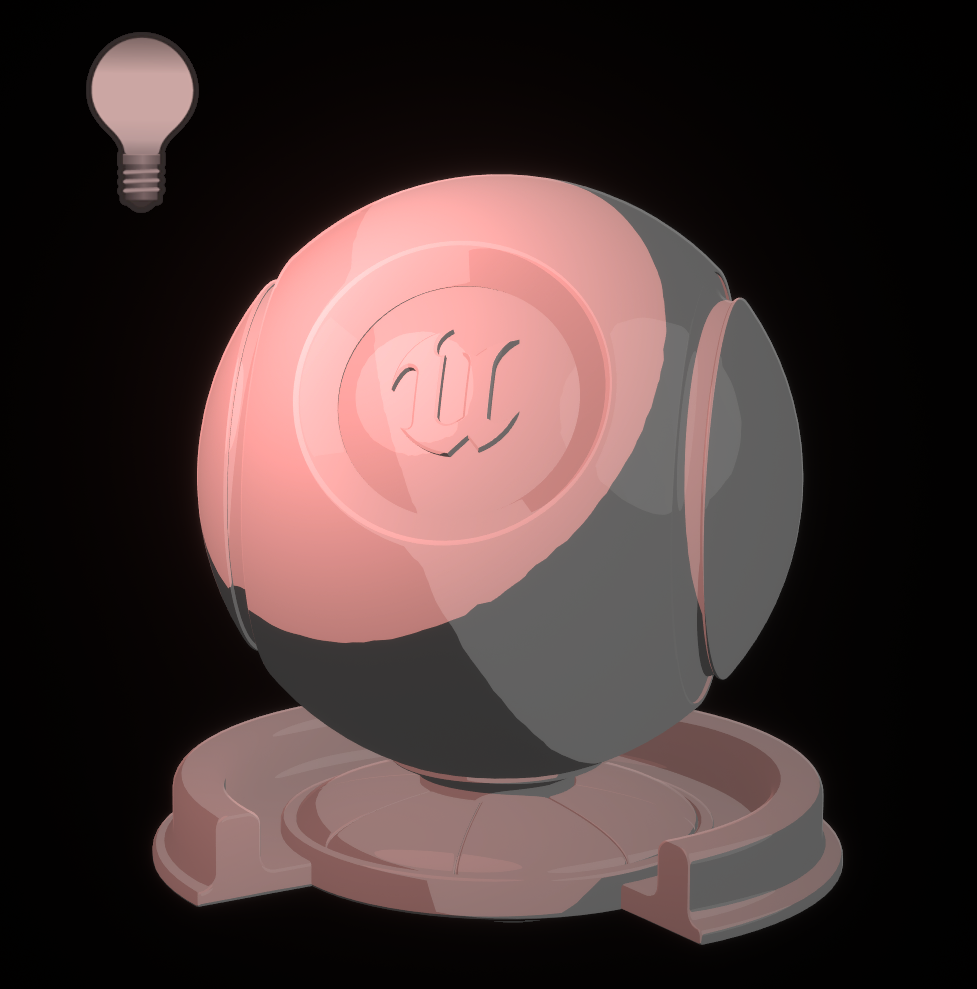 | 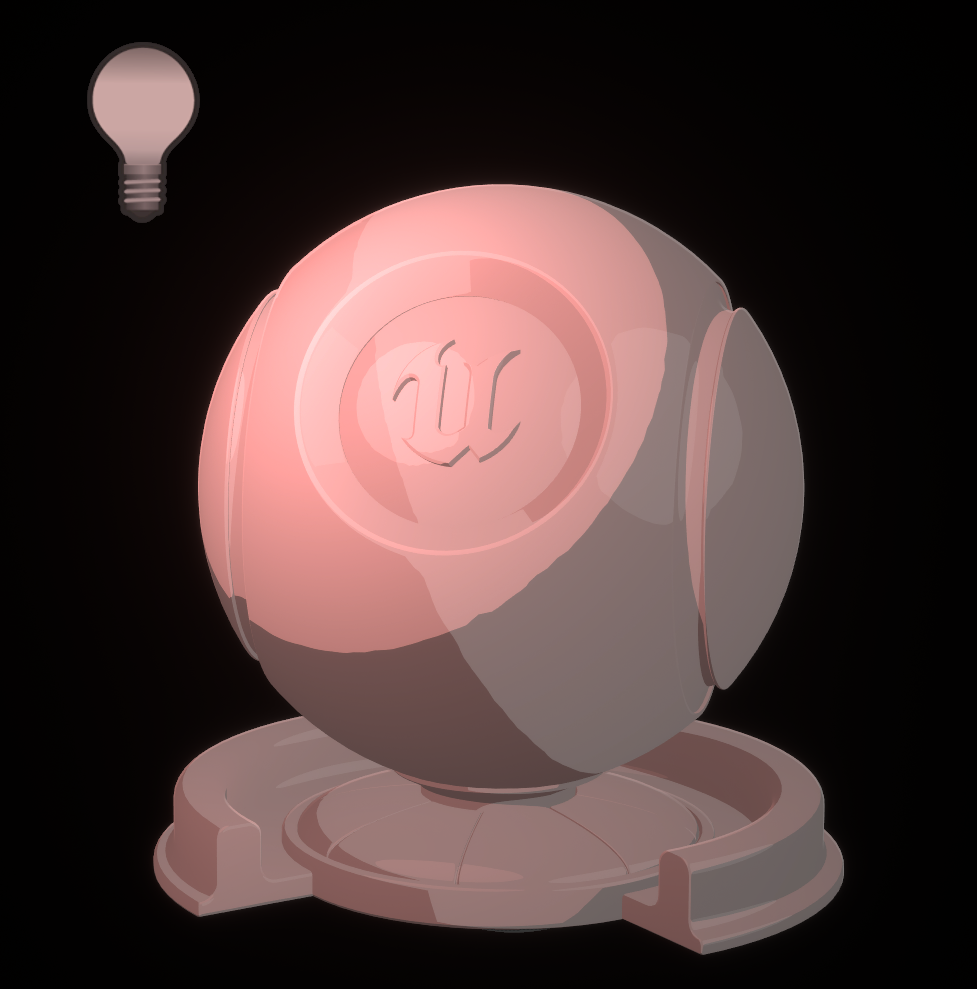 |
Indirect Lighting
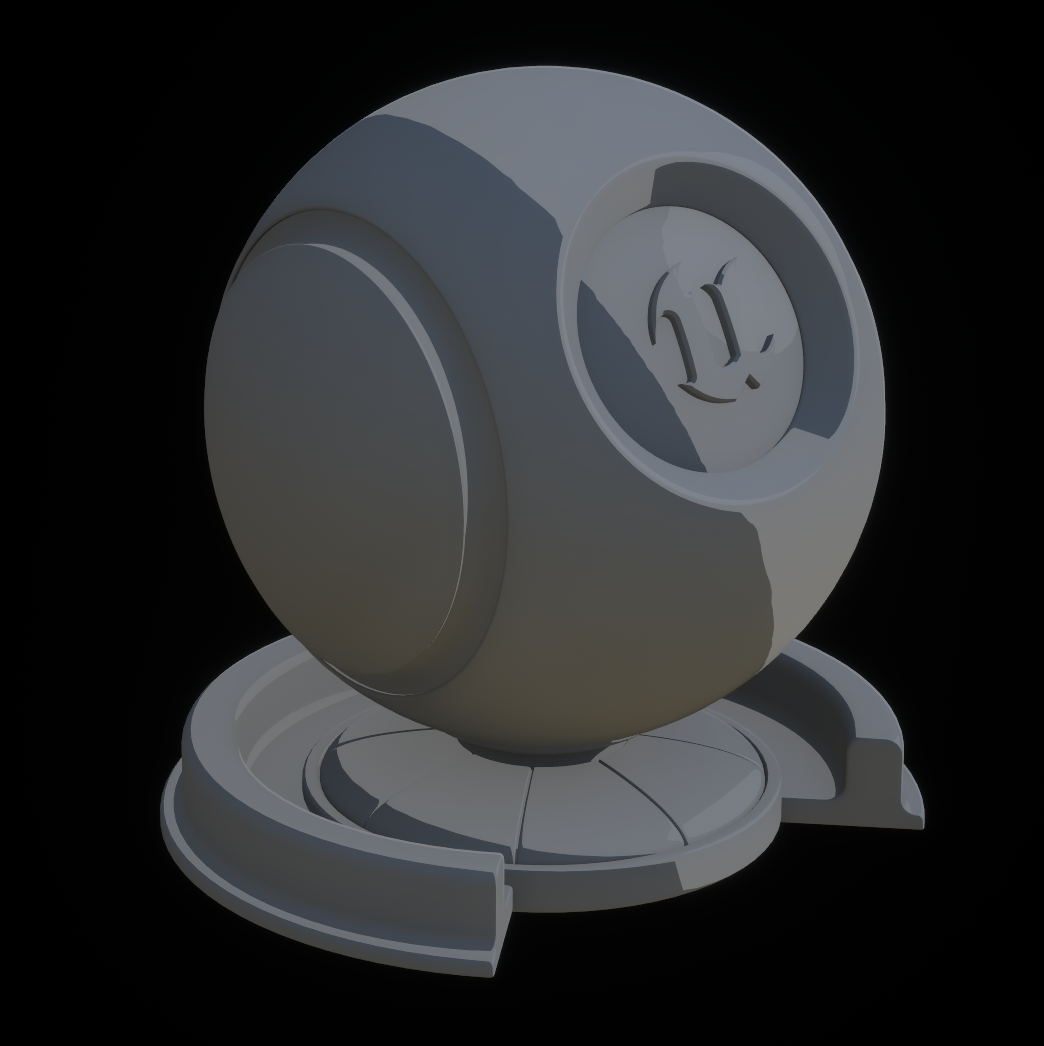
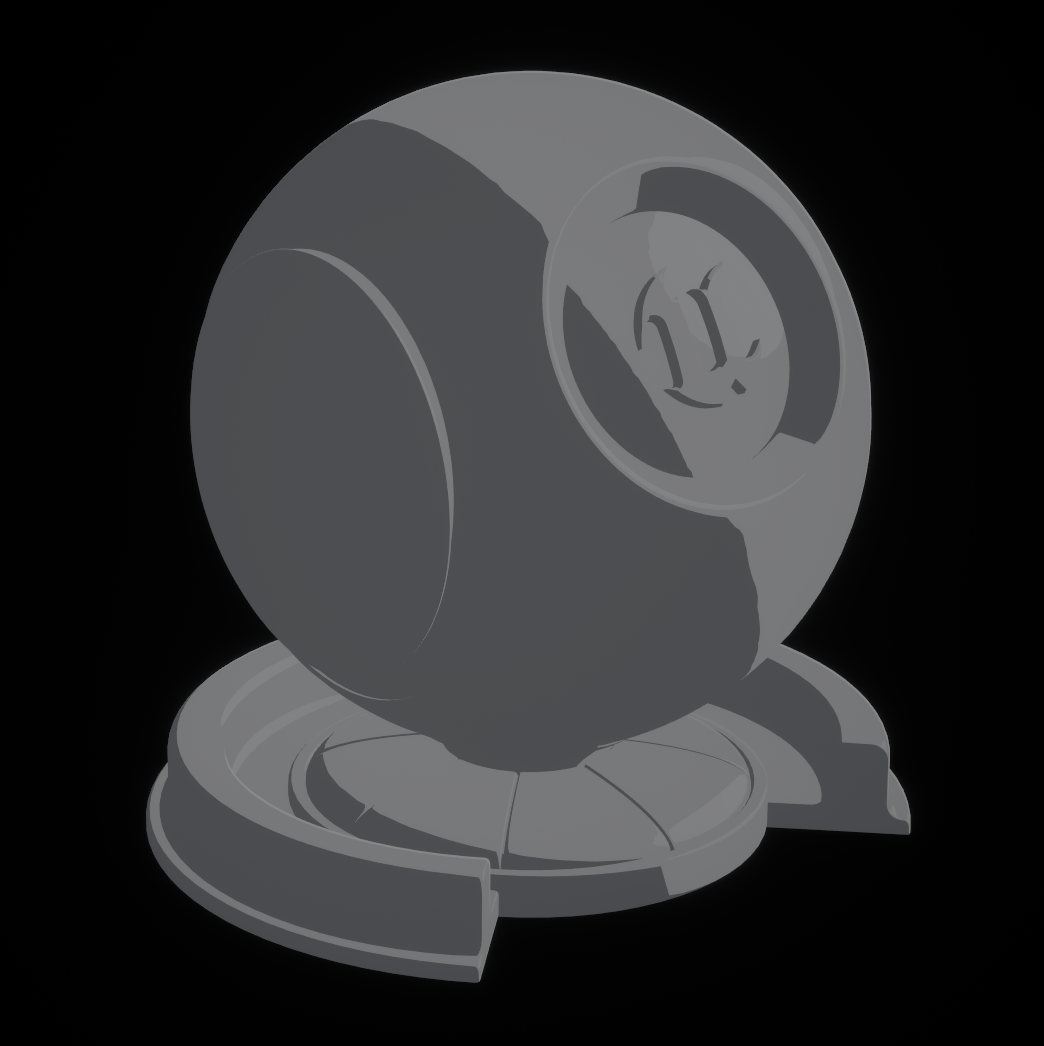
Some Toon Rendering projects hope to maintain consistent Indirect Lighting for characters and scenes, but they do not want the characters to have too strong a sense of volume. MooaToon has added GI Directionality in Post-Processing Volume to address this issue.
When GI Directionality is 1, the Indirect Lighting of the Toon Material uses the builtin GI of UE (such as Lumen), at which point the sense of volume is strongest and consistent with the scene.
When GI Directionality is 0, it uses the average value of Spherical Harmonic Lighting in all directions, resulting in uniform color for Indirect Lighting and the weakest sense of volume:
| GI Directionality = 1 | GI Directionality = 0 |
|---|---|
 |  |
Since Spherical Harmonic Lighting is provided by Skylight, and there is no Skylight indoors, the Spherical Harmonic Lighting is black, so indoors, GI Directionality needs to be set to 1.
In addition, MooaToon also provides GI Color and GI Intensity parameters to completely override the GI color of UE, allowing for separate control of the character's GI color.
Separating the Lighting of Characters and Scenes
Some Toon Rendering projects hope to separate the lighting of characters and scenes to precisely control the character's color.
Different Lighting Channels are usually set for characters and scenes to achieve this, but the default UE also separates shadows, which is not as expected:
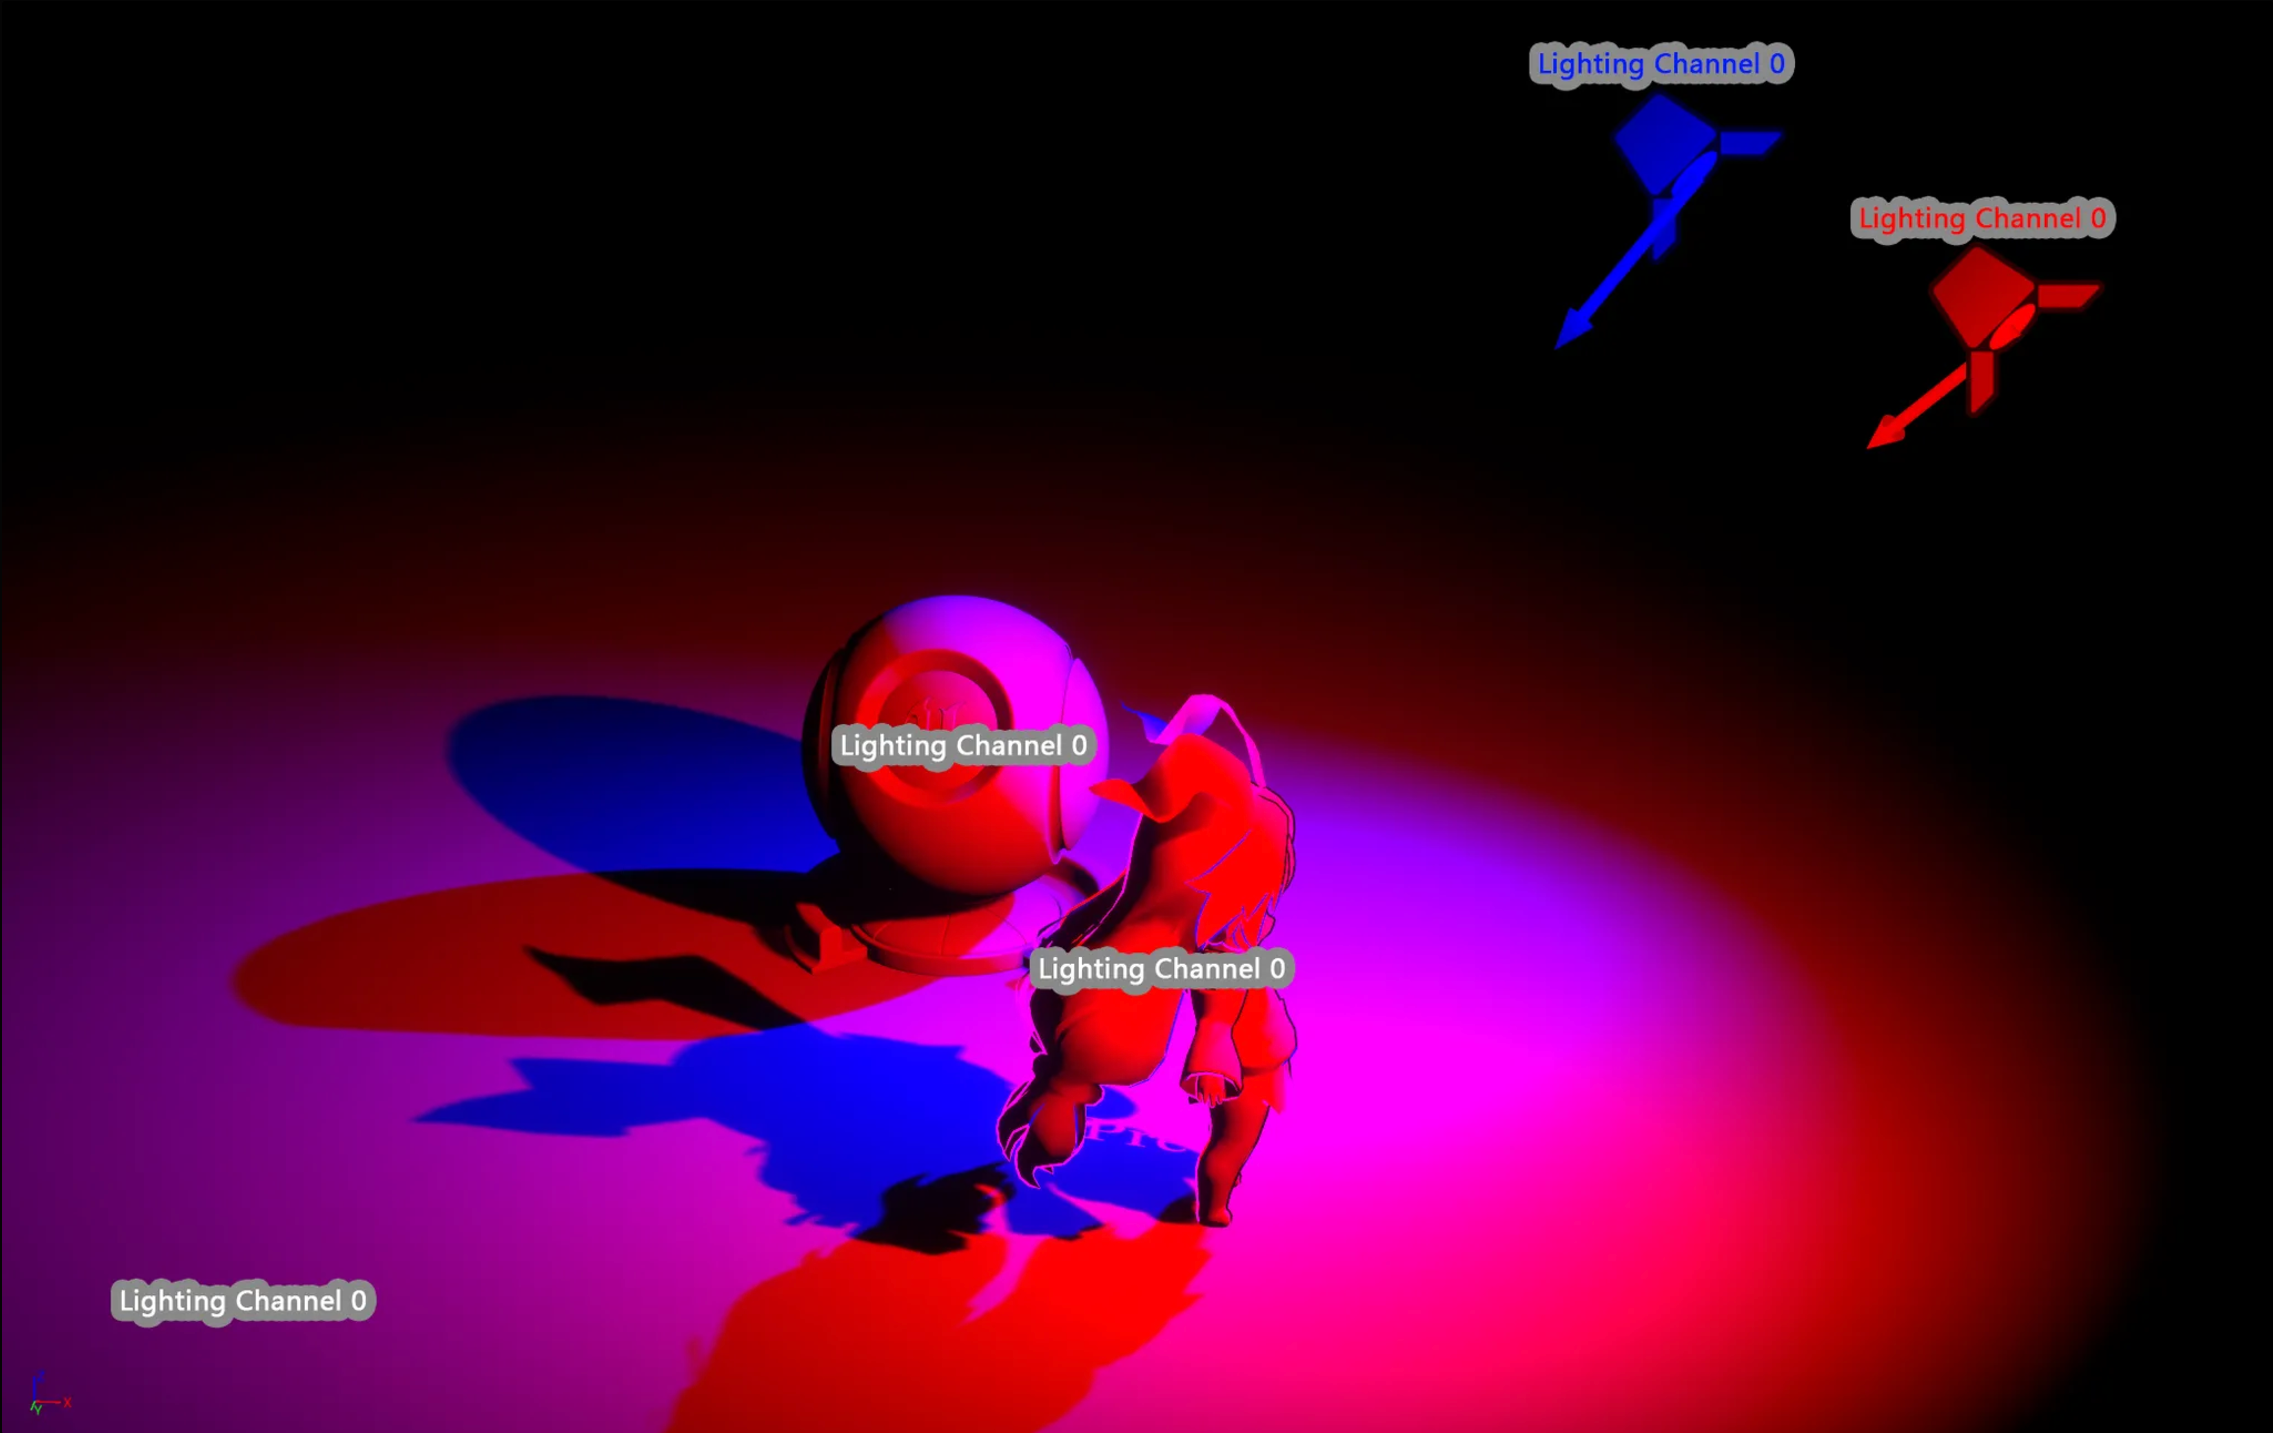
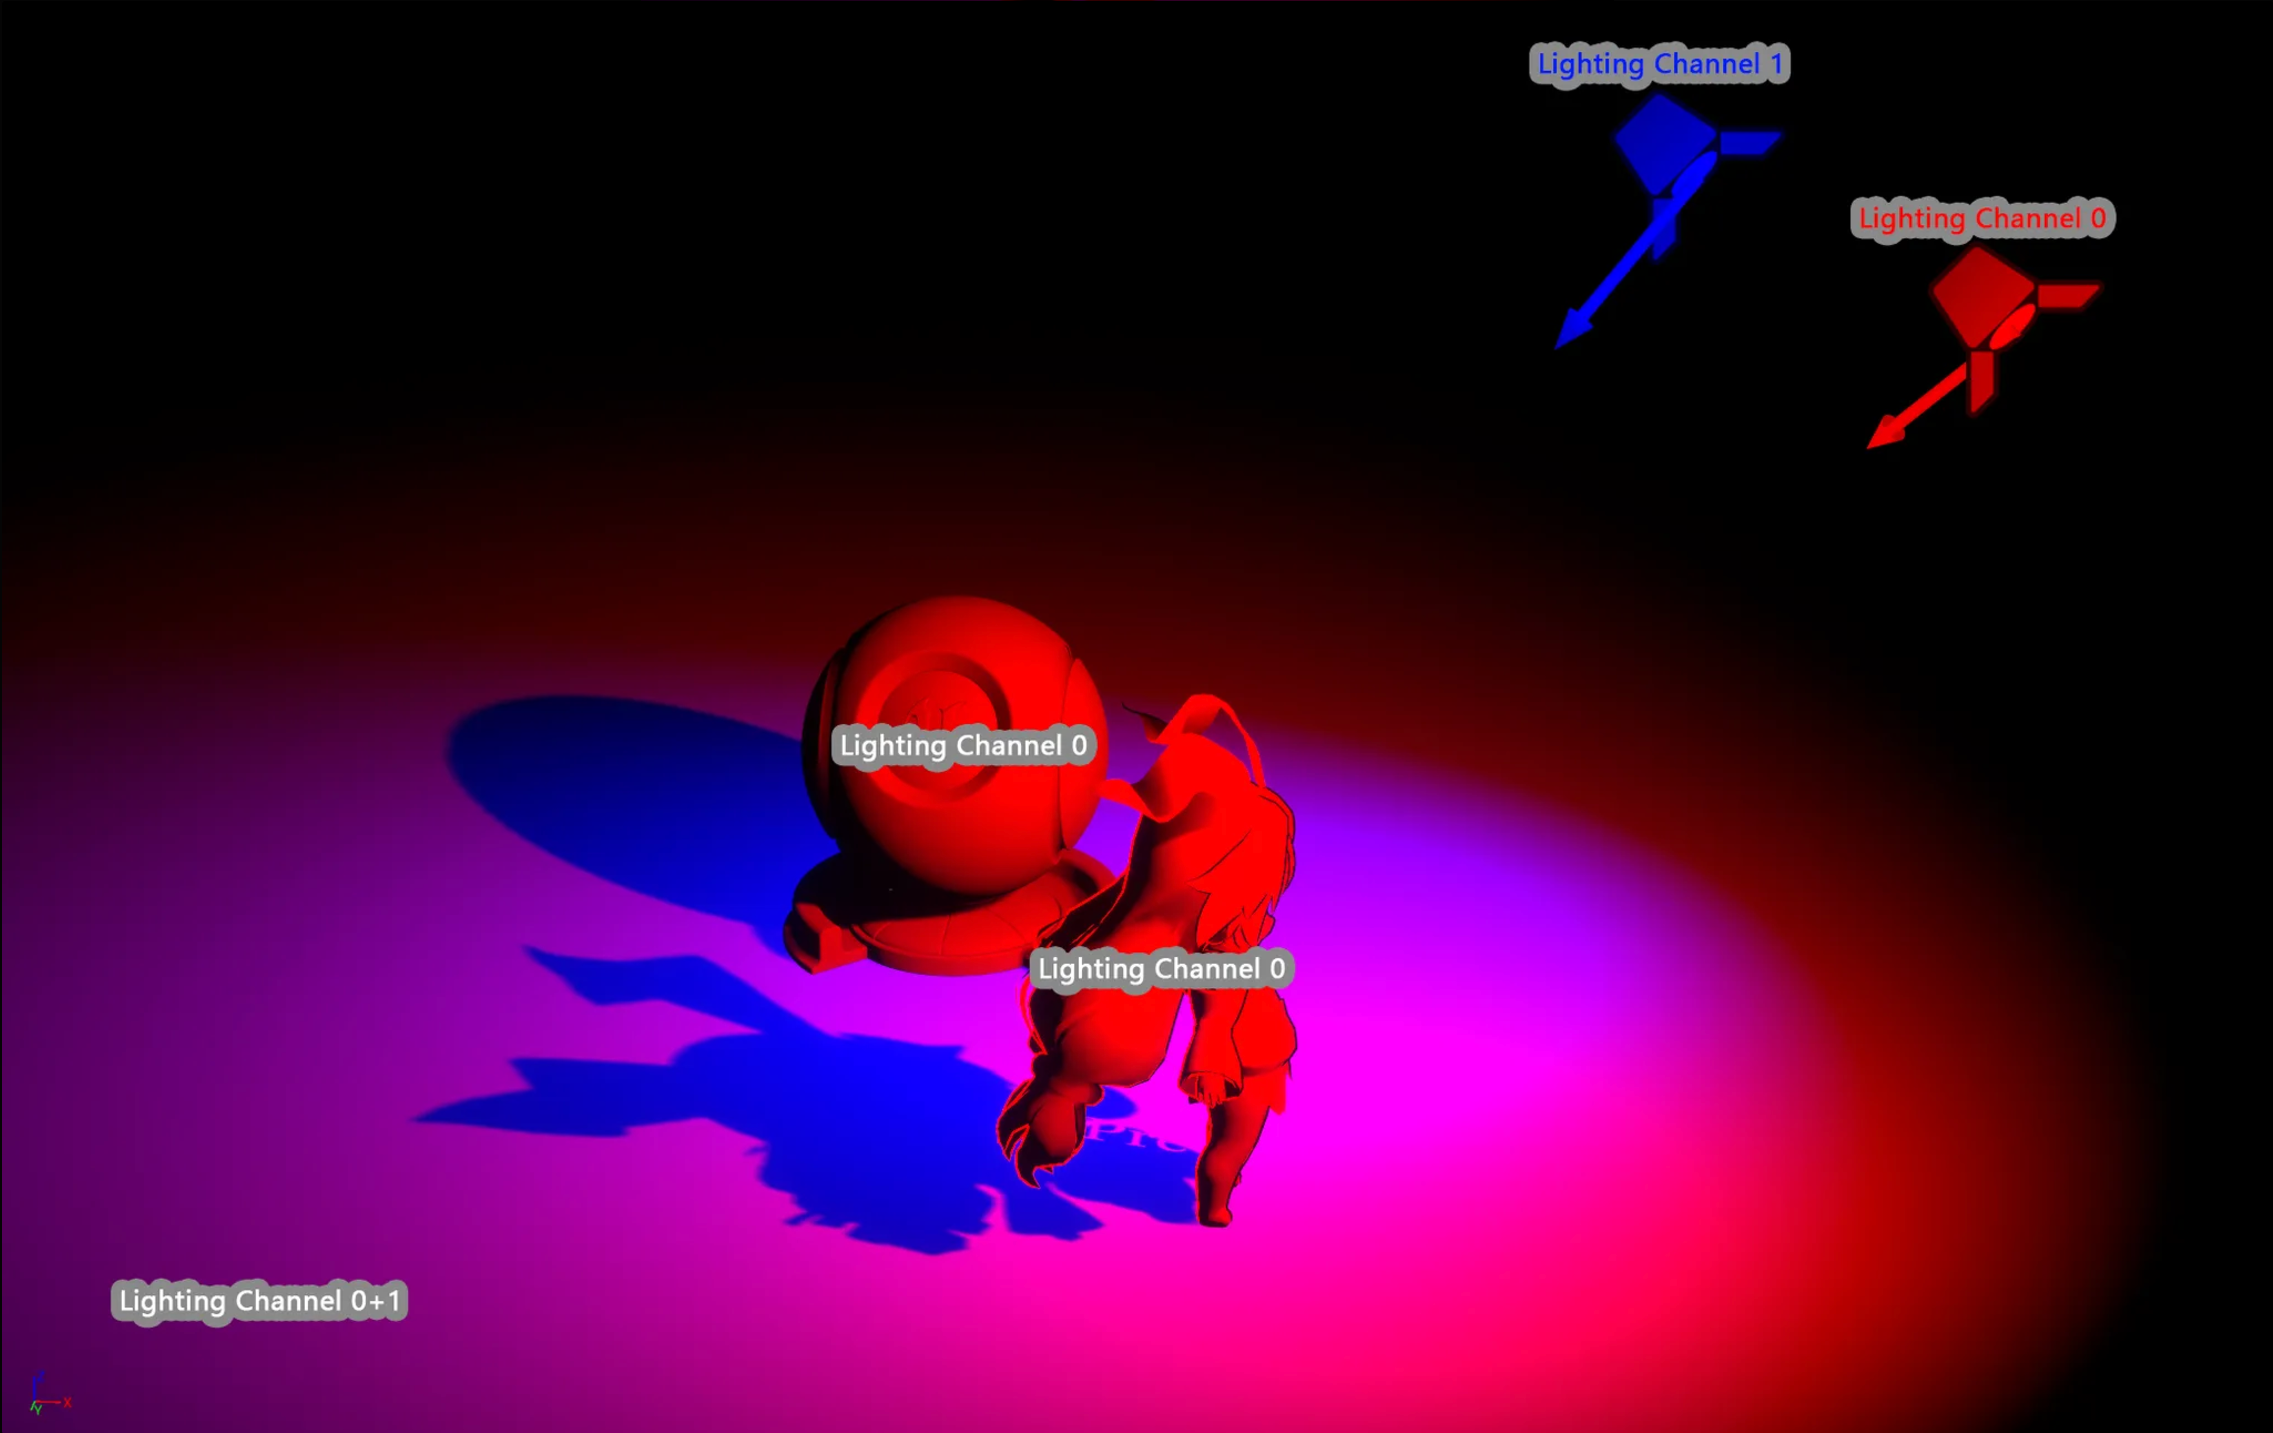
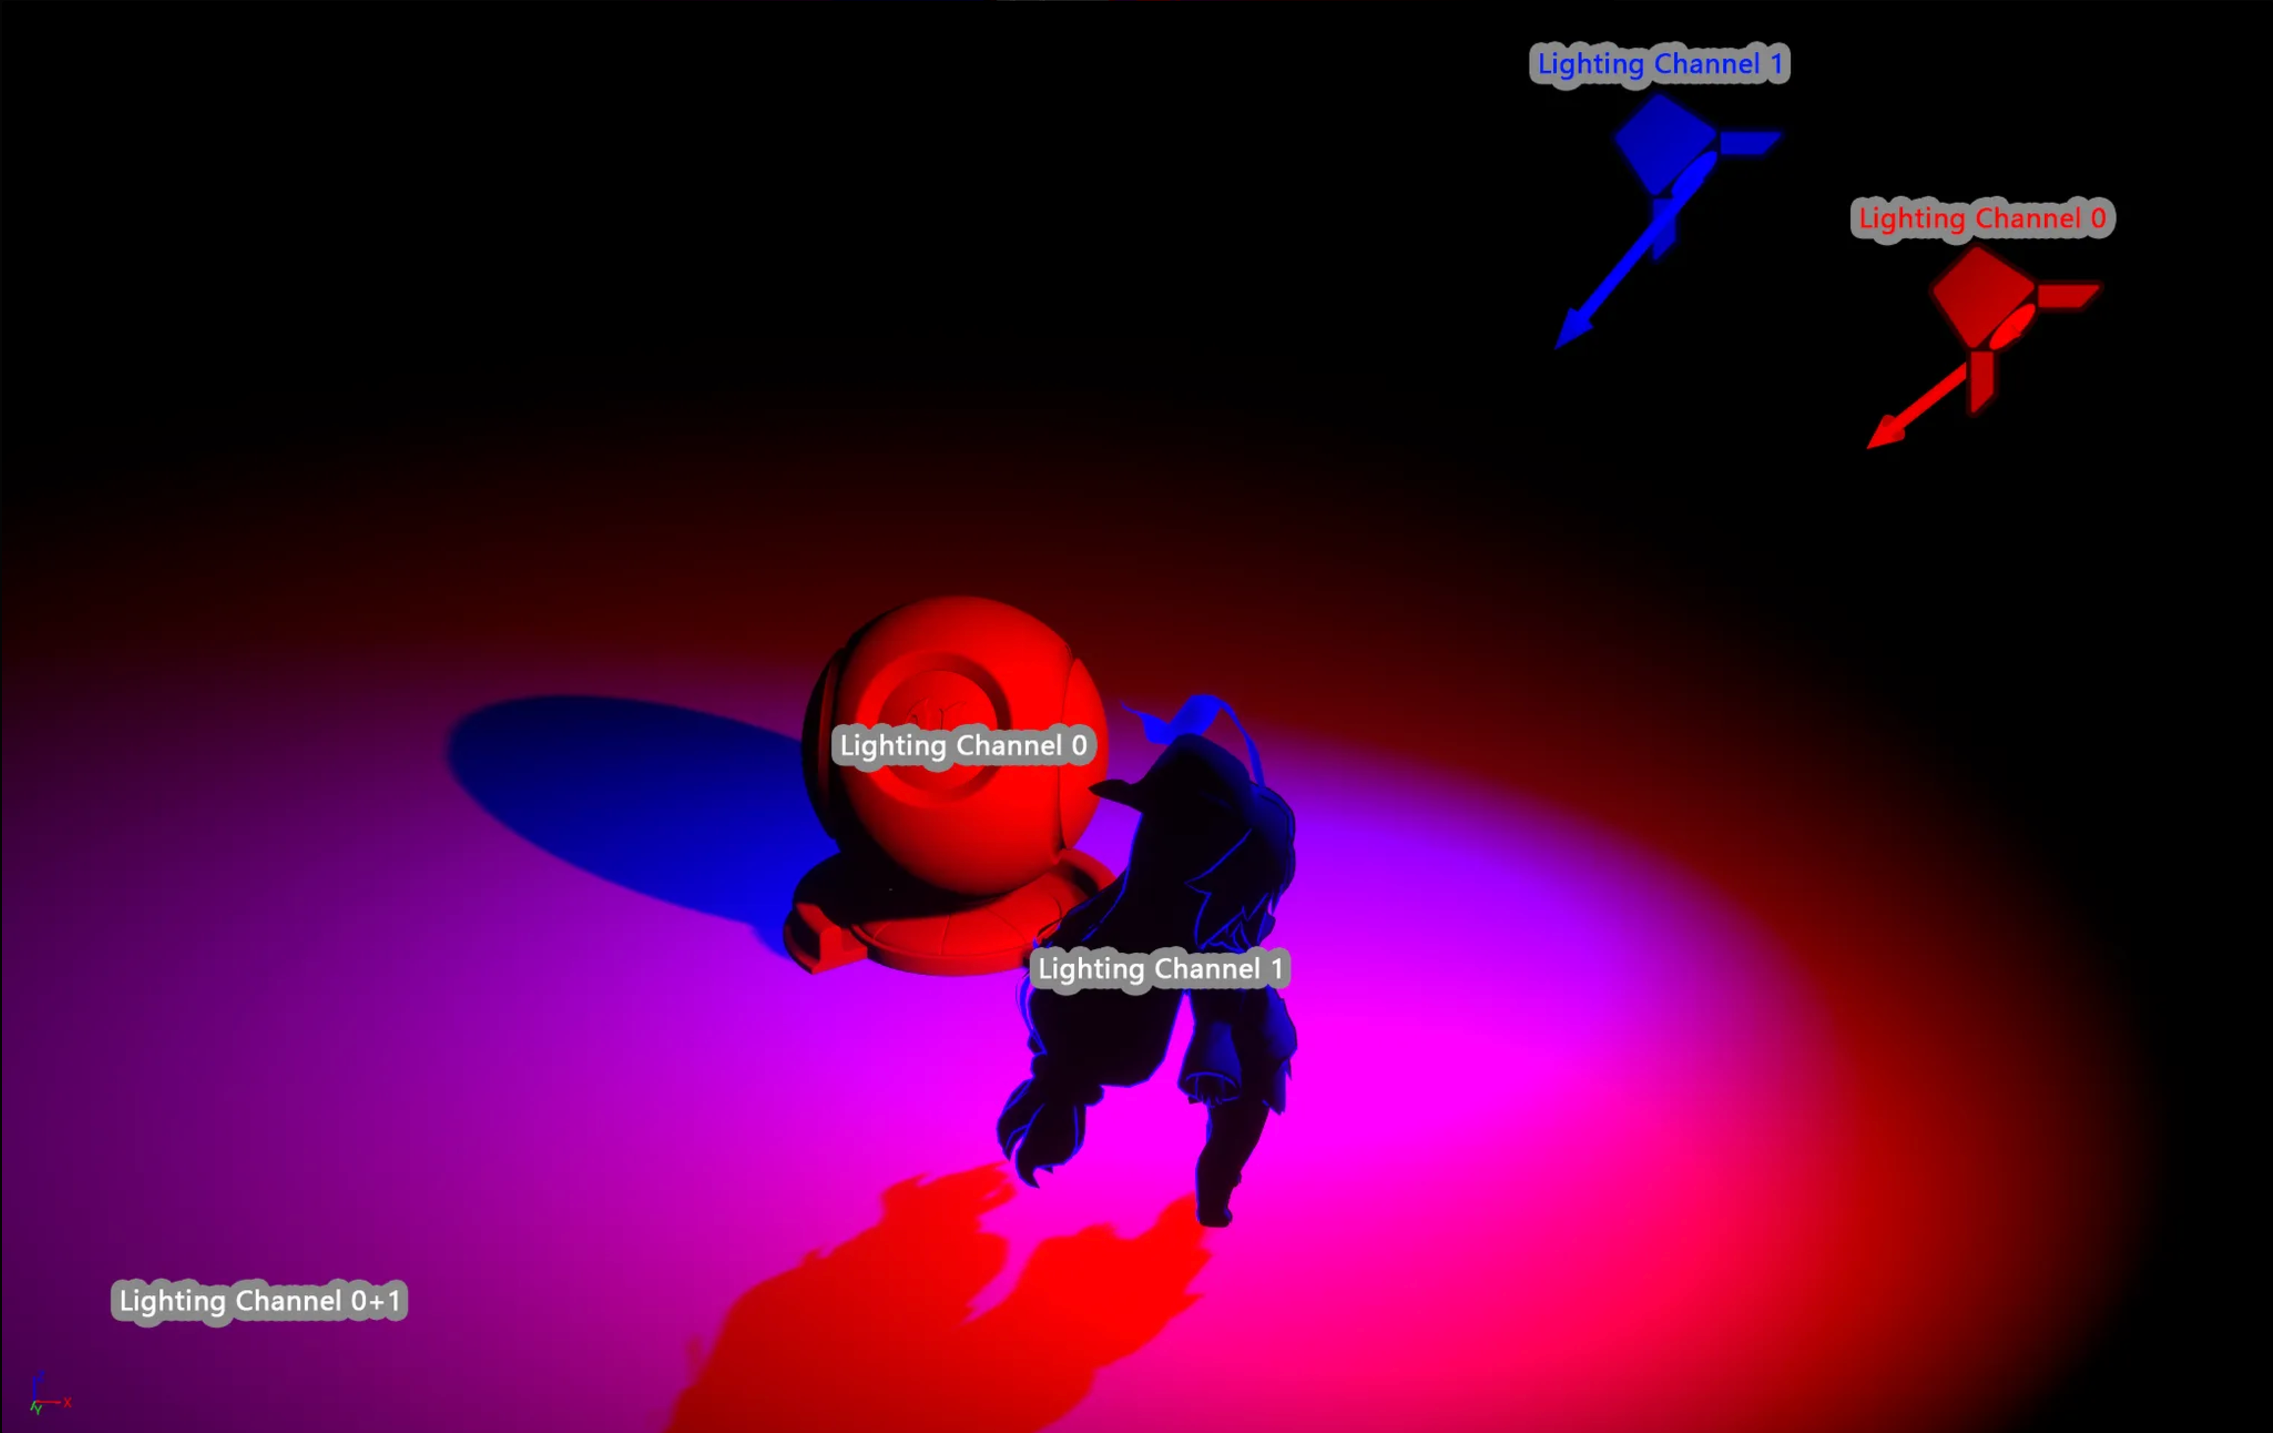
MooaToon has added a new feature called Mooa Cast Shadows to Lighting Channels below the existing Lighting Channels, allowing users to freely control which Lighting Channel an object casts shadows onto.
Shadows are cast onto all Lighting Channels by default, allowing for the separation of character and scene lighting but merging shadows.

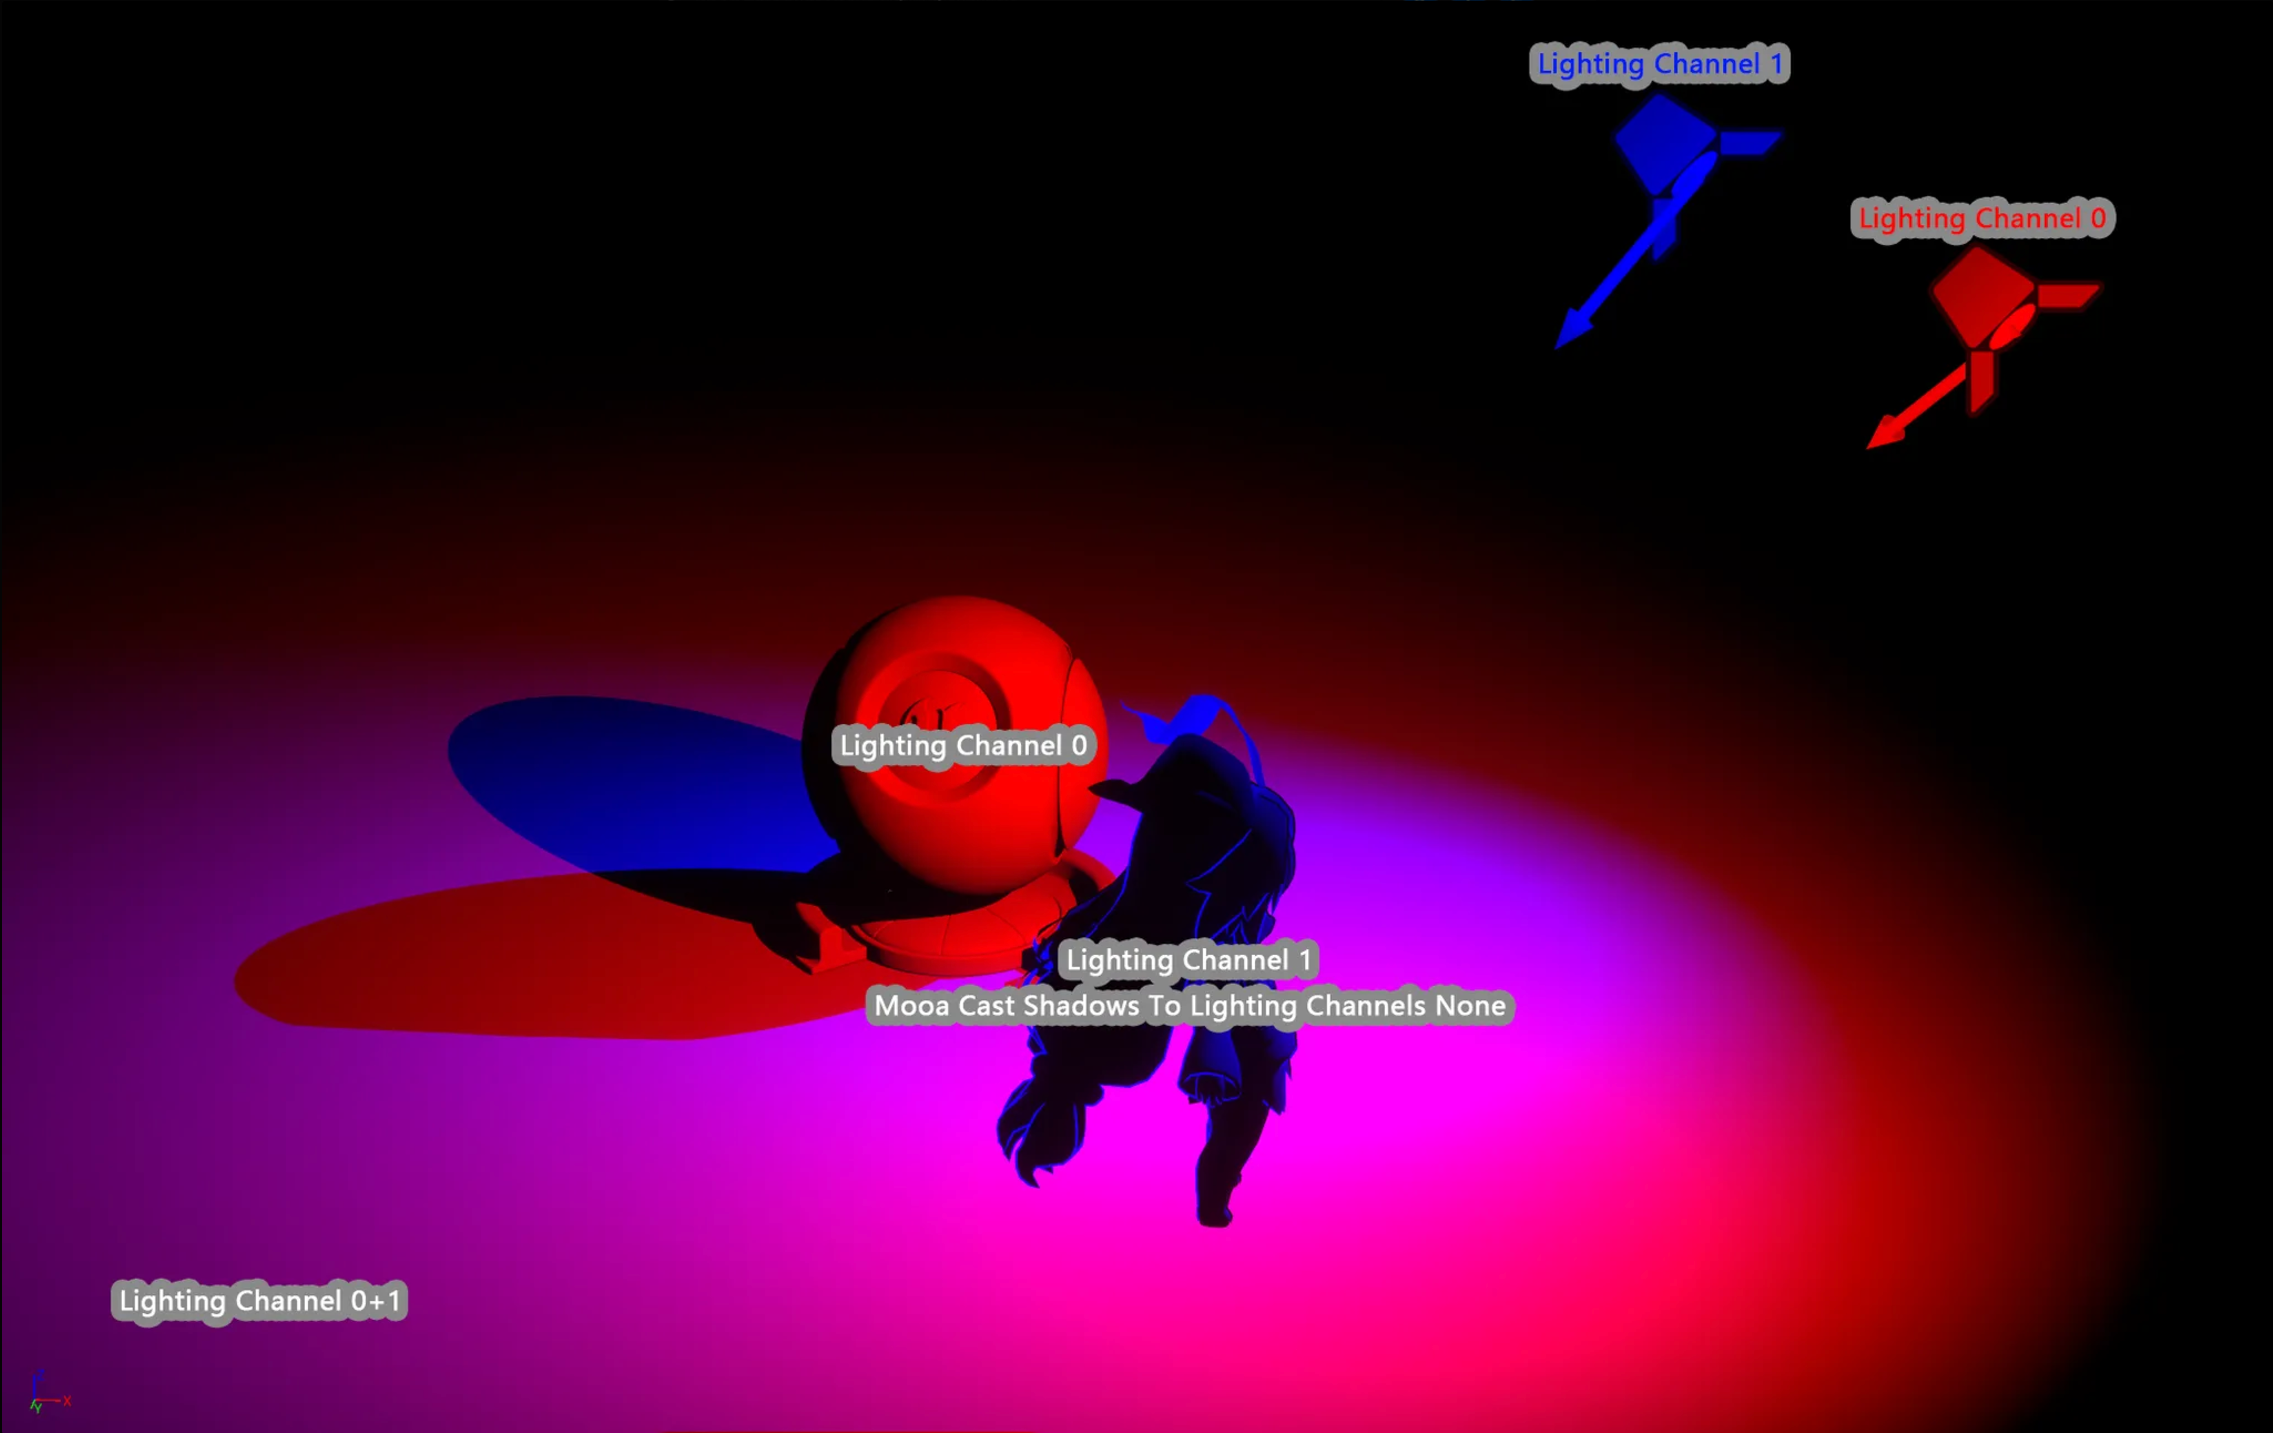
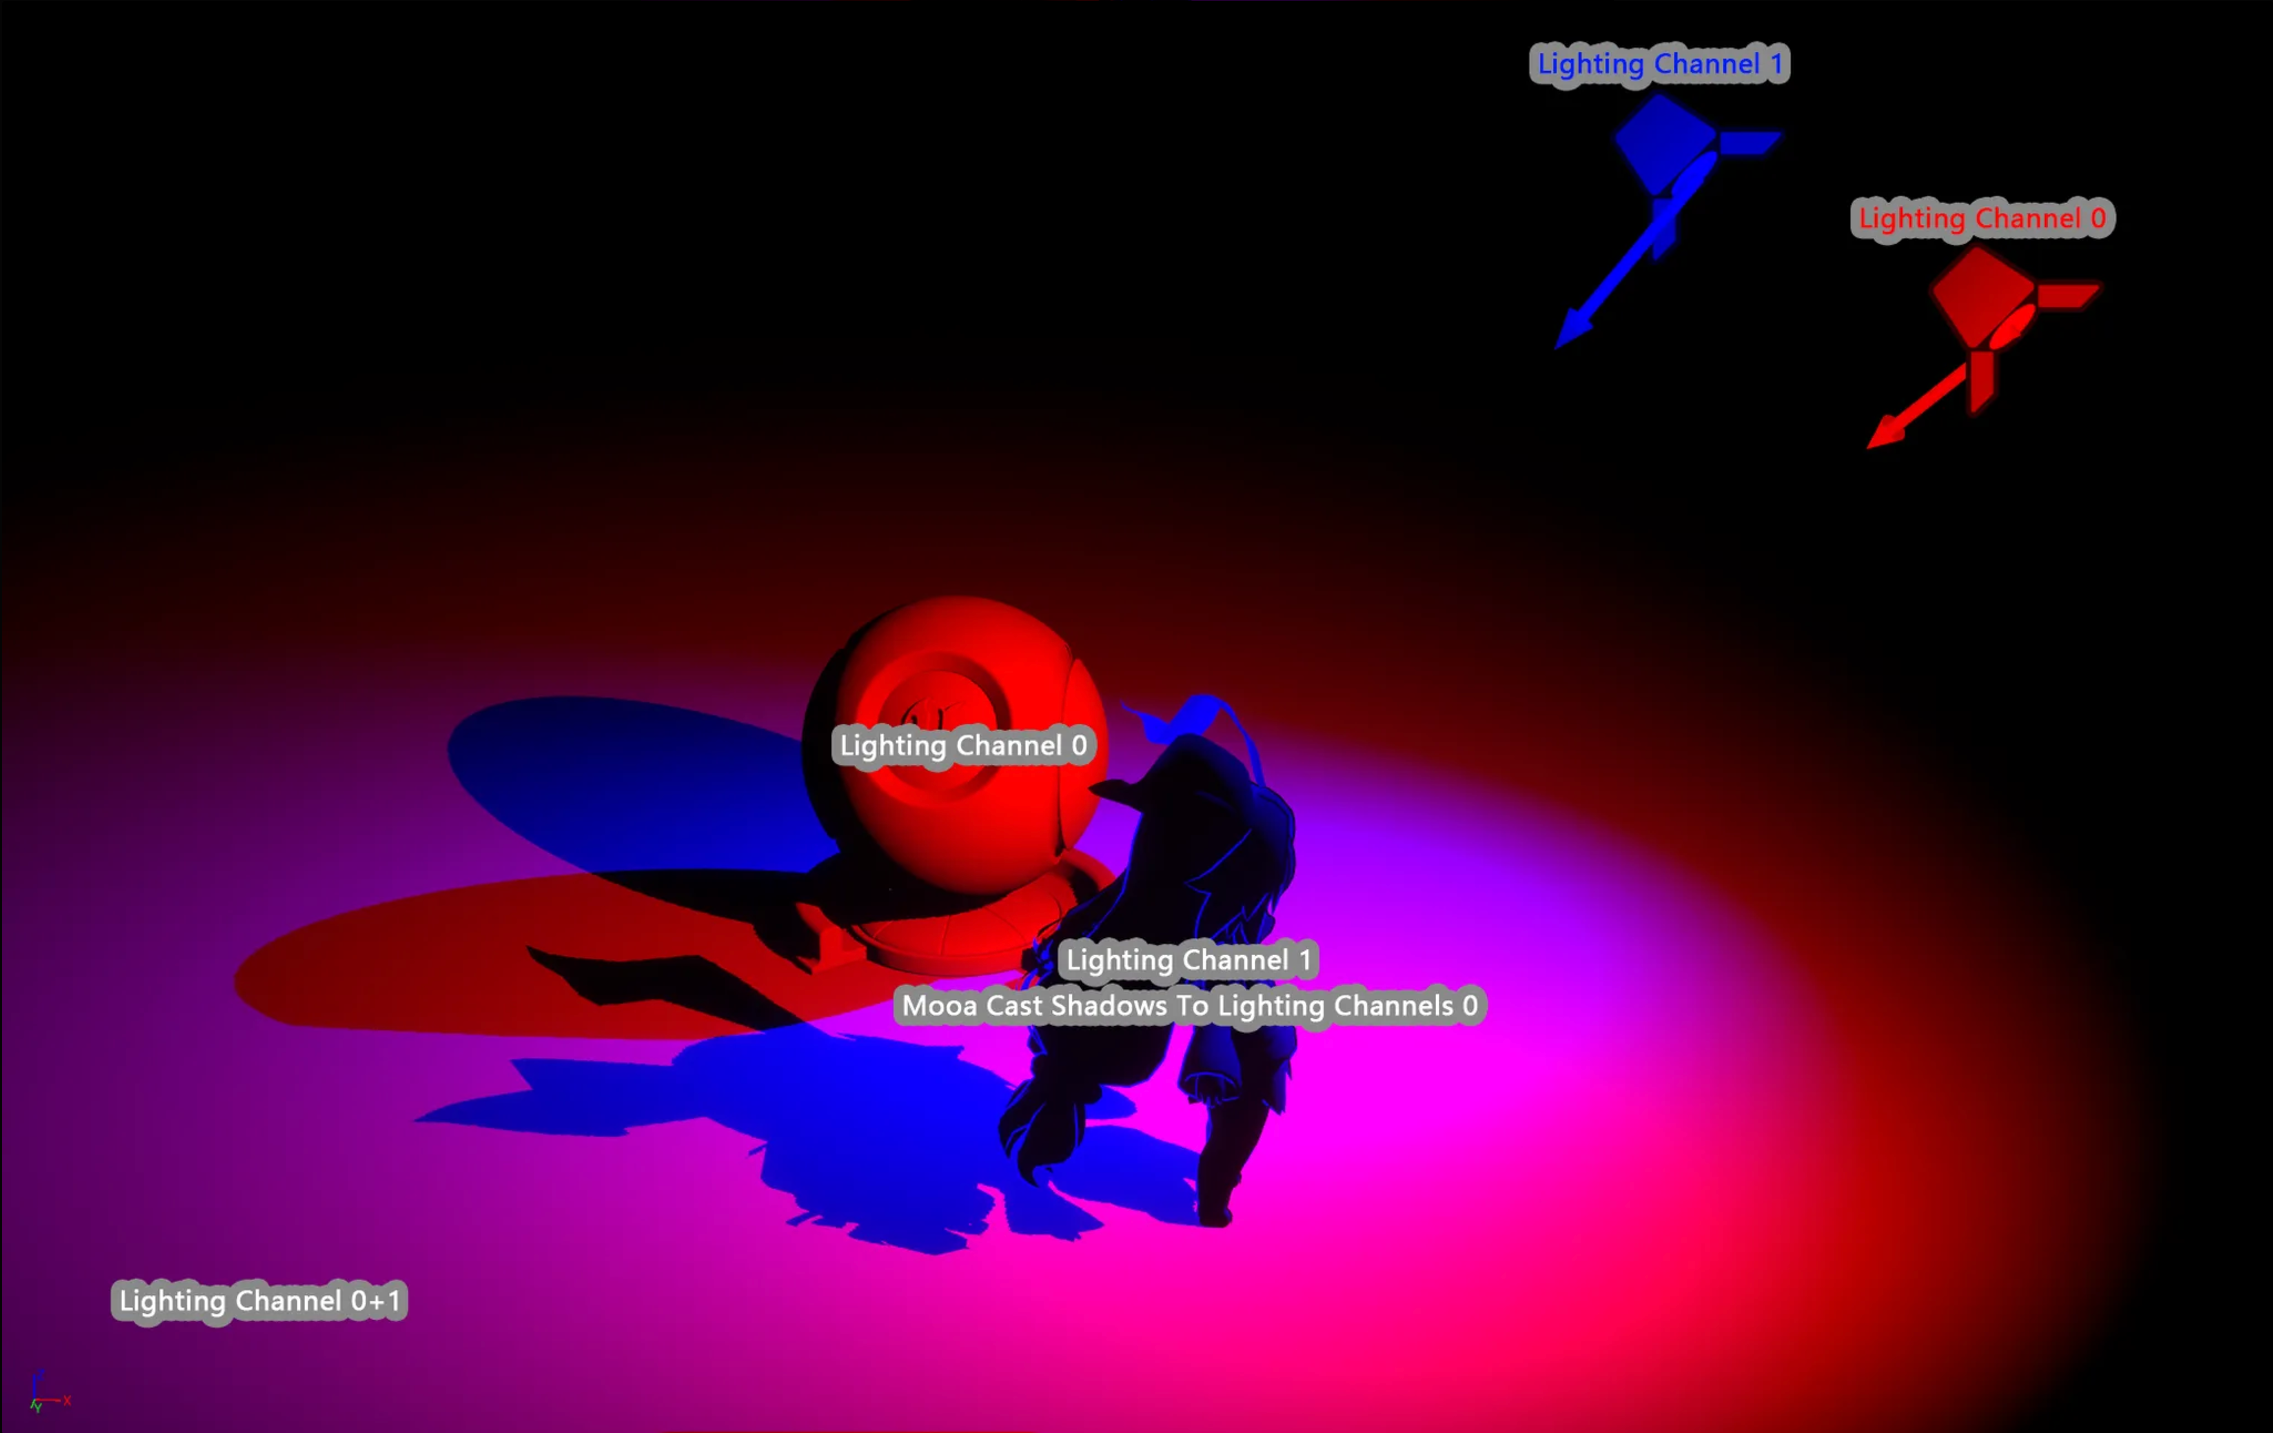
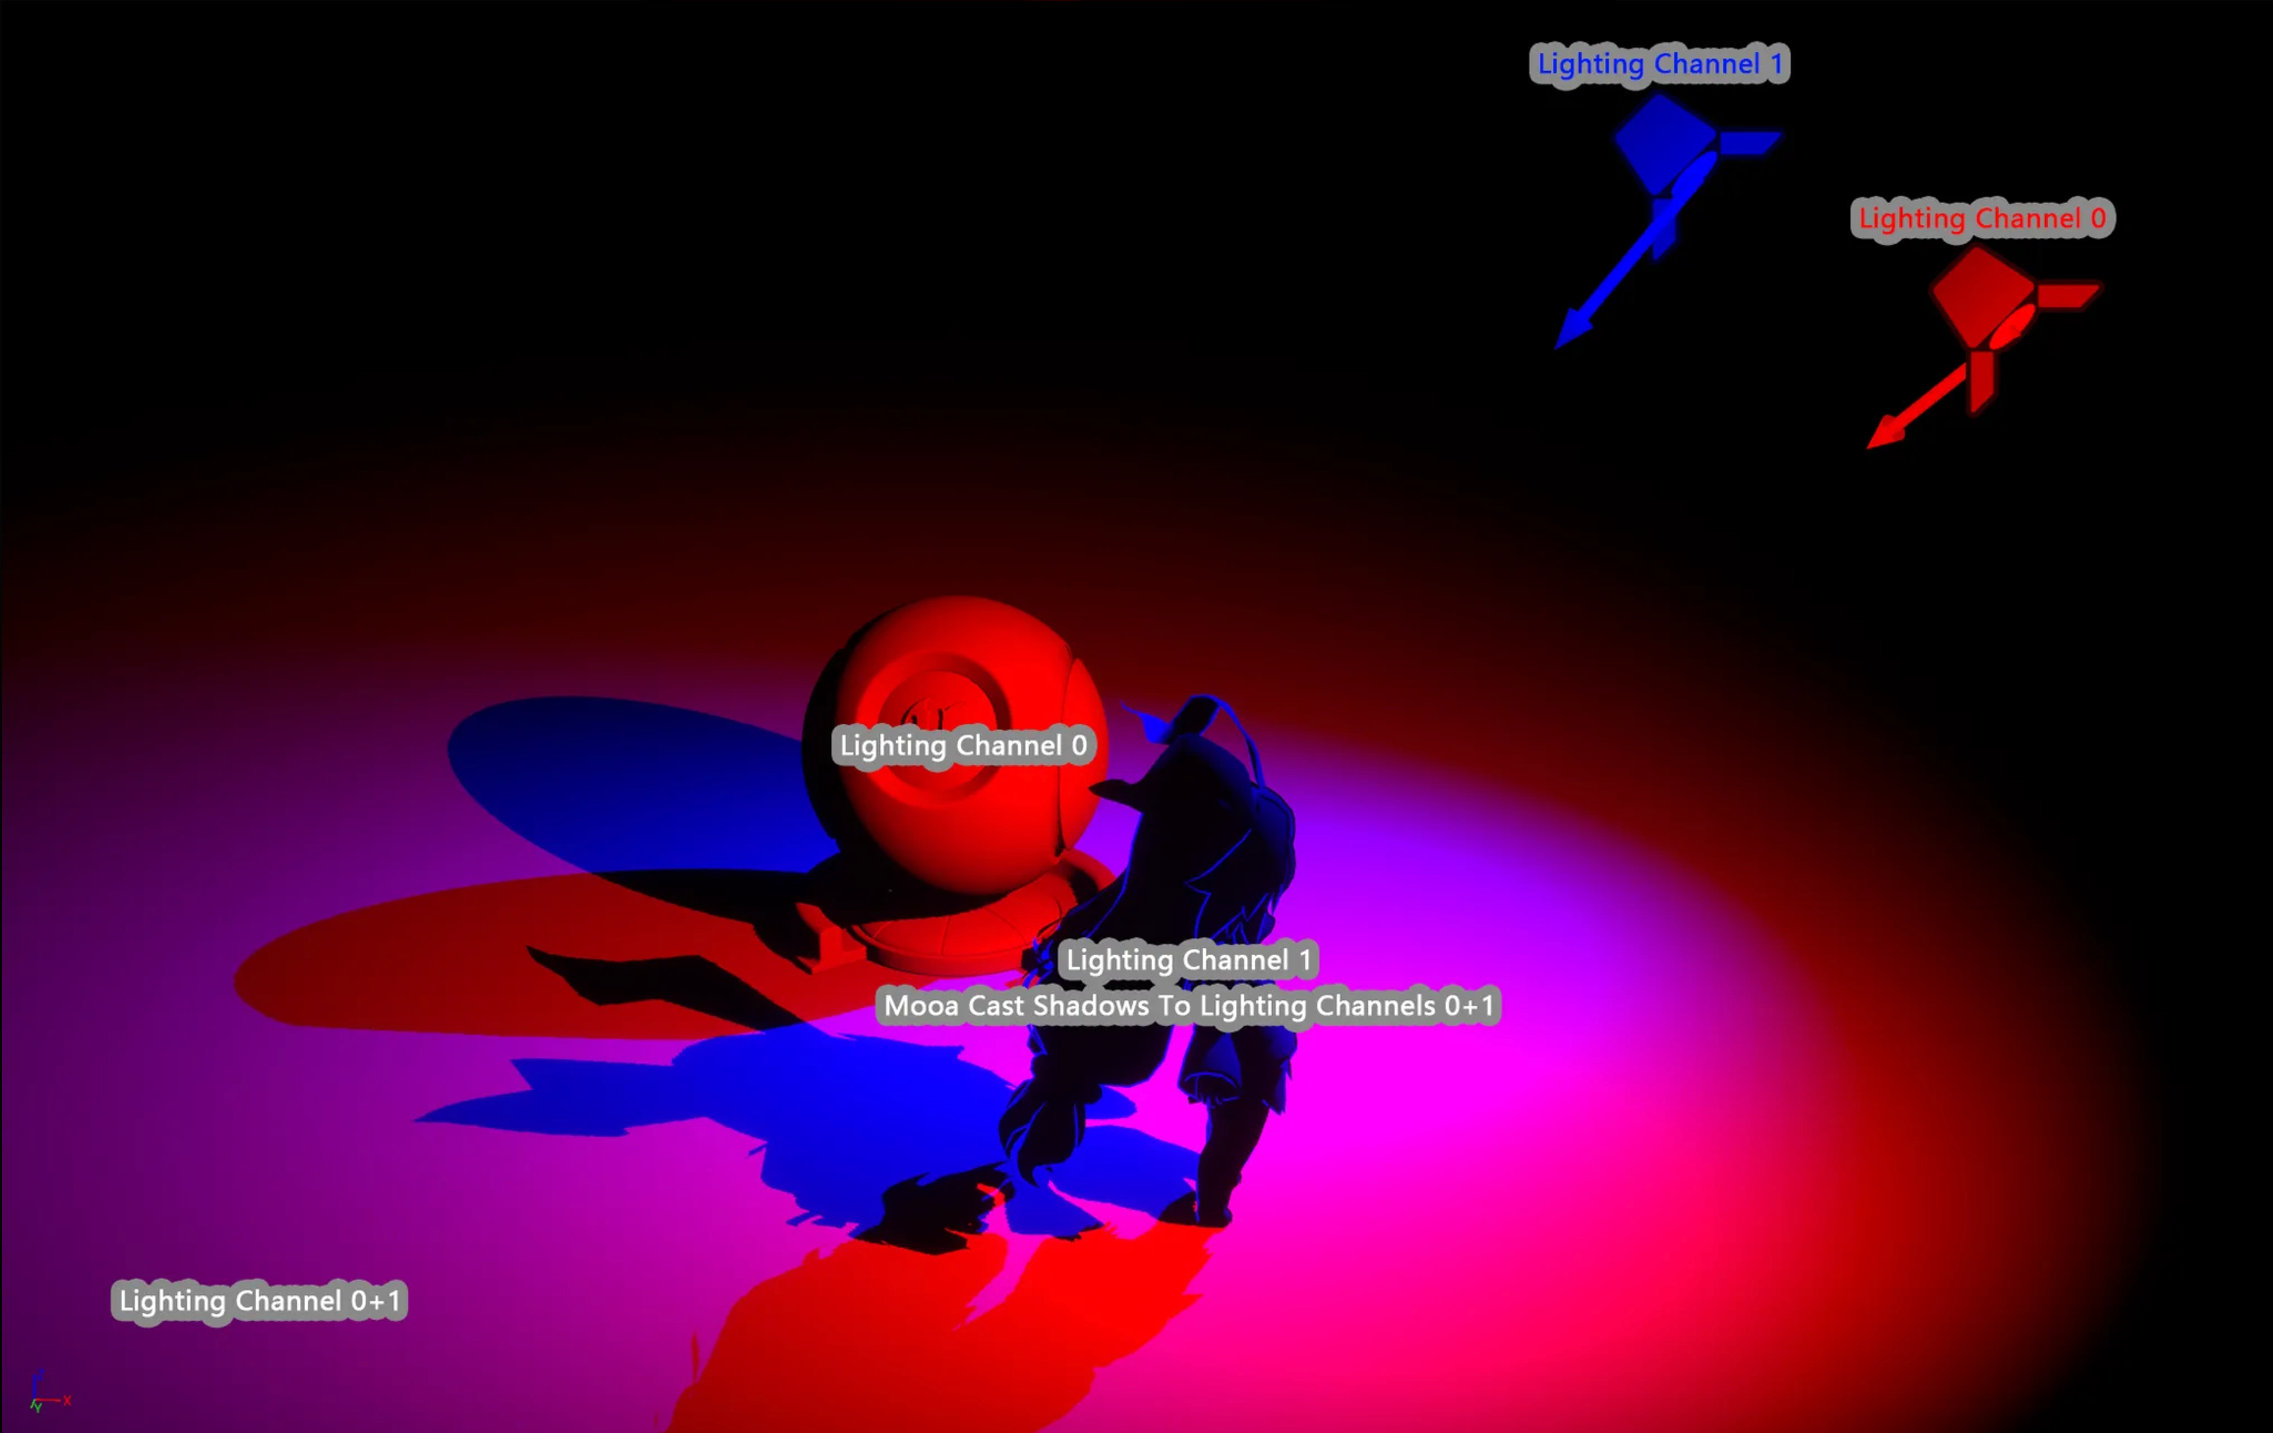
- This feature is invalid when "Ray Tracing Shadow" is enabled.
- The "Affect Distance Field Lighting" of static meshes conflicts with this feature.
Best Practices for Character Lighting
GI / Ramp / Shadow Color all have a significant impact on the color of the character's backlit side, so it can easily lead to confusion if there are no clear lighting guidelines.
Before large-scale production, you must determine the lighting guidelines based on your project type:
- Shadow Color First: Best freedom, suitable for projects like films where lighting is completely controllable, the character's backlit color mainly comes from Shadow Color.
- GI First: Best robustness, suitable for projects like open-world games where lighting is not completely controllable, the character's backlit color mainly comes from GI.
- Shadow Color First
Shadow Color first is MooaToon's default setting, which means it does not use GI and completely relies on Shadow Color to control the color of the character's backlit side.
Please follow the steps below to set up lighting for the character in a standard environment:
- Open the
L_LookDevscene and place the character - Ensure that
GI Intensityis set to 0 (inBP_MooaLookDevToolor Post-Processing Volume) - Check for any other Post-Processing that affects color, and set it according to your project's needs, for example:
Tone Curve Amount, setting it to 0 will restore the texture color to the maximum extent, but highlights may easily overexpose. This value should remain consistent throughout the project.
- Ensure the light intensity is
3.1415and the color is white. - Set the light ratio of the scene according to your project style:
- Turn on Sky Light and adjust the
Sky Light Intensitybased on the brightness of the scene's shadow areas.
- Turn on Sky Light and adjust the
- Ensure that the selected
Diffuse Color Rampin the character materials is set to the default binarization. - Set the light ratio of the character according to your project style:
- Adjust the
Shadow ColorandShadow Color Mapin the material to colors you are satisfied with.
- Adjust the
- Continue to optimize the character's appearance based on previous tutorials.
- Finally, you can choose or create other Ramps as needed.
After completing the setup in a standard environment, your character should be able to maintain consistency in other lighting environments.
If further adjustments are needed for the character's appearance in specific environments, you can:
- Use Lighting Channels to separate the lighting of the character and the scene.
- Adjust colors using Post-Processing
- Create materials or textures specifically for this scene
- GI First
Prioritize using GI as the color for the character's backlit, the Shadow Color should default to black, and should only be used to brighten a few special materials (like skin) in the backlit.
Please follow the steps below to set up lighting for the character in a standard environment:
- Open the
L_LookDevscene and place the character. - Check for other Post-Processing that affects color (in the
BP_MooaLookDevToolor the Post-Processing Volume), and set it according to your project's needs, for example:Tone Curve Amount, setting it to 0 will restore the texture color to the maximum extent, but highlights may easily overexpose. This value should remain consistent throughout the project.
- Ensure the light intensity is
3.1415and the color is white. - Set the light ratio of the scene according to your project style:
- Turn on Sky Light and adjust the
Sky Light Intensitybased on the brightness of the scene's shadow areas.
- Turn on Sky Light and adjust the
- Ensure that the selected
Diffuse Color Rampin character materials is set to the default binarization. - Set the light ratio of the character according to your project style:
- Ensure that the
Shadow Colorin materials is black. - Adjust
GI IntensityandGI Directionalityas needed.
- Ensure that the
- Continue to optimize the character's appearance based on previous tutorials.
- Brighten the
Shadow Colorof certain special materials (such as skin and eyes).
- Brighten the
- Finally, you can choose or create other Ramps as needed.
After completing the setup in a standard environment, your character should be able to maintain consistency in other lighting environments.
If further adjustments are needed for the character's appearance in specific environments, you can:
- Adjust GI parameters in the Post-Processing Volume
- Use Lighting Channels to separate the lighting of the character and the scene.
- Adjust colors using Post-Processing
Character Indoor Lighting
There is usually no Directional Light and Sky Light indoors. To ensure that the character has the correct lighting indoors, you need to check the Post-Processing Volume:
GI Directionalityshould be 1.GI Intensityshould be greater than 0.Shadow Color Intensity Point/Spot/Rect Lightsshould not all be 0.
GI Intensity = 0Shadow Color Intensity = 0 | 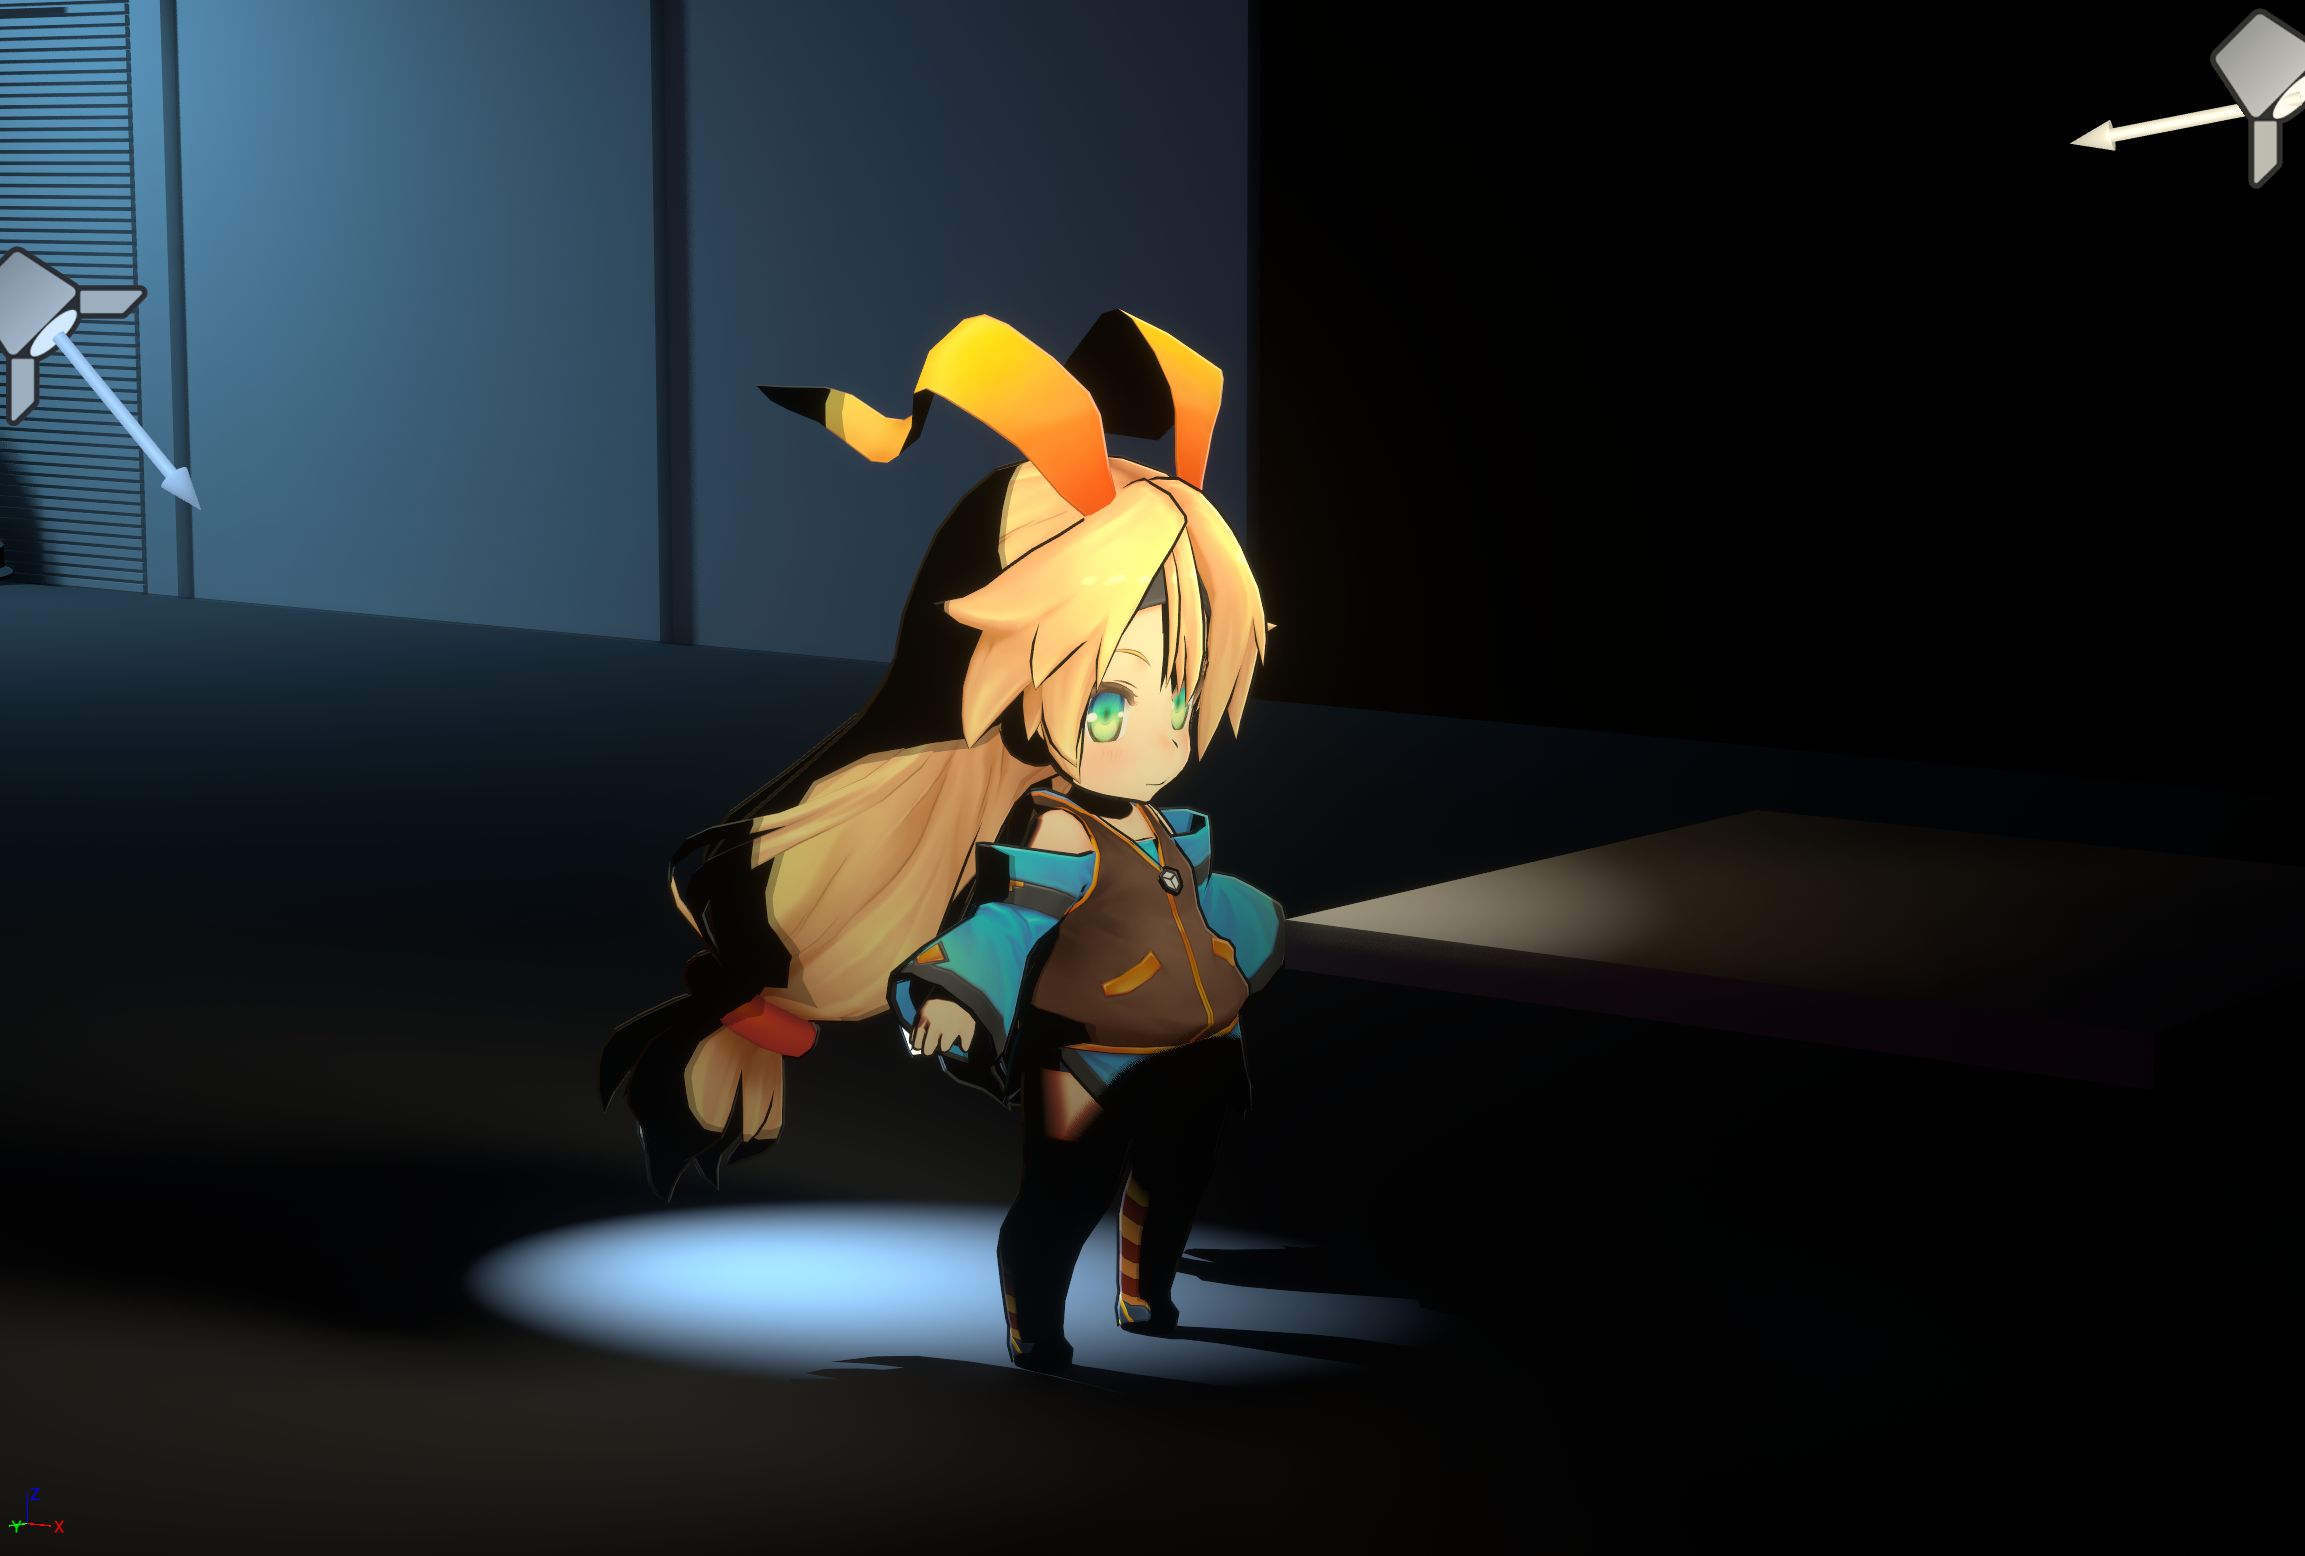 |
|---|---|
GI Intensity = 1 | 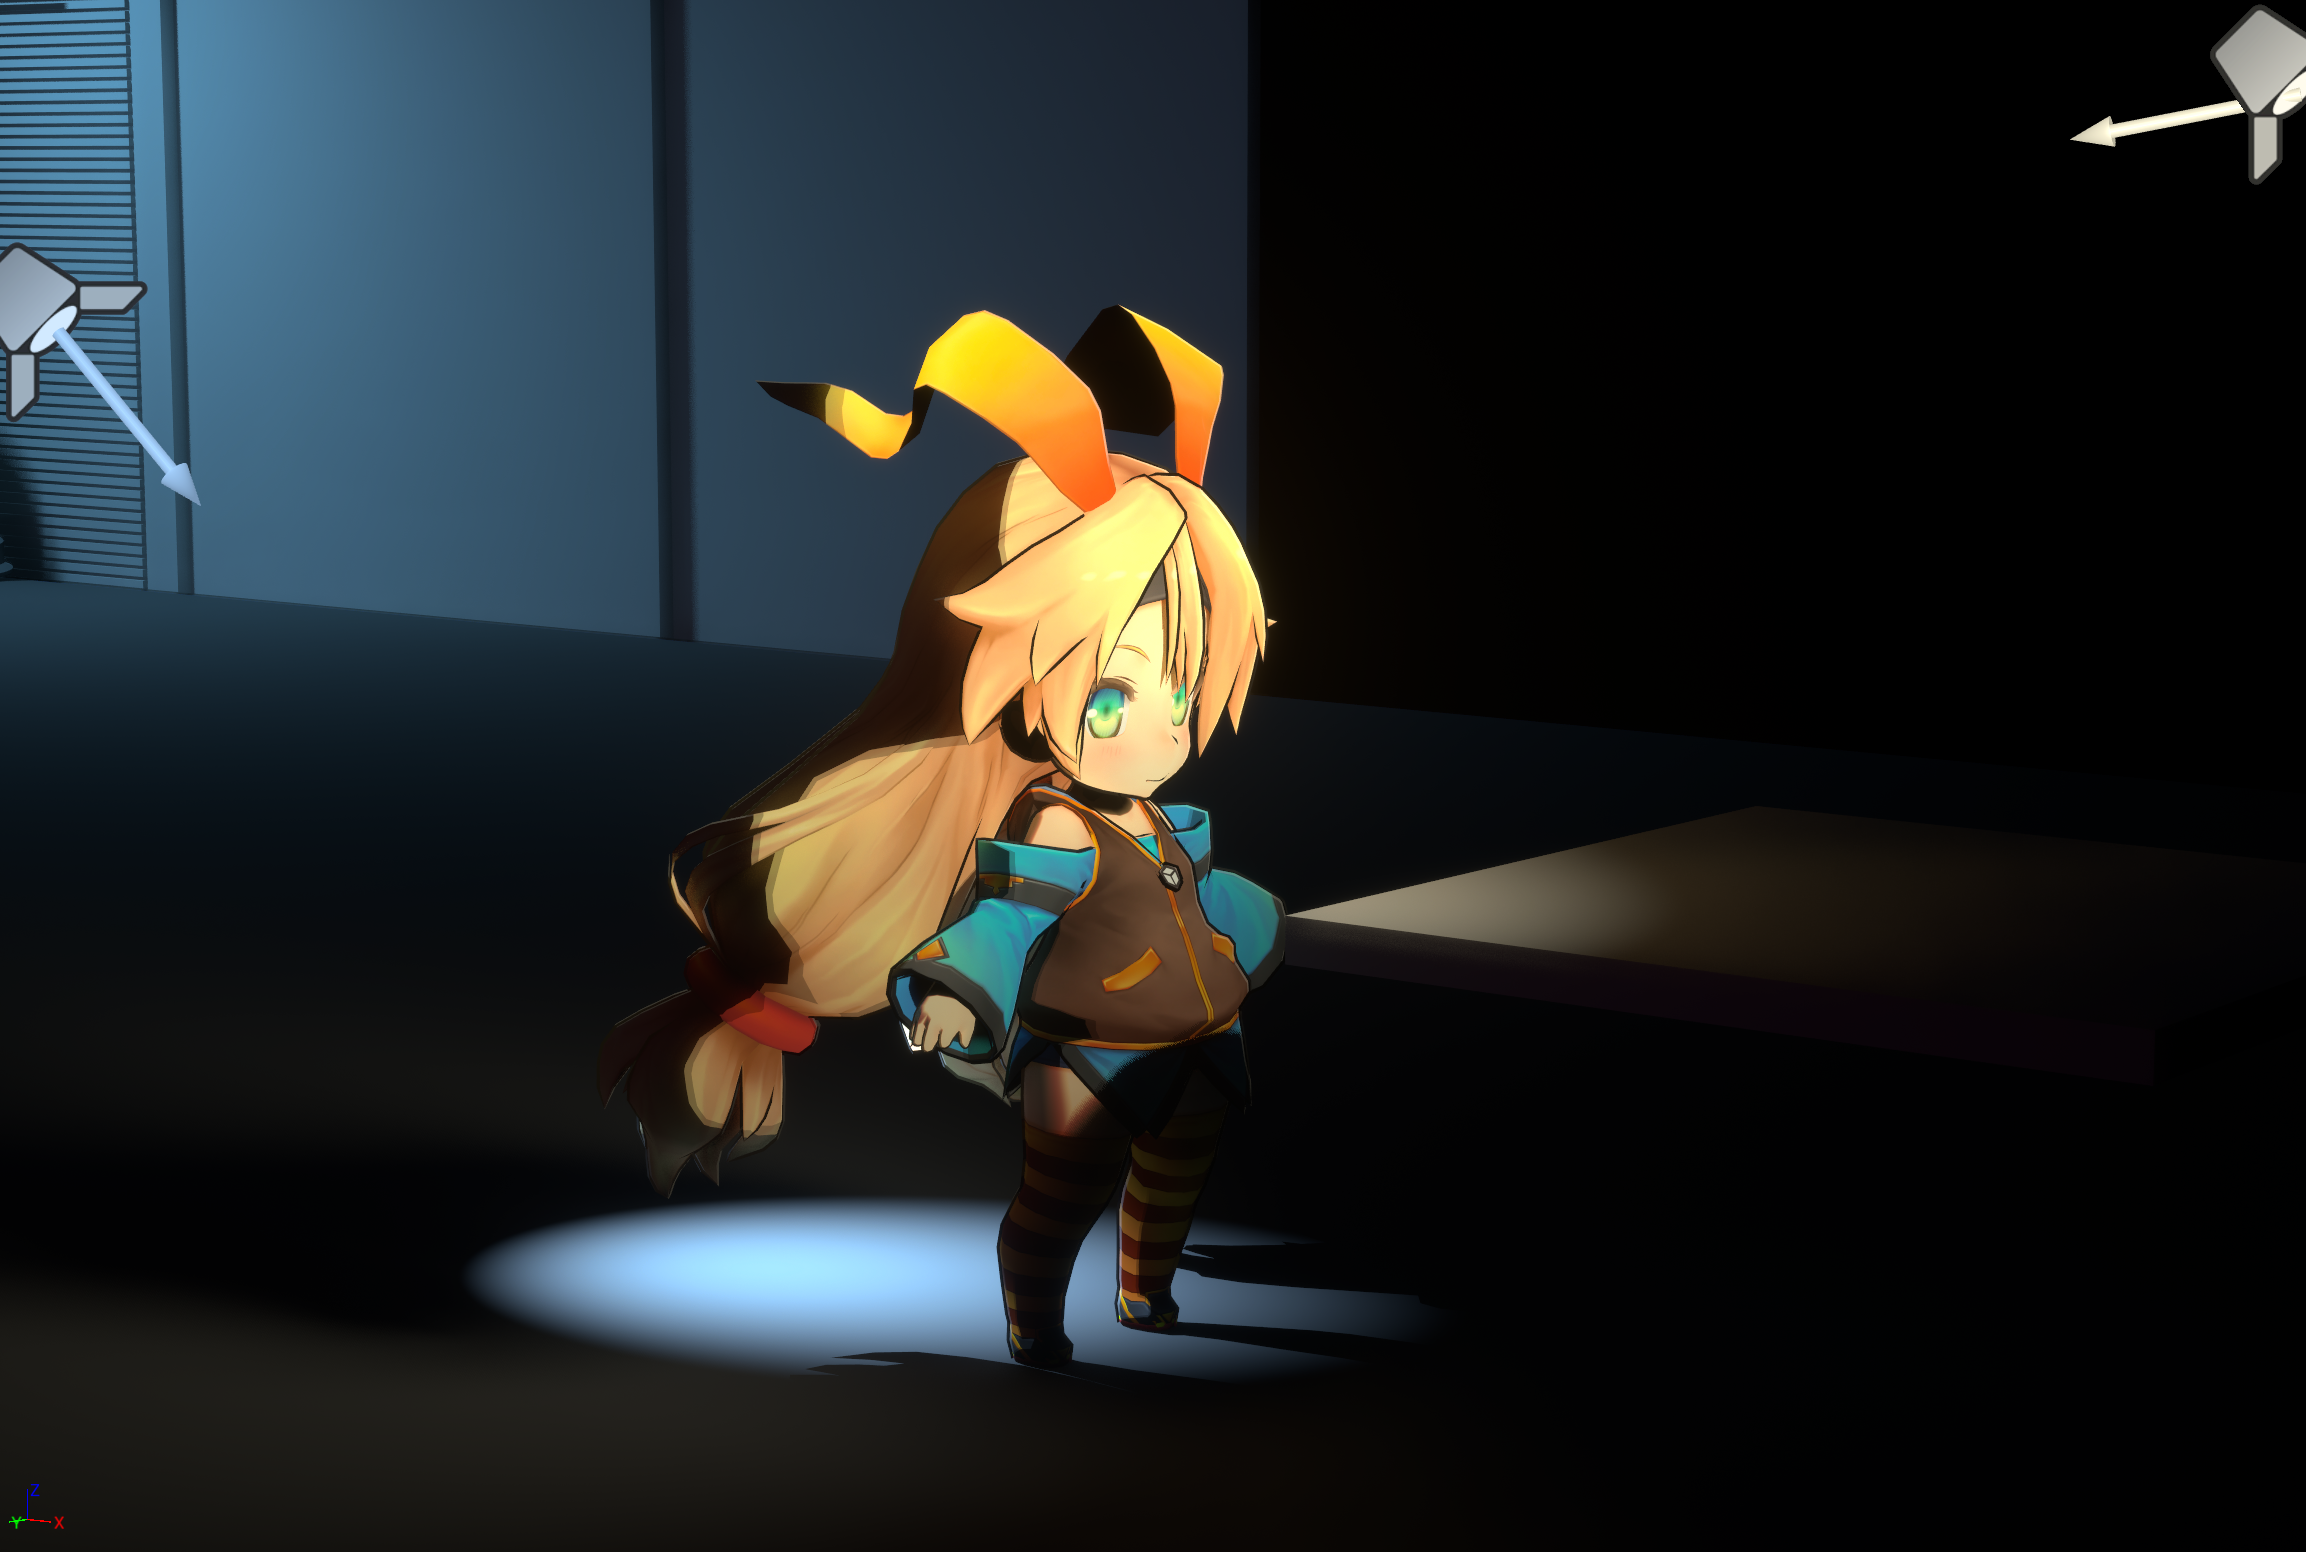 |
Shadow Color Intensity = 1 | 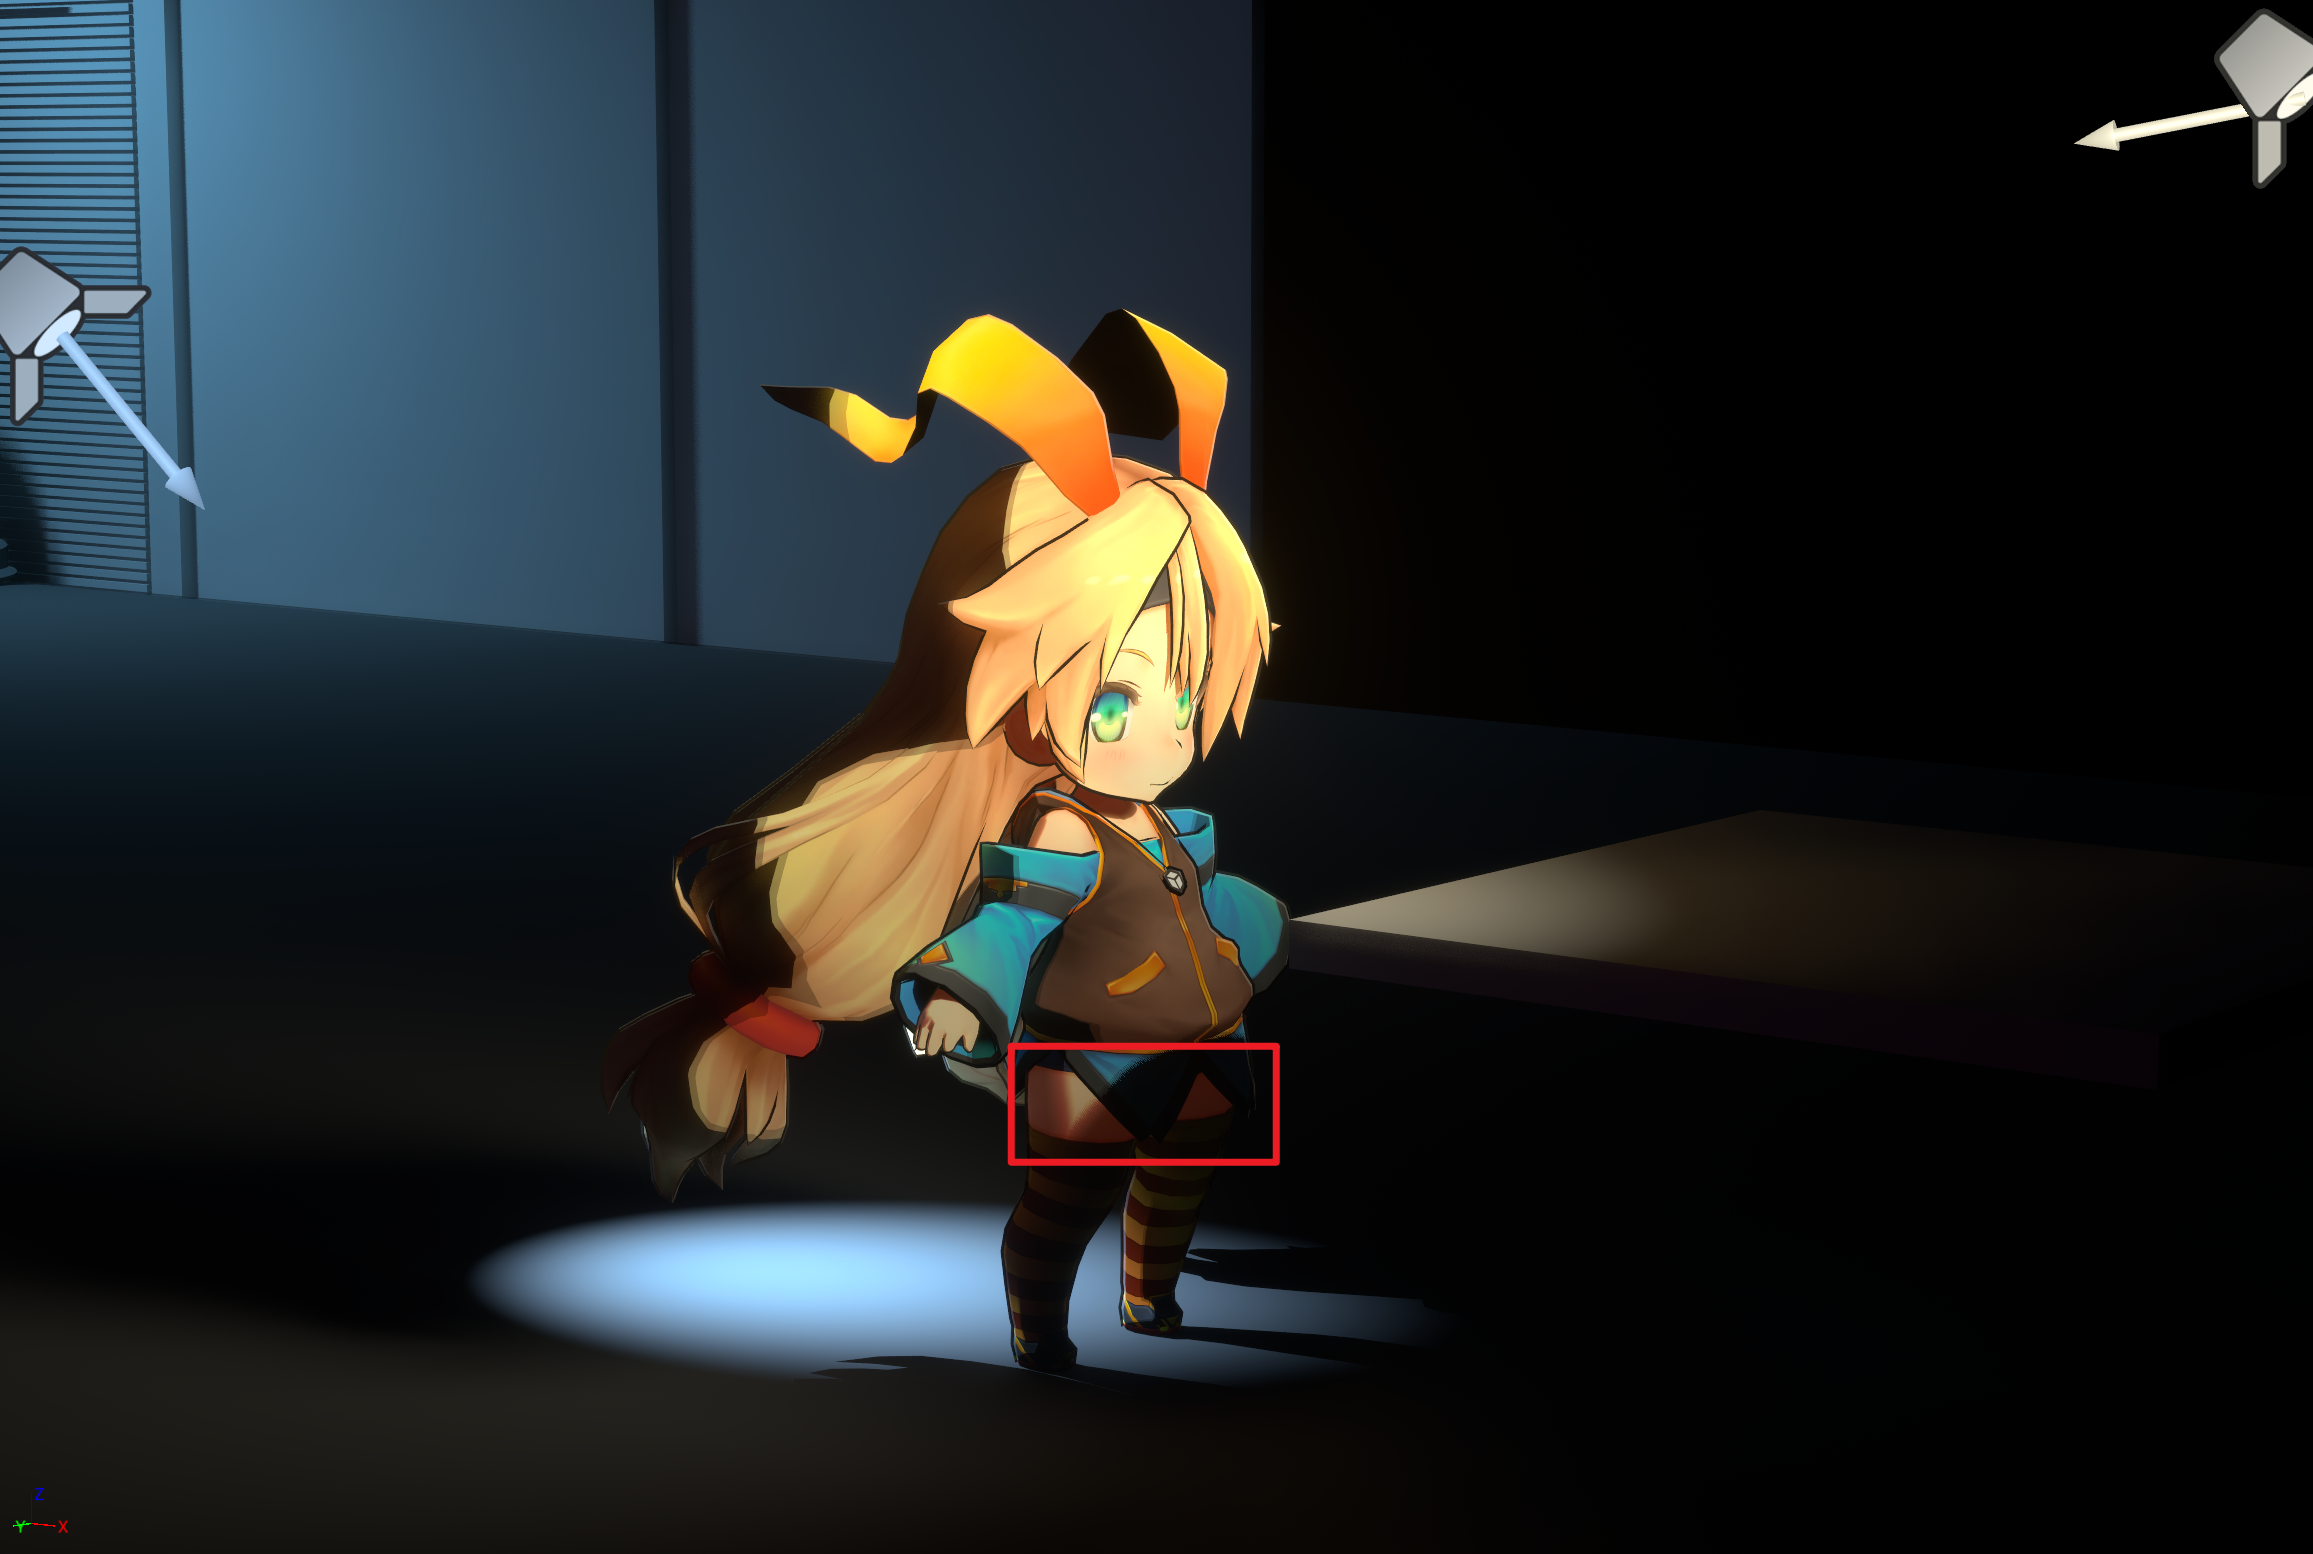 |