Import a new Character
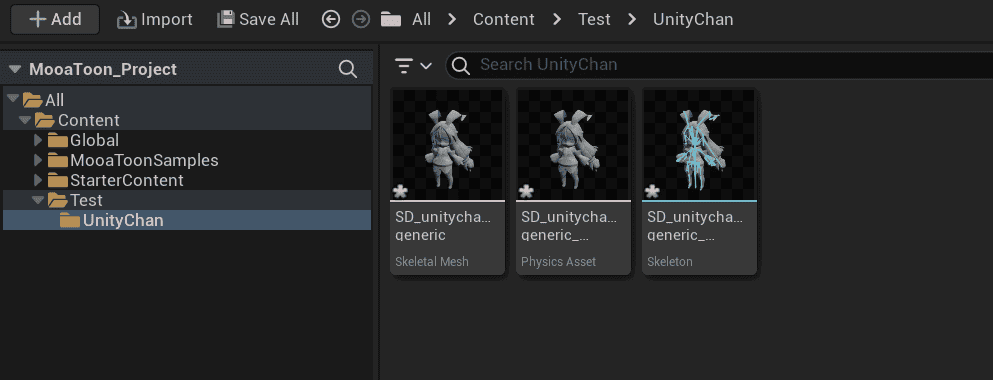
Using Unity Chan as an example character, you can find the original Unity Chan model at MooaToon\MooaToon-Project\Art\Models\SD_unitychan_generic.fbx.
You can also obtain character models through the following websites:
-
Paid
- UE Marketplace: https://www.unrealengine.com/marketplace
- Unity Asset Store: https://assetstore.unity.com/
- BOOTH: https://booth.pm/
- ...
-
Free
- VRoid Hub: https://hub.vroid.com/
- Mirai Komachi: https://www.miraikomachi.com/download/
- ネオン: http://airtone-vr.com/
- MMD Models: https://bowlroll.net/
- ...
-
Now supports direct import of VRoid models (.vrm) with the help of the VRM4U plugin. You can quickly create your own model using VRoid Studio and then import it into the MooaToon project along with textures and materials.
-
For MMD models, you need to convert them to FBX first; it is recommended to use Blender and the Cats Blender Plugin.
Import Characters
You can directly import character models by dragging them into the Unreal Editor's content browser. Due to different export settings in different DCC software, you may need to adjust the rotation and scale in the import settings.
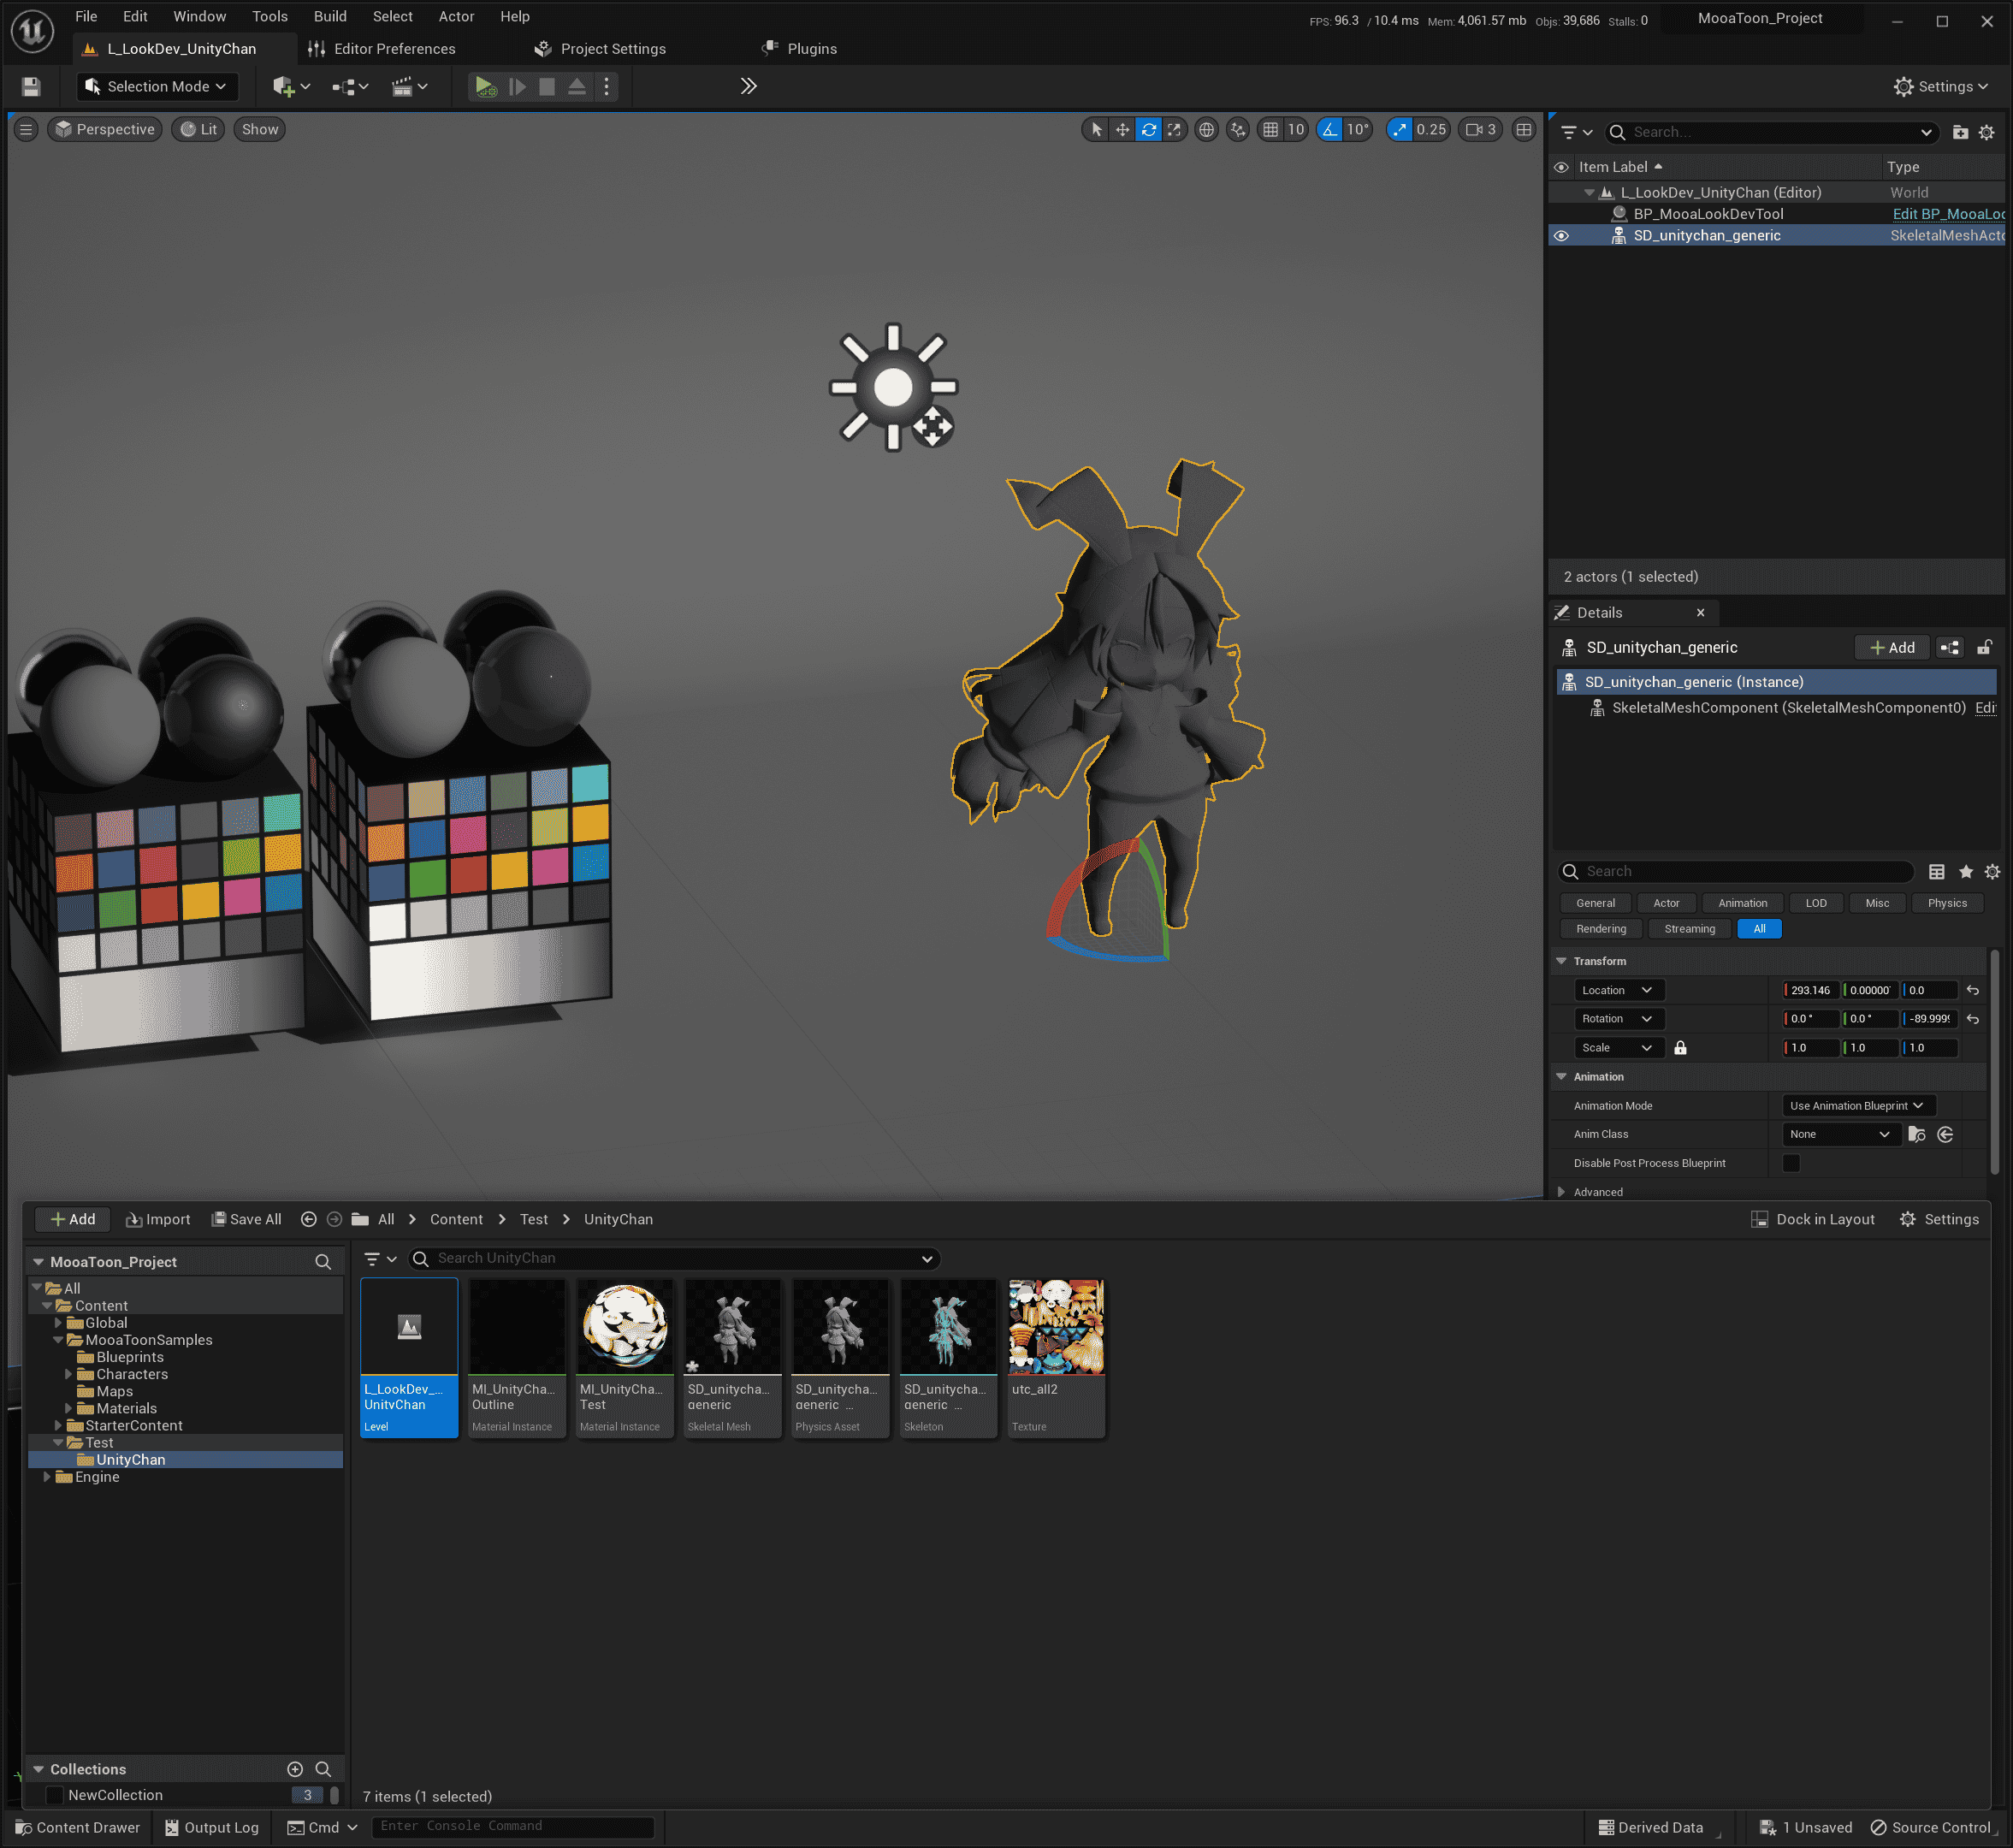
After a correct import, the character should face forward (+Y axis) and be of an appropriate size:
Copy and open the scene Content/MooaToonSamples/Maps/L_LookDev.umap , and place the character's Skeletal Mesh into it:
Create and Assign Material Instances
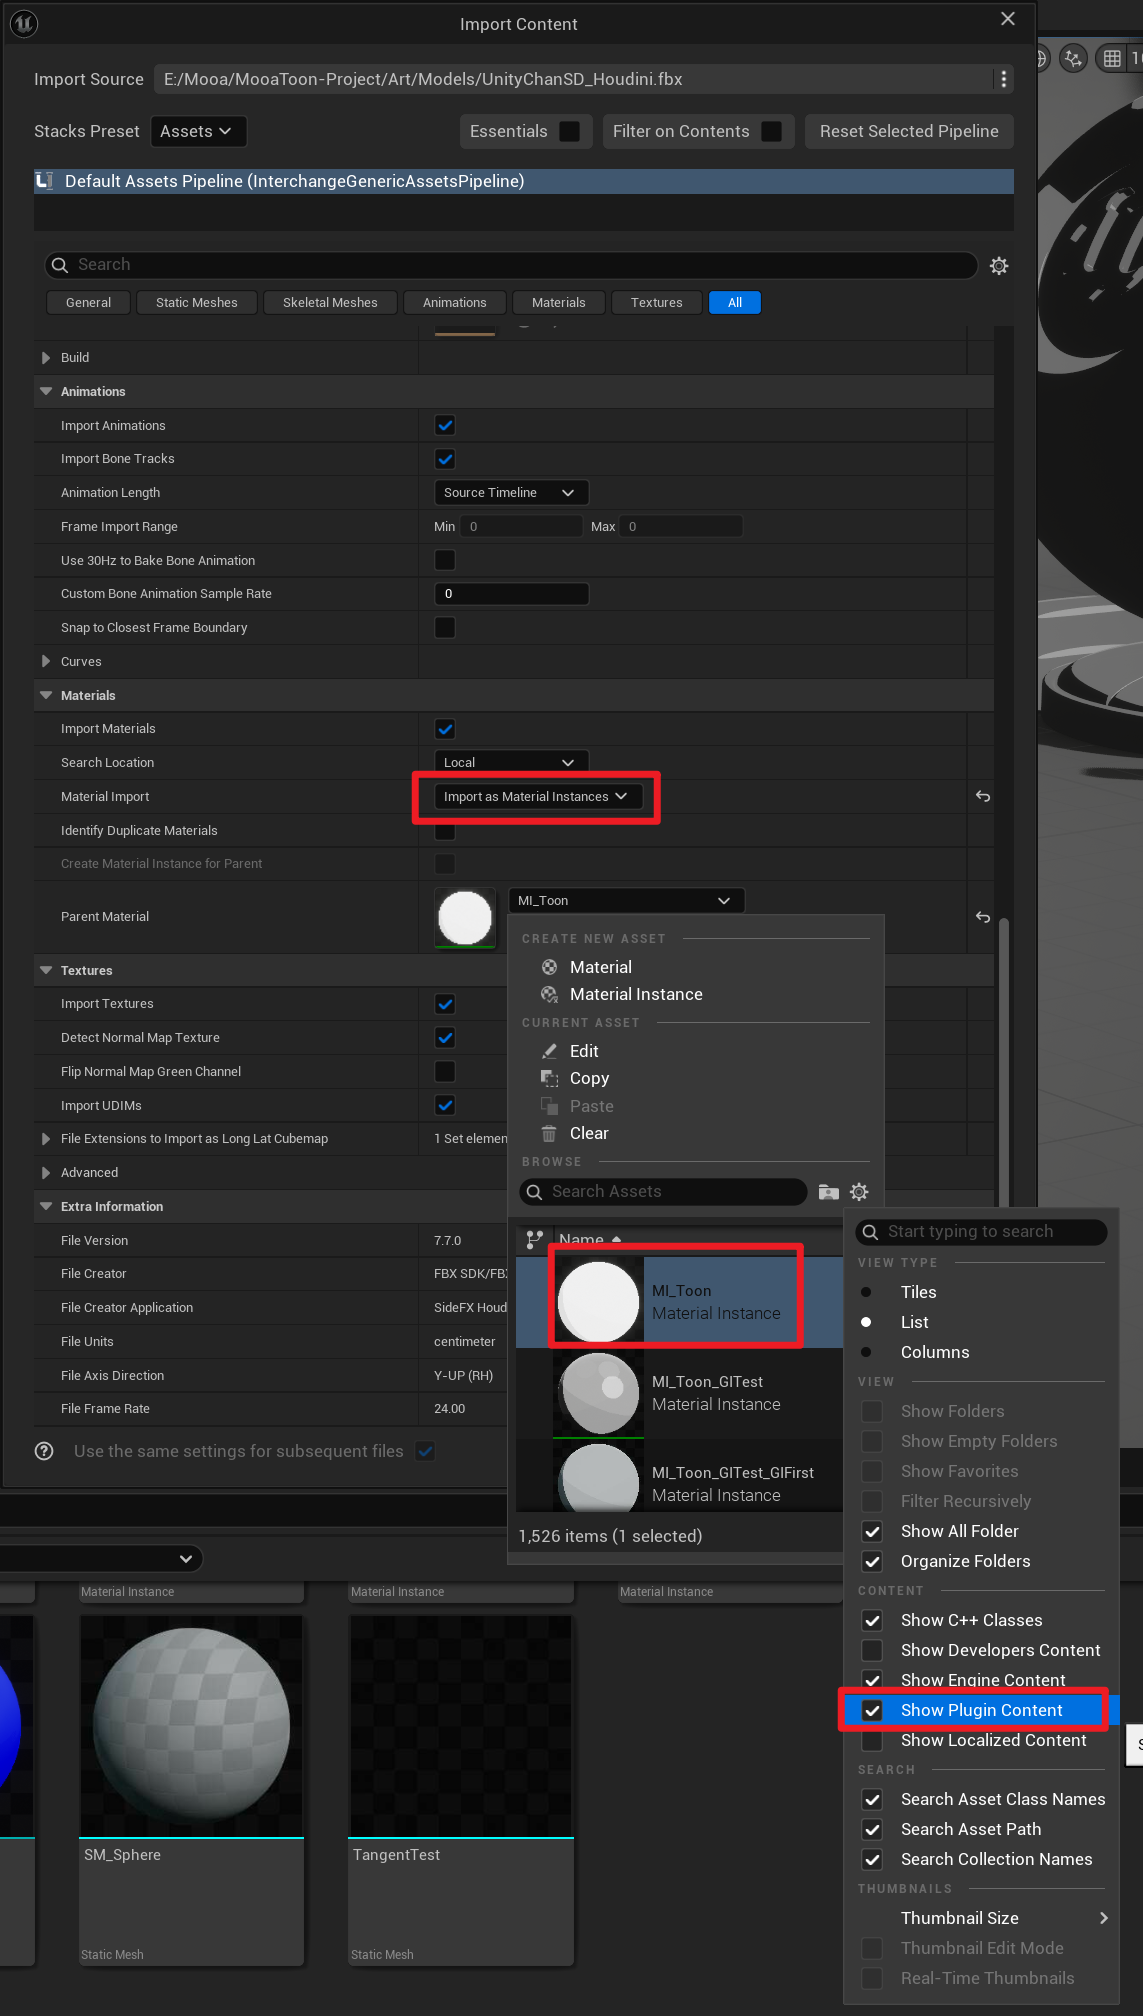
- Automatically Create When Importing
You can directly choose to create Material Instances during import (ensure that plugin content is selected in the filter):
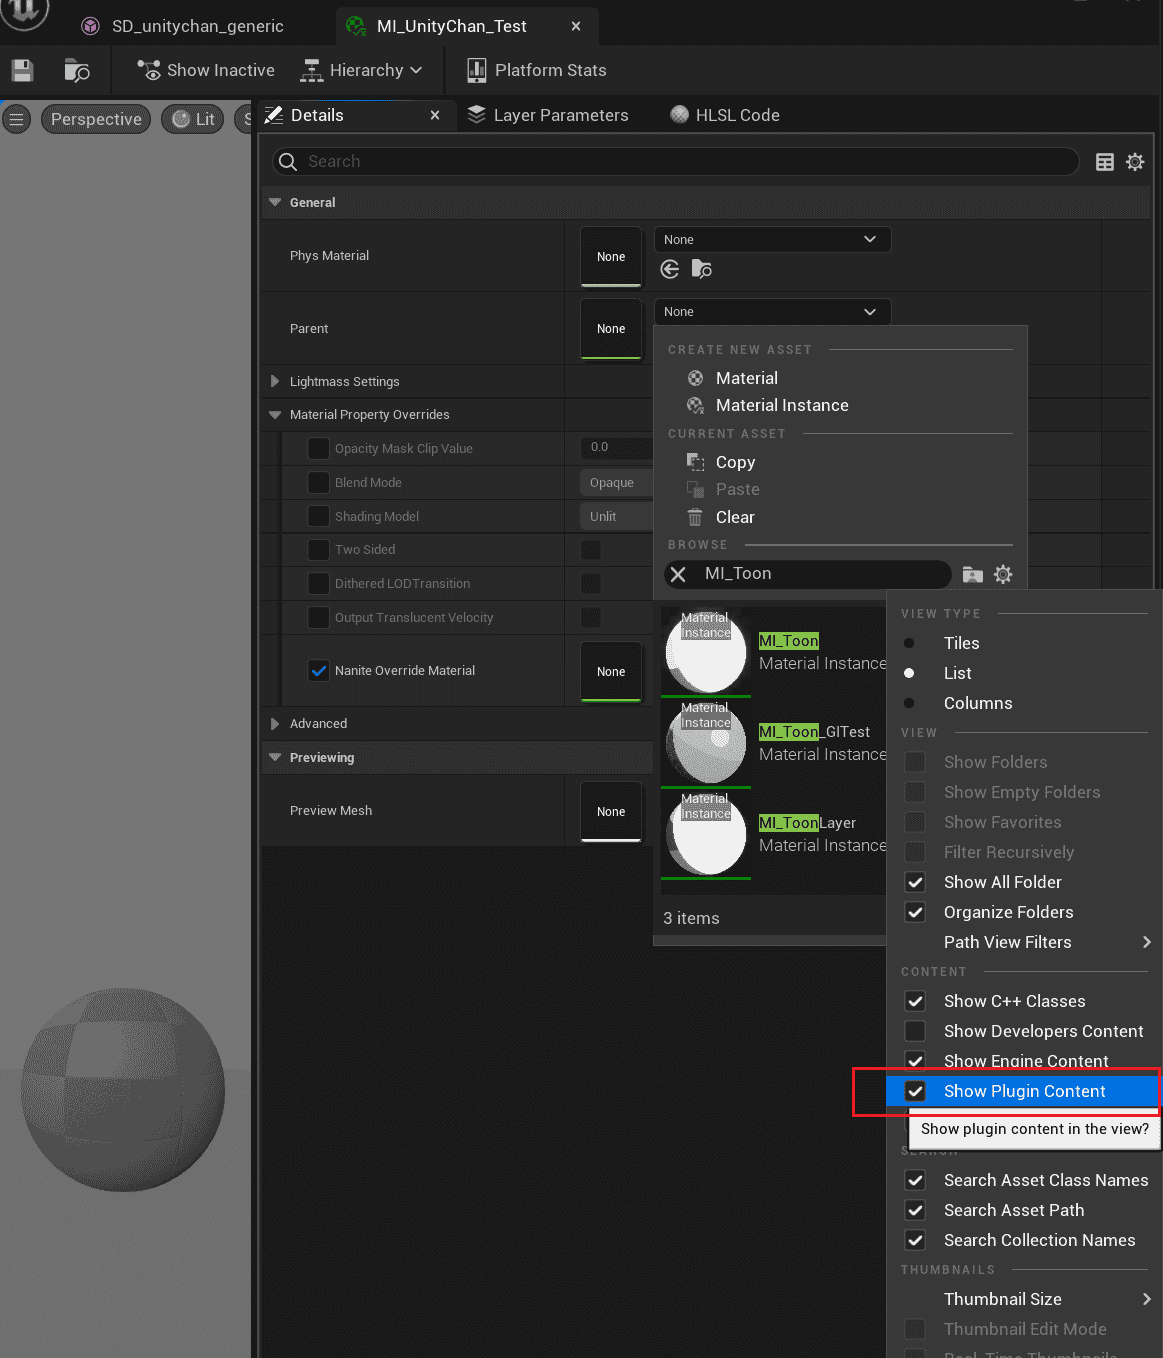
- Manually Create
Create a Material Instance in the Content Browser, select the parent material as MI_Toon, ensure that the filter is set to show plugin content:
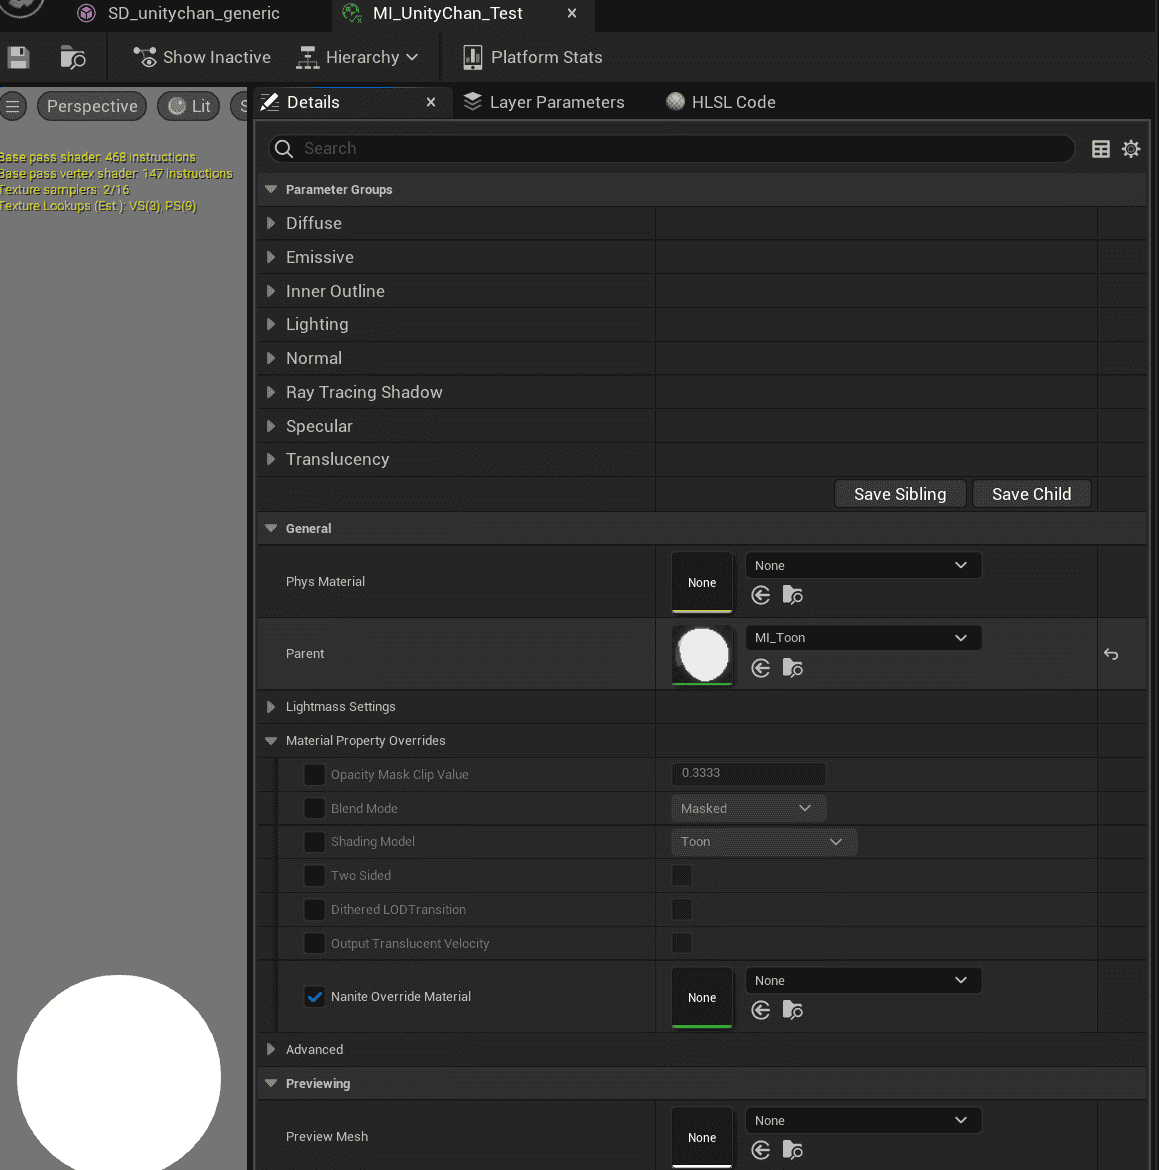
Open the character's Skeletal Mesh file and place the newly created material into the Material Slots:
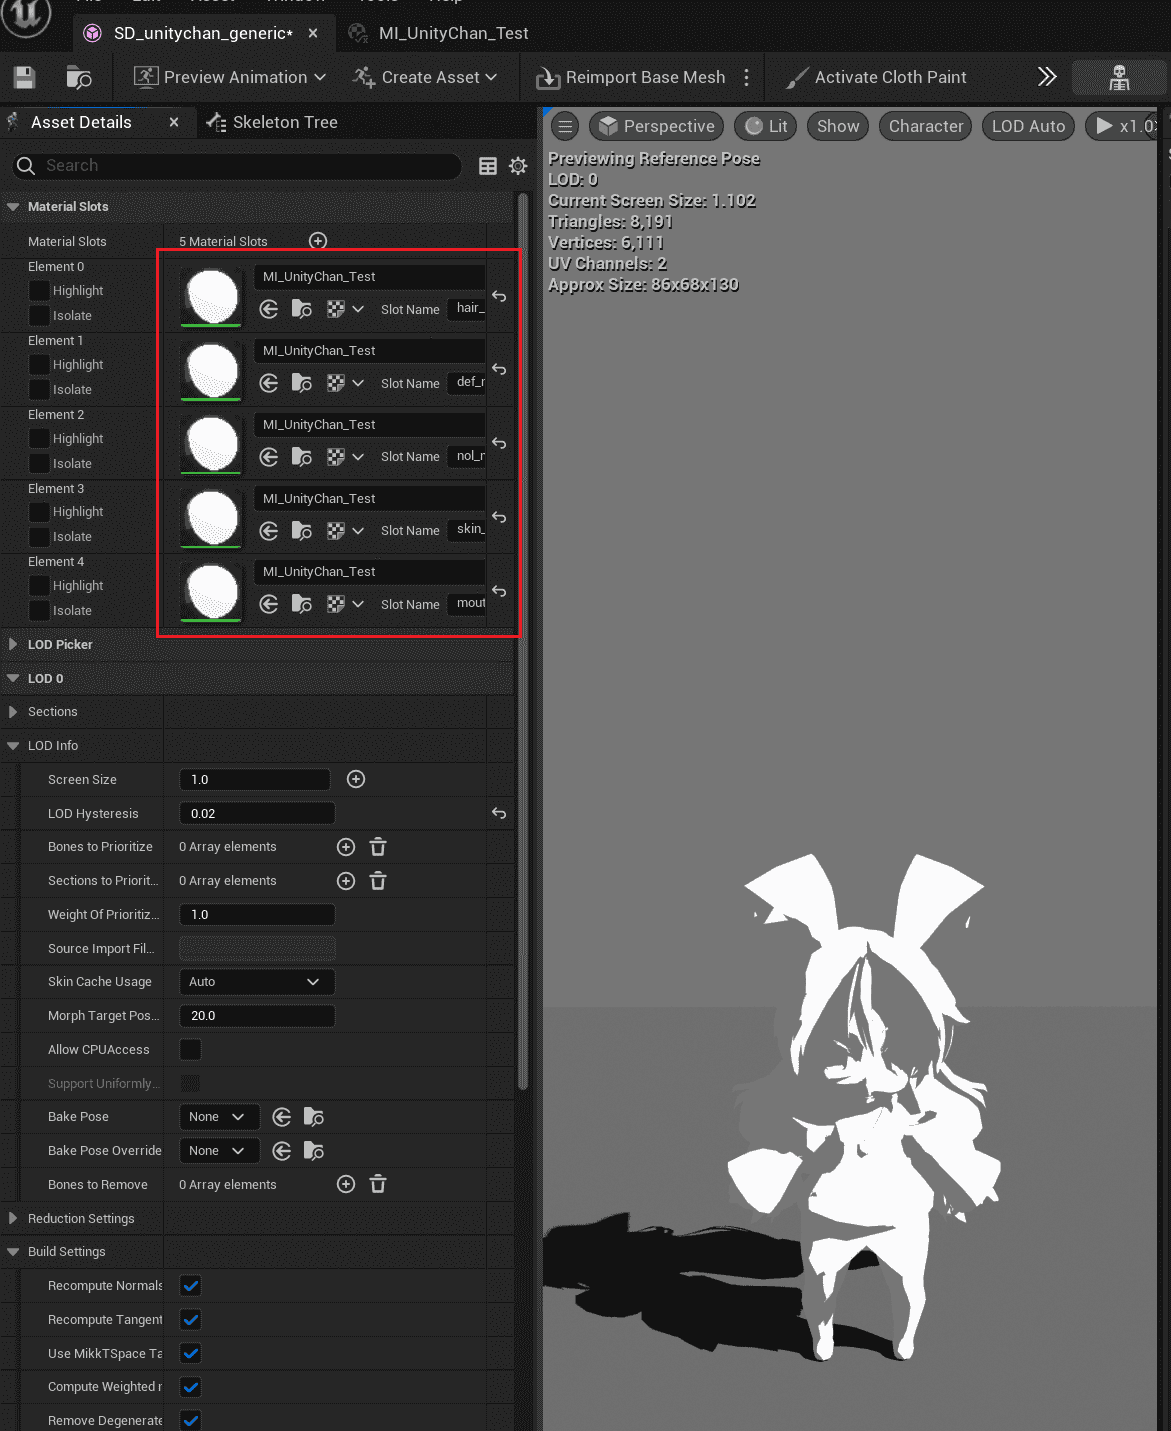
Note: Unity Chan only has one texture, so only one material instance is created. If different parts of your model correspond to different textures, you need to create a Material Instance for each part separately.
Material Settings
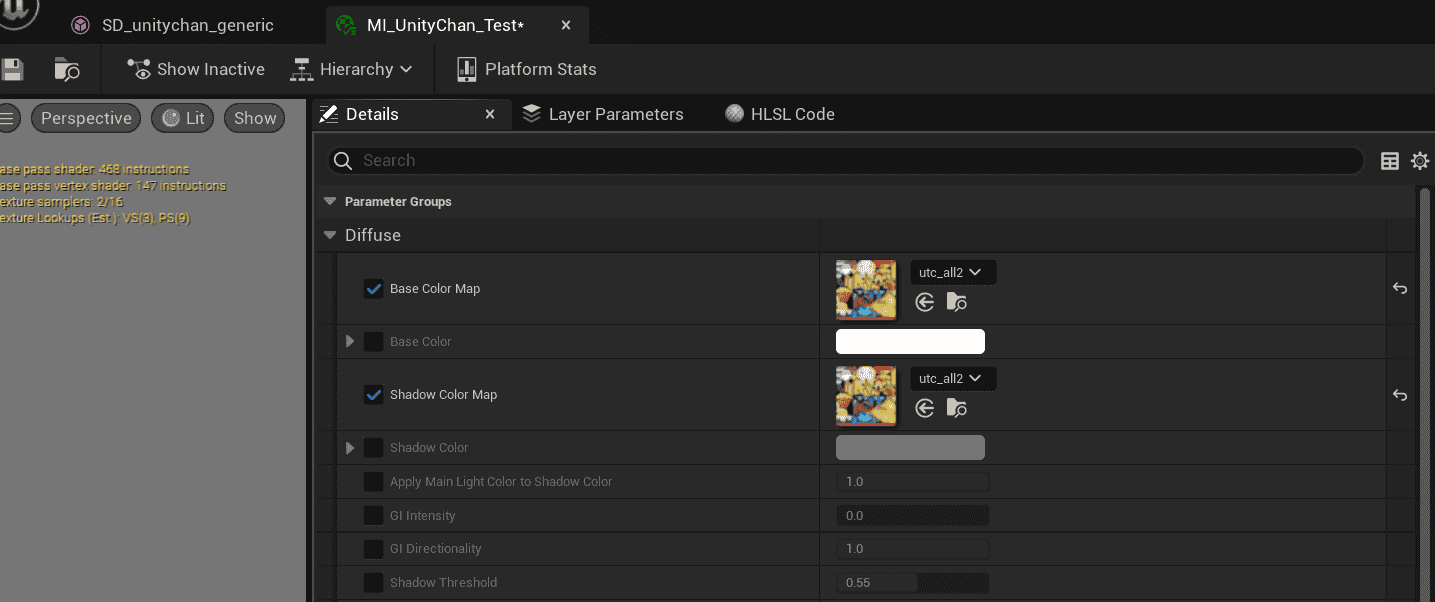
Import the intrinsic color texture in the content browser (MooaToon\MooaToon-Project\Art\Models\Textures\utc_all2.tga).
In the material instance, set the Base Color Map and Shadow Color Map to the color texture:
Outline Settings
- Save all changes
- Right-click on the character Skeleton Mesh:
Scripted Asset Actions > Mooa Toon > Bake Smoothed Normal and Curvature: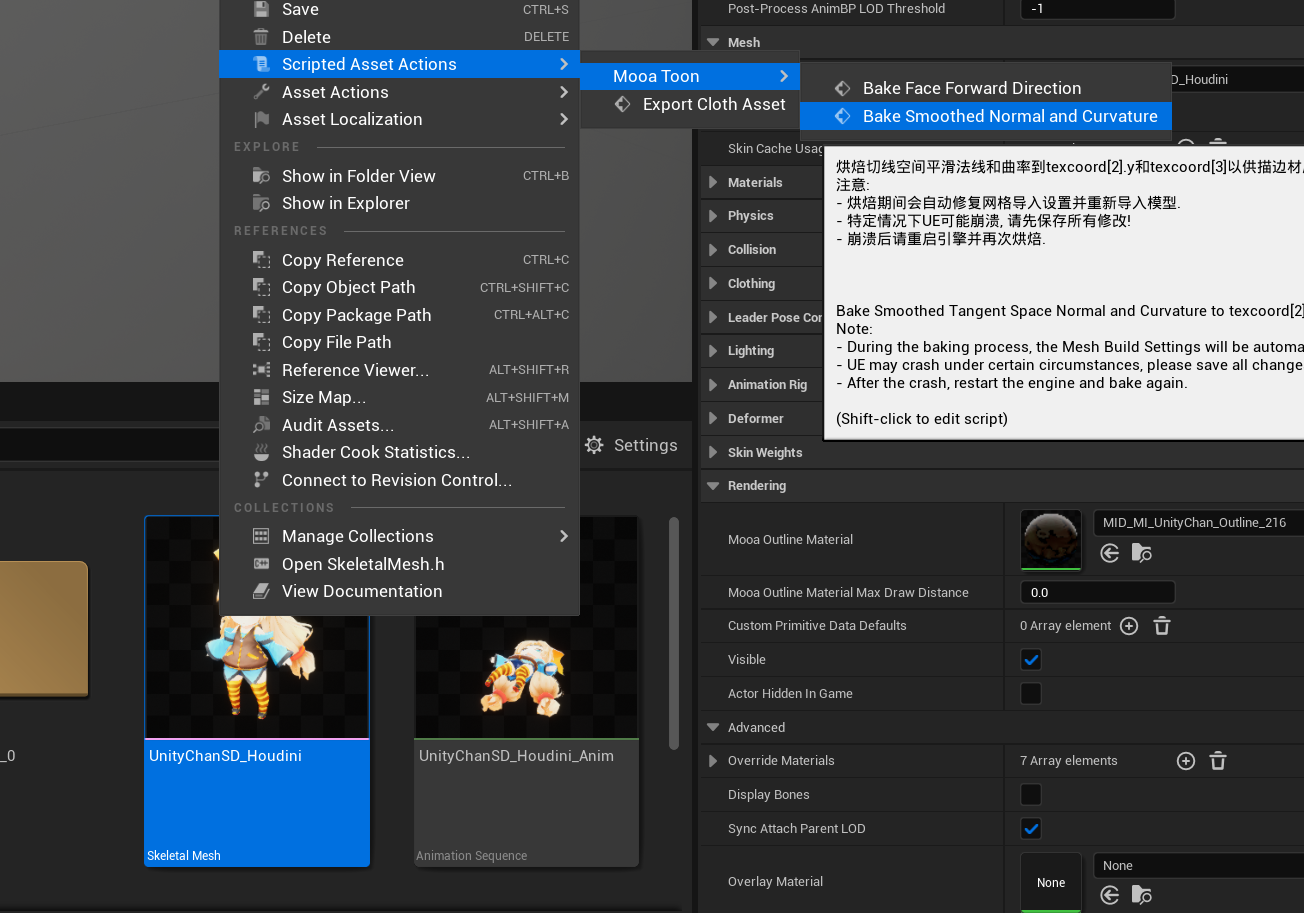
UE may crash when baking certain specific models, please save all changes in advance!
If a crash occurs, try baking immediately after restarting UE.
If you are using MooaToon in your own project, make sure Project Settings > Engine > General Settings > Maximum Loop Iteration Count is large enough, otherwise it may report an error when processing models with many triangles.
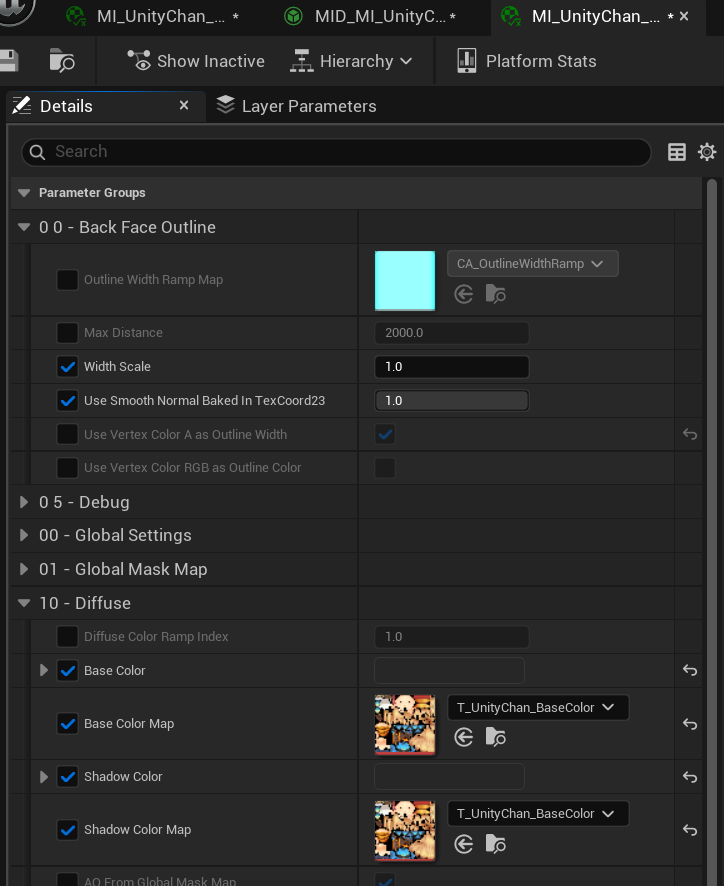
Create a Material Instance for Outline in the Content Browser, select the Parent Material as MI_Outline, and set the following parameters:
Select the character in the level, set the outline material to Outline Material:
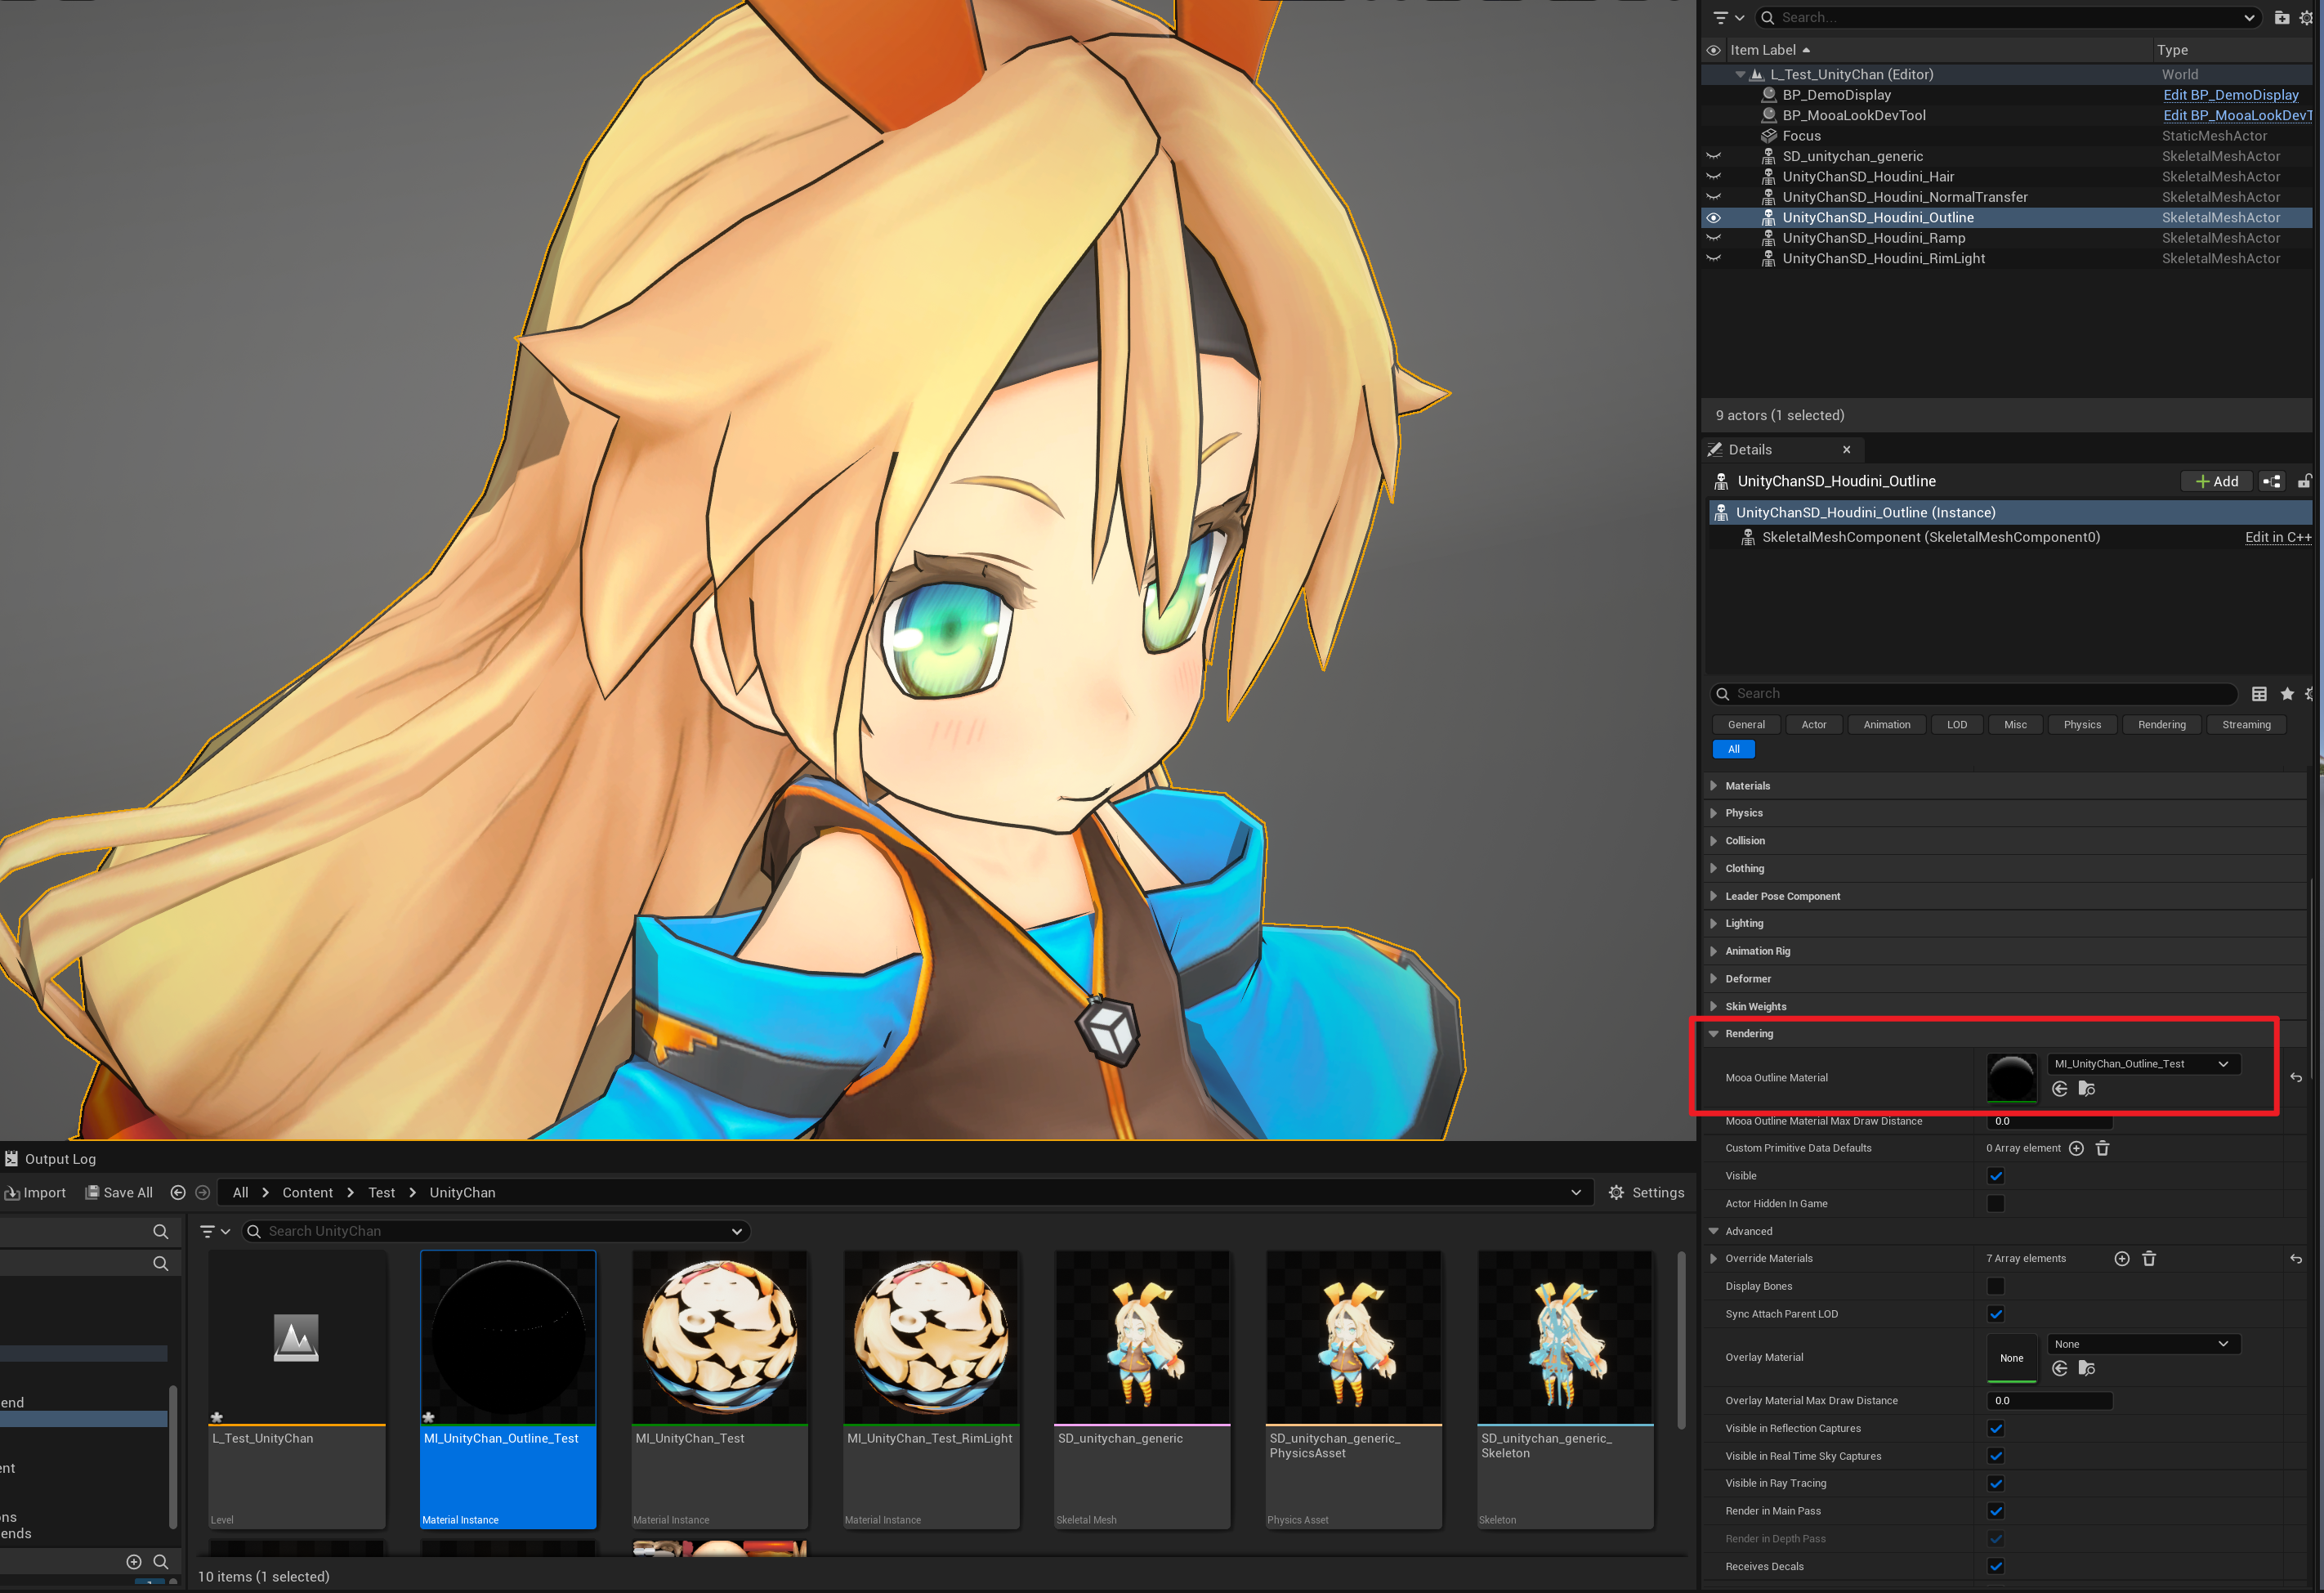
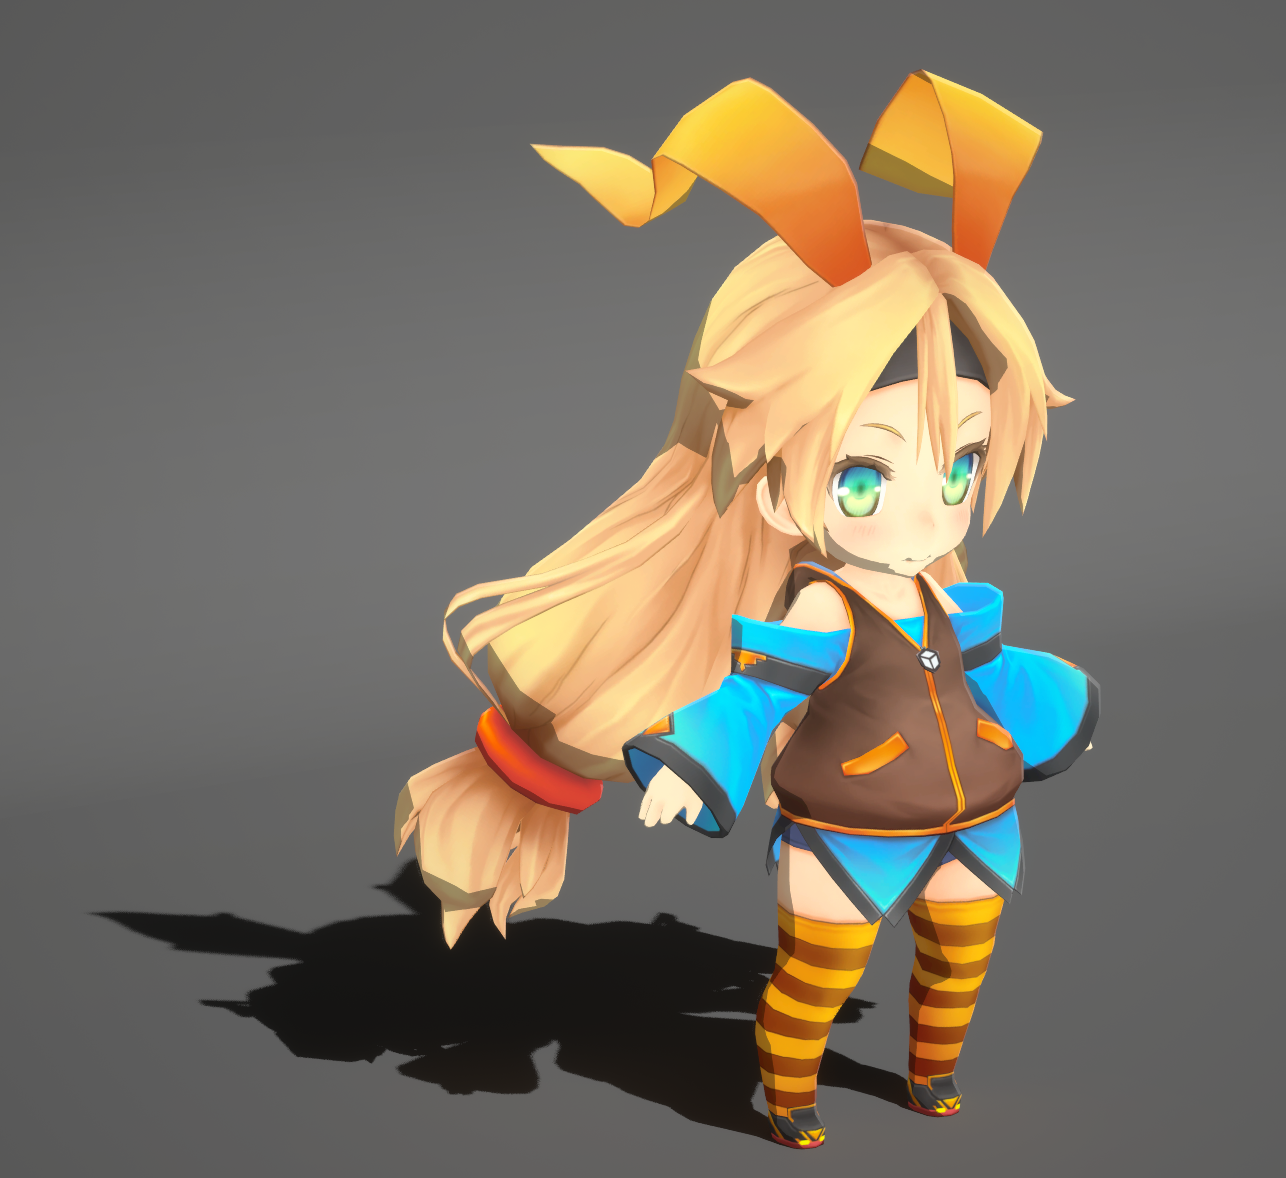
Now you should see the complete character outline:
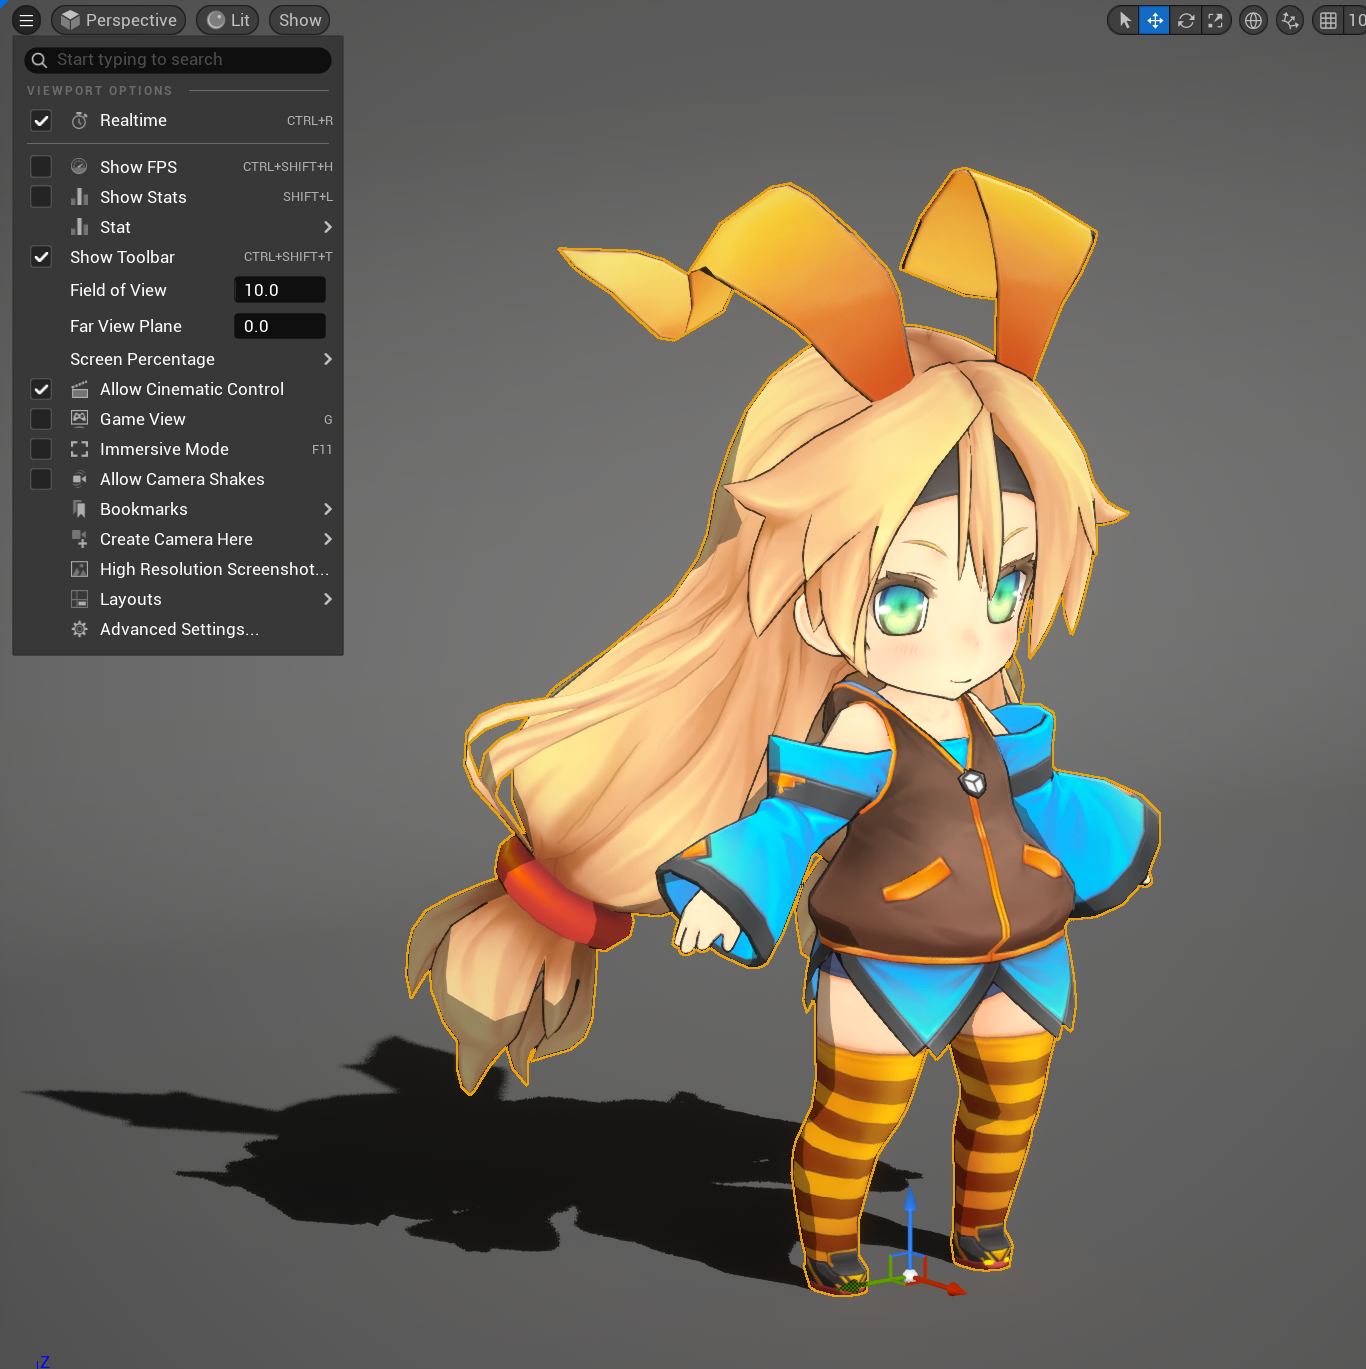
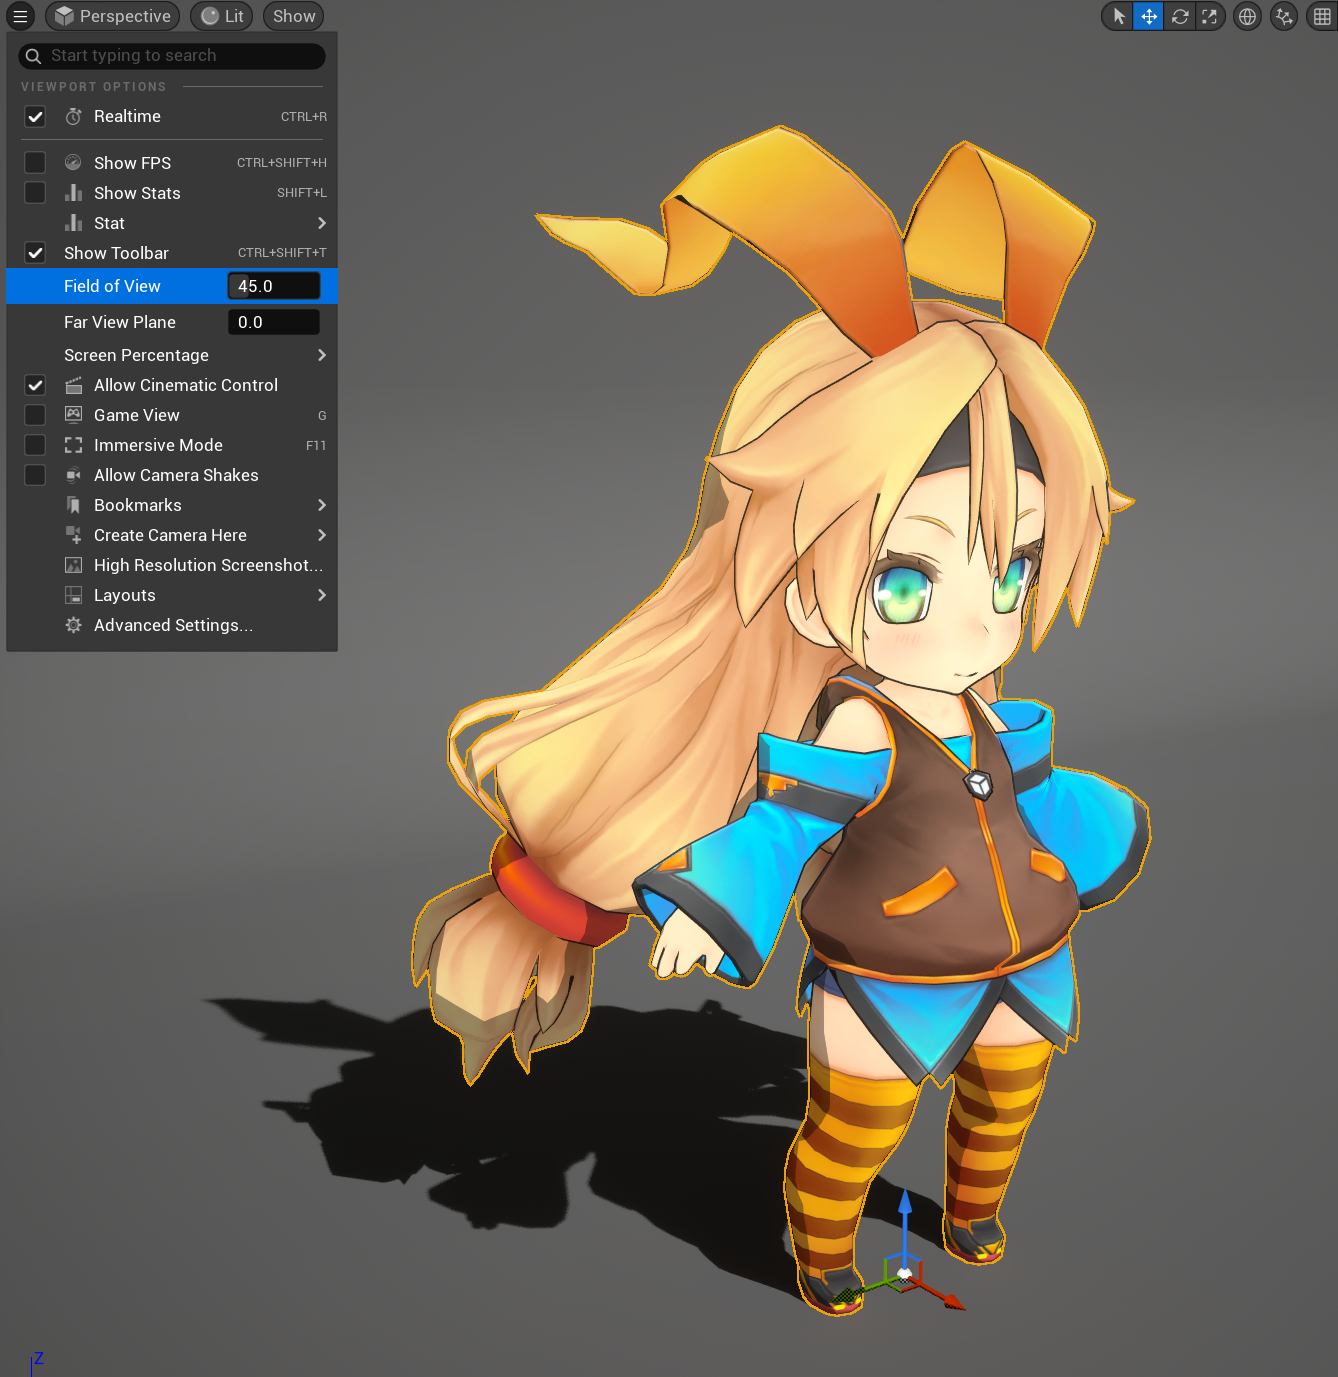
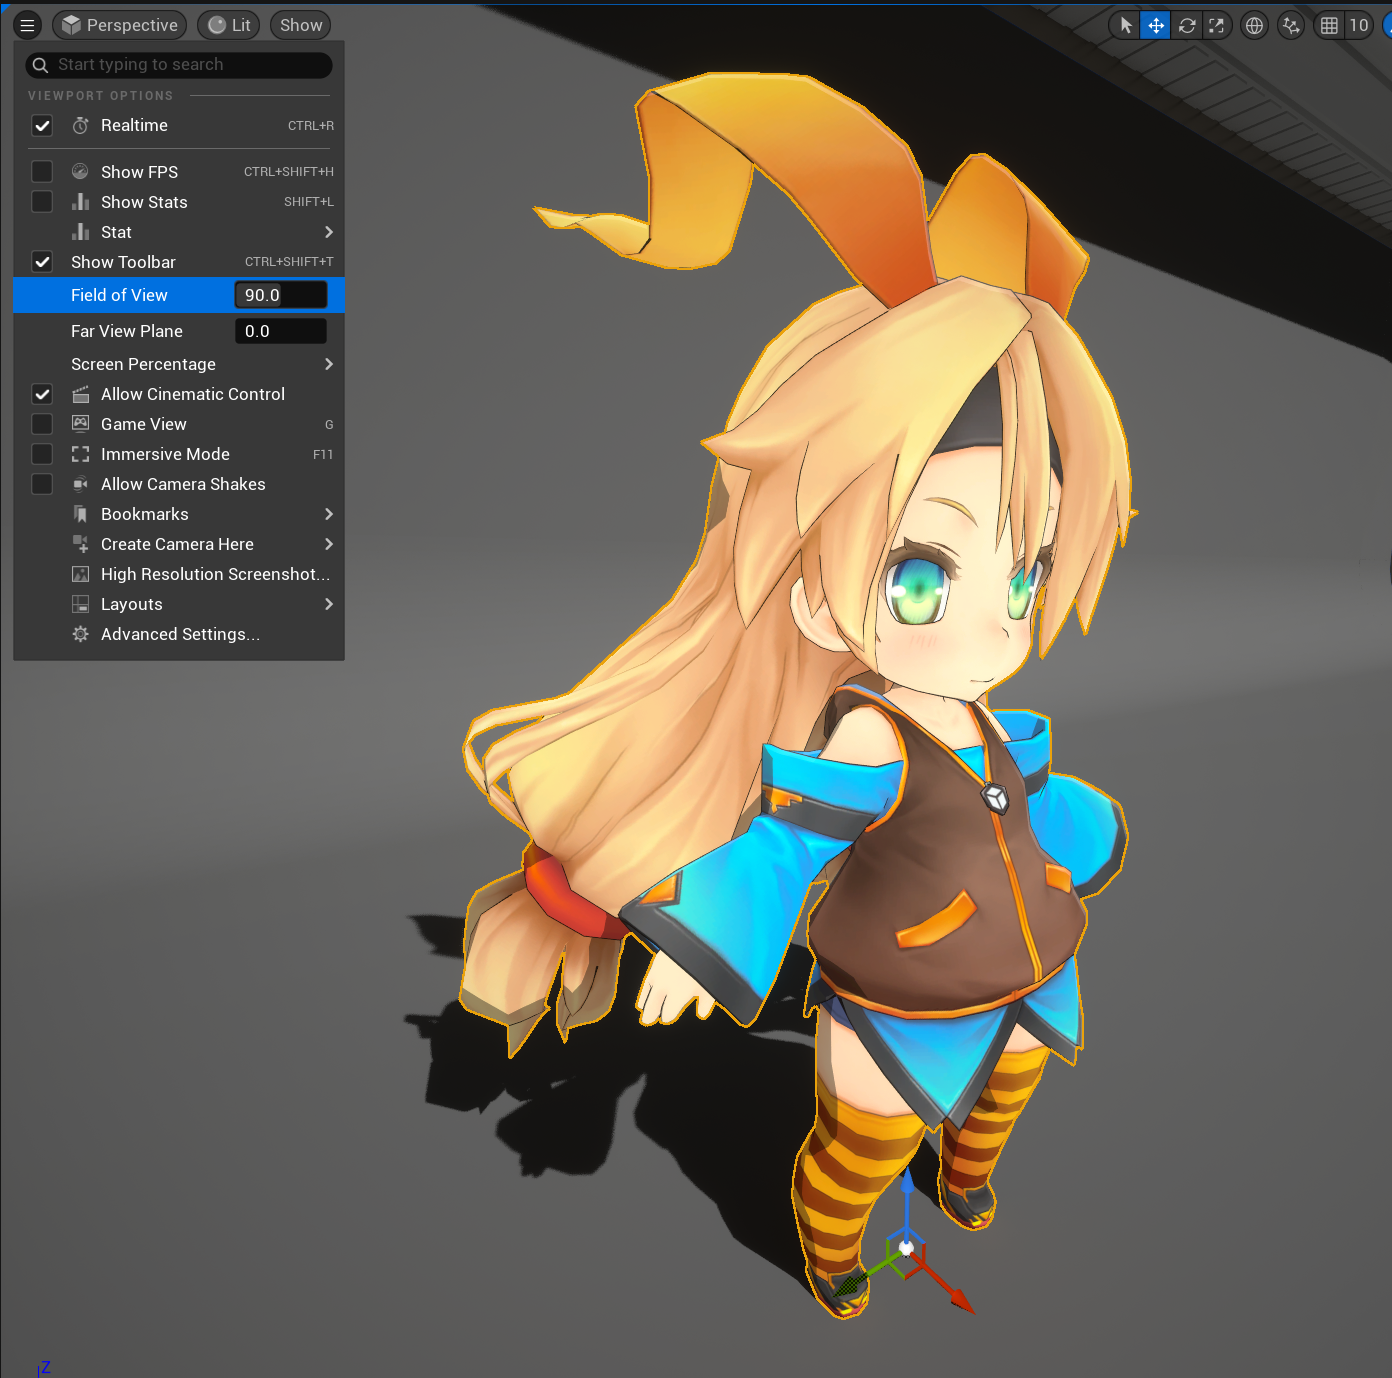
Viewport settings
You should pay attention to the viewport settings, different FOVs will have a huge impact on the perspective of the character:
 |  |  |
|---|---|---|
| 10 | 45 | 90 |
If you pursue a close-to-hand-painted artistic style, you should use the smallest FOV possible to make the character look more flat, such as 10.
If you let players control the camera in real time, you should choose the appropriate FOV according to your game type and ensure that the main character is in the center of the screen to reduce perspective distortion.
Advanced settings
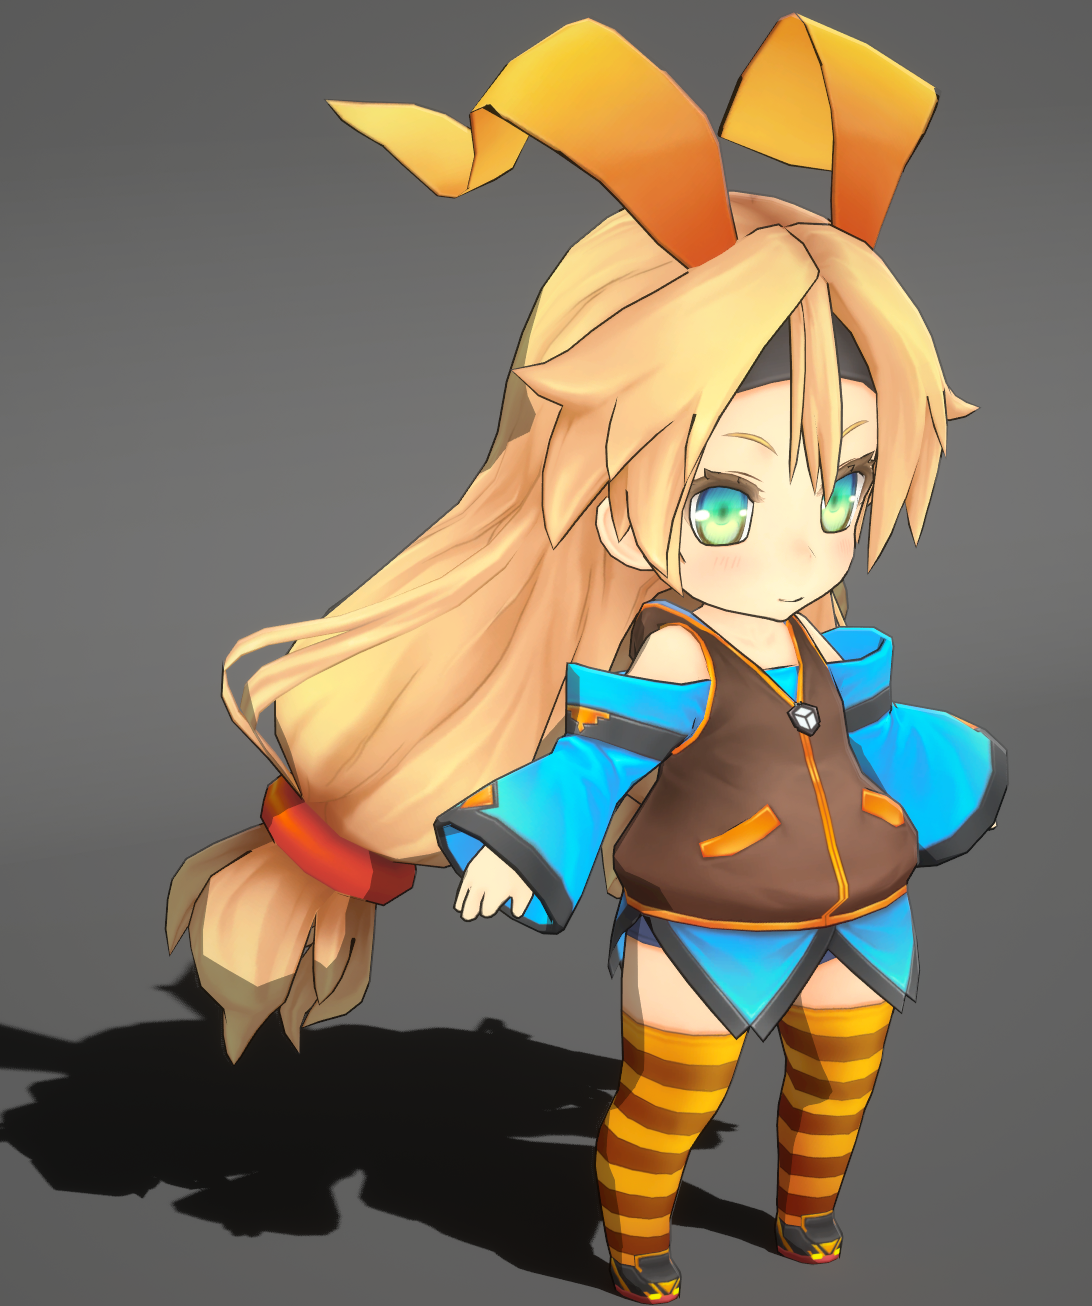
I have to admit that the current rendering result is far from good-looking:
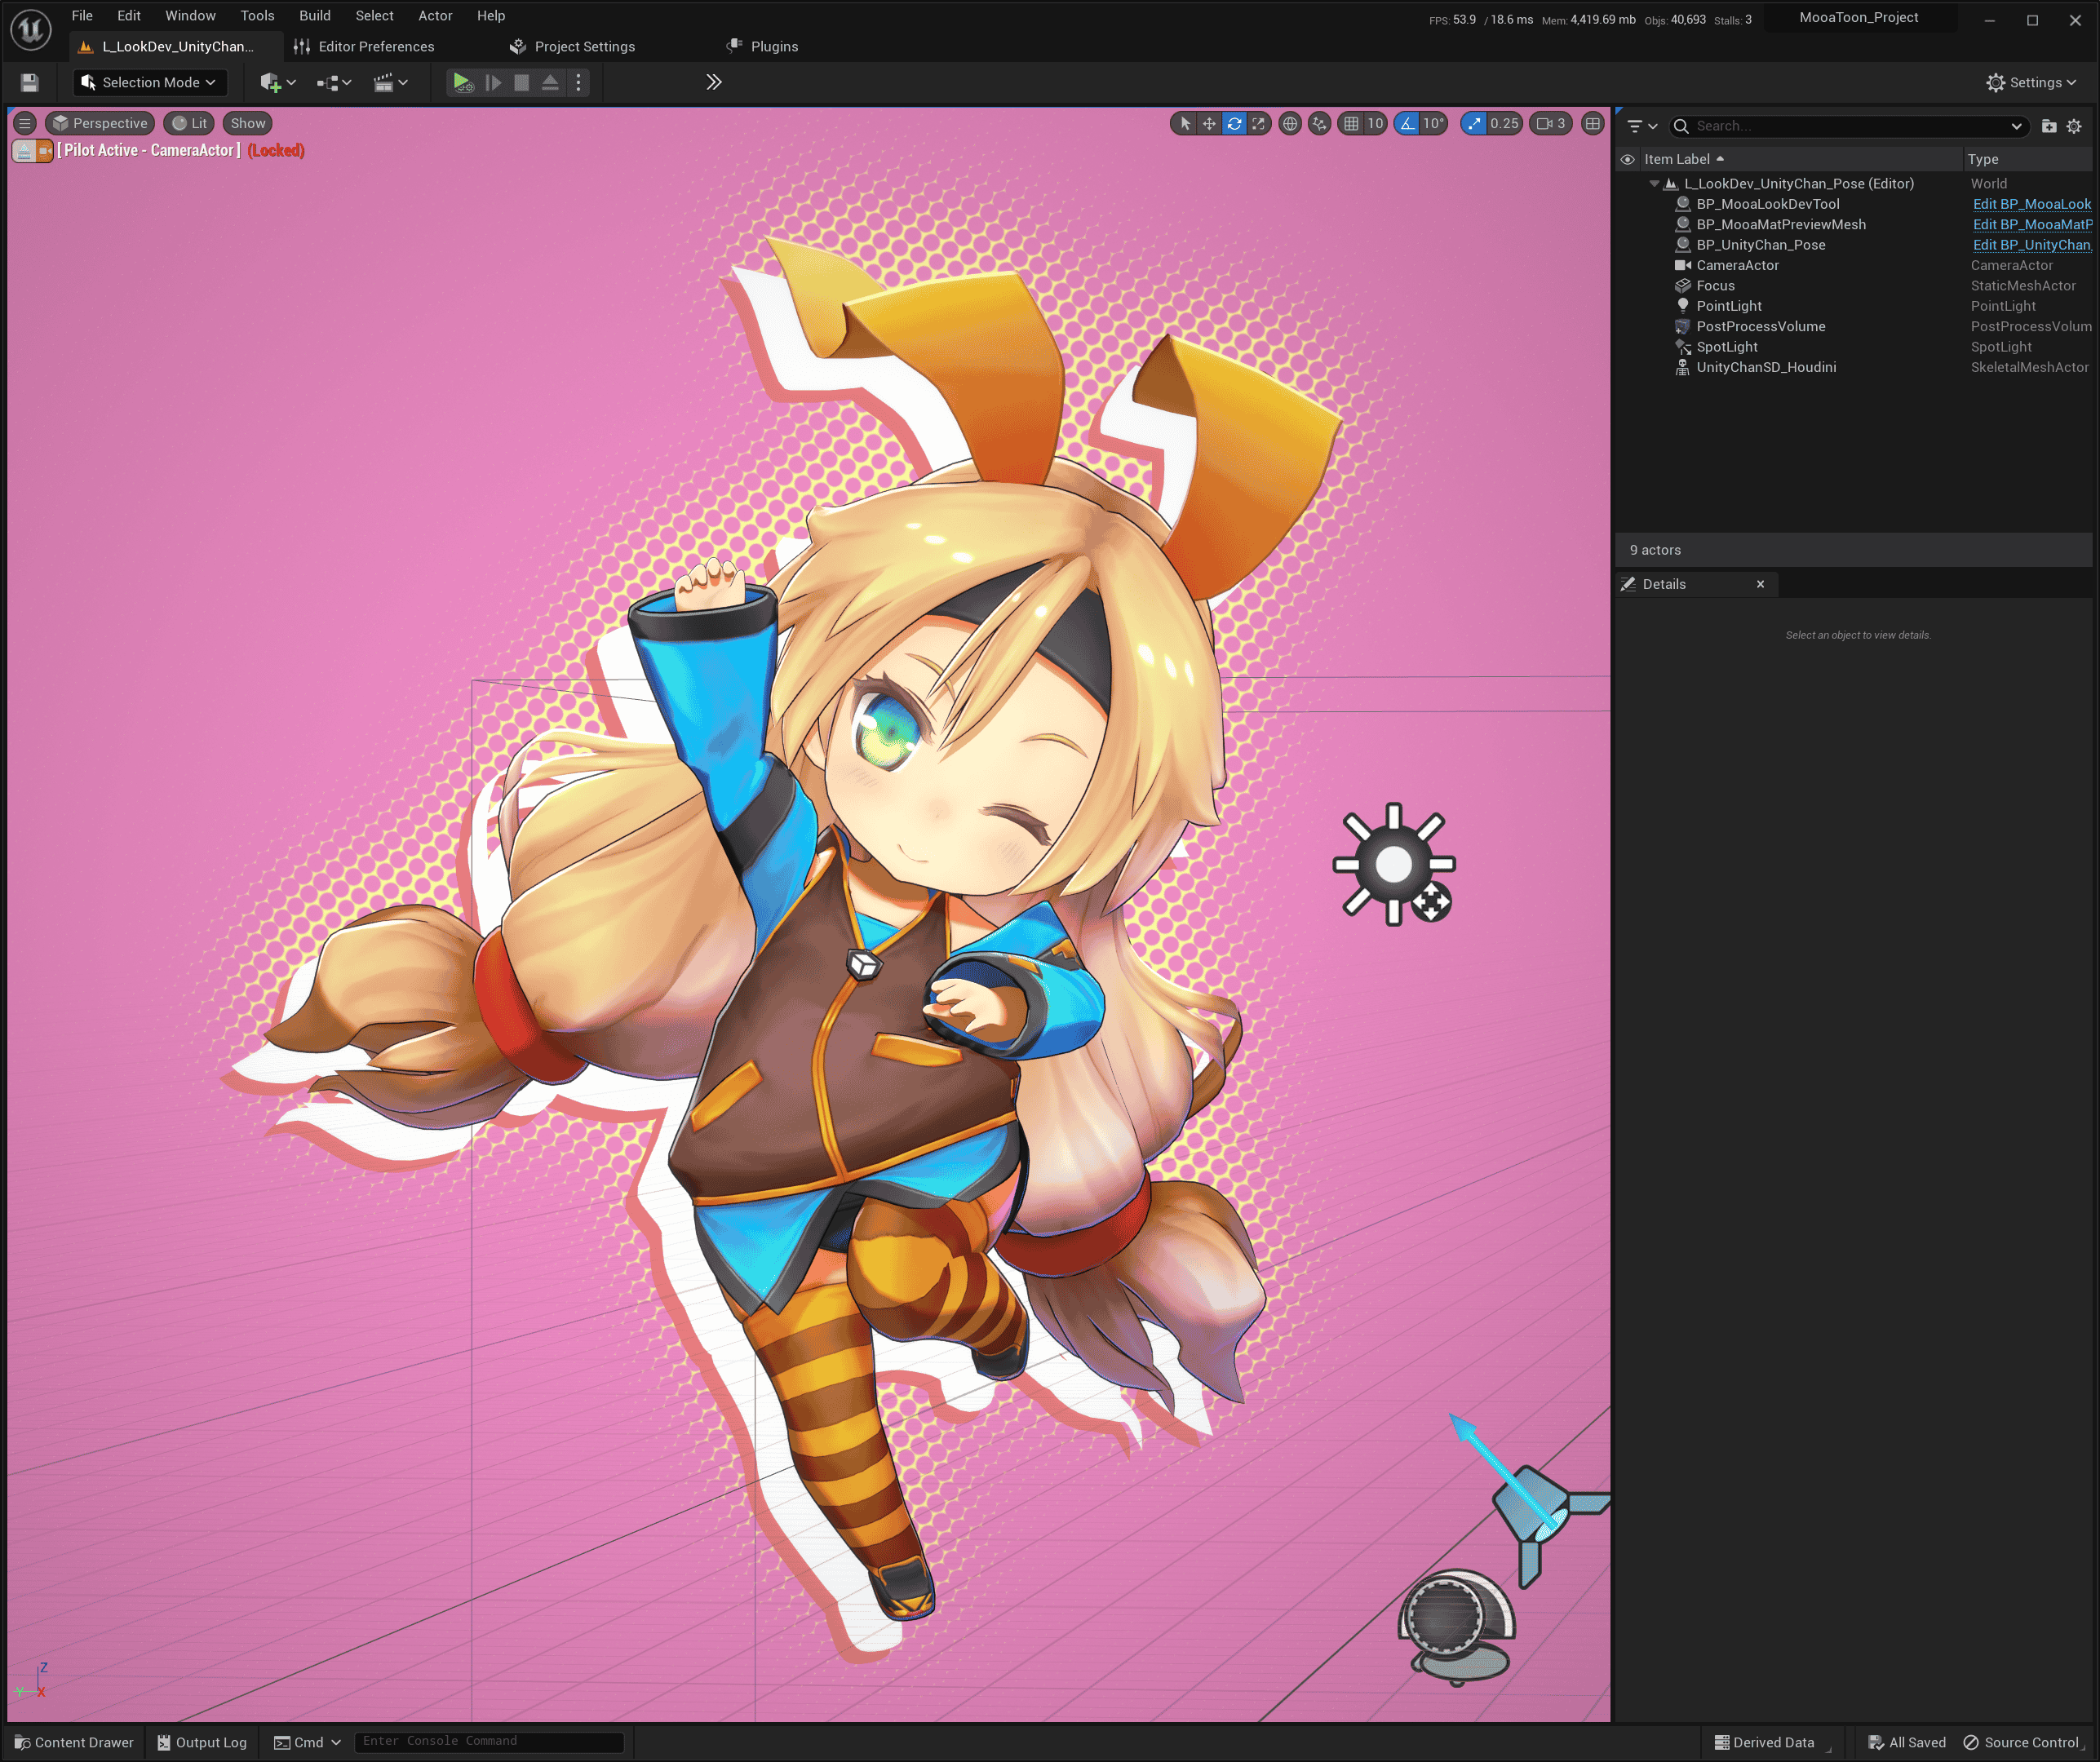
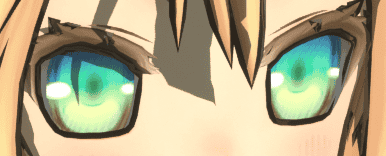
If you carefully observe the current character, you will find the following areas that need improvement:
-
Eye white color, eye outline, hair shadow
-
Self-shadow shape

-
Hair outline width

-
Hand outline width

-
Hair highlights
-
Skin texture
-
Accuracy of character models and textures themselves
-
Animation and expressions
-
Environment and post-processing
-
......
It must also undergo a series of more detailed adjustments, basically the time you spend is proportional to the final rendering quality.
Please continue reading the tutorial.